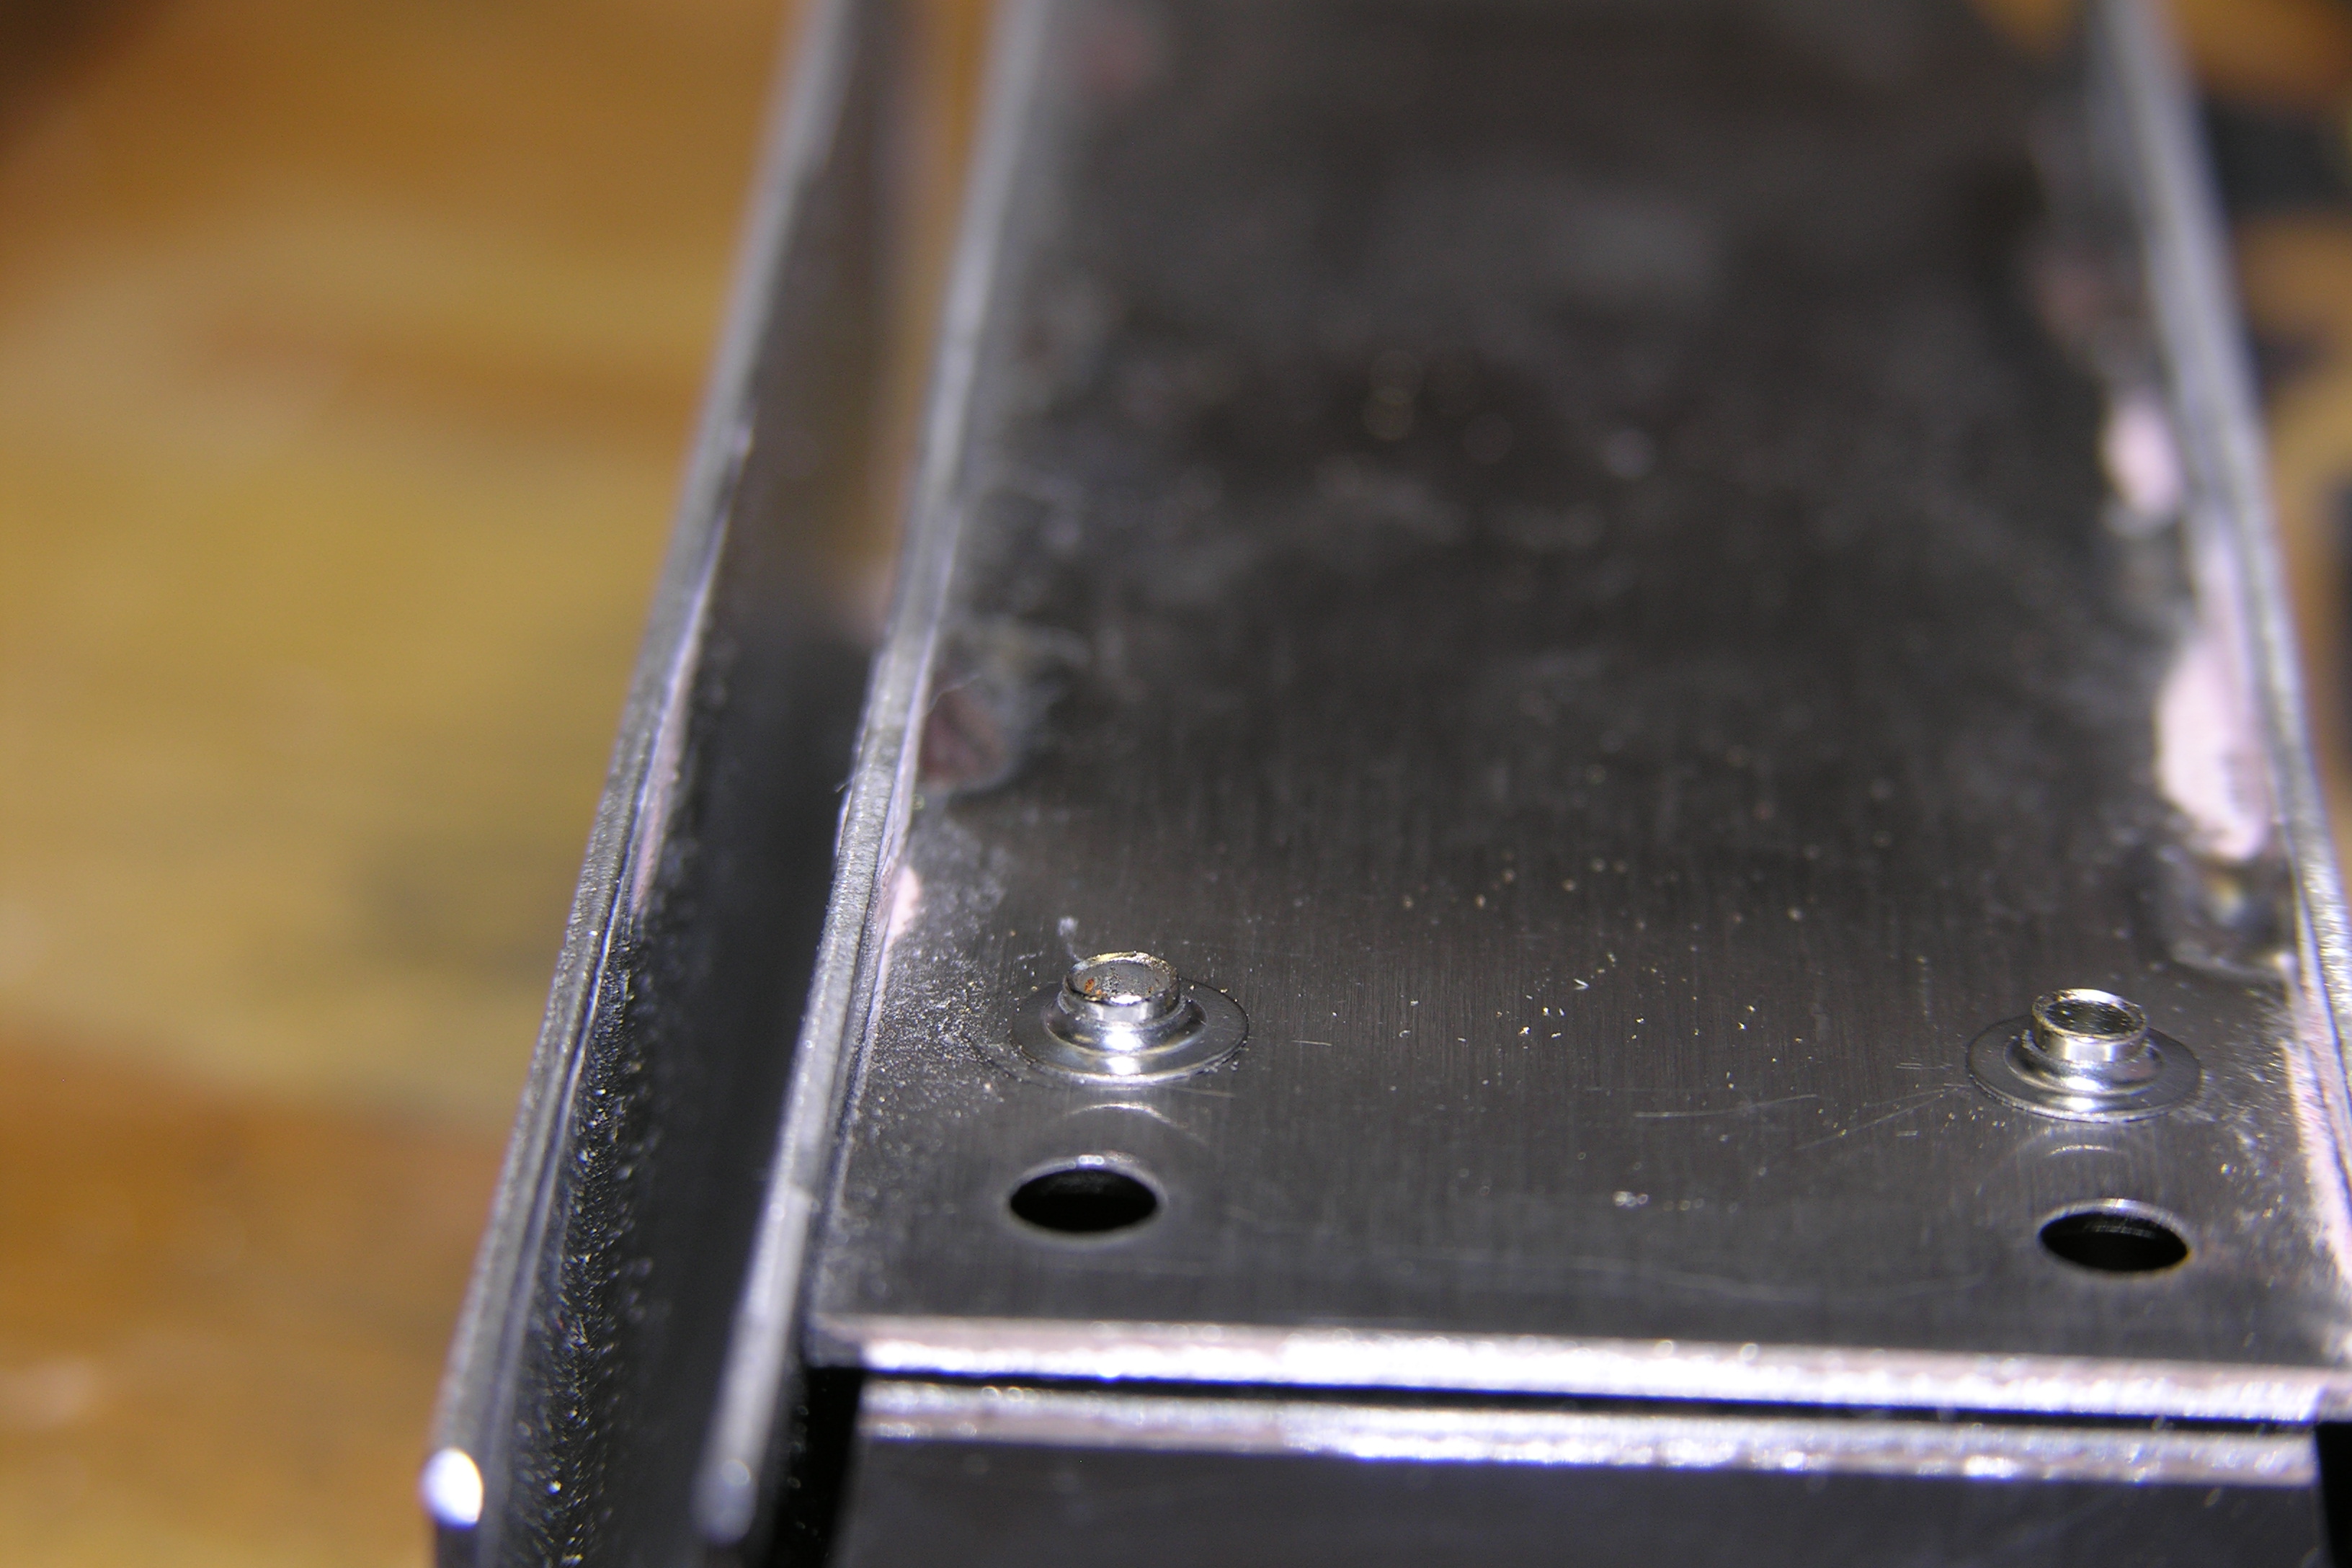
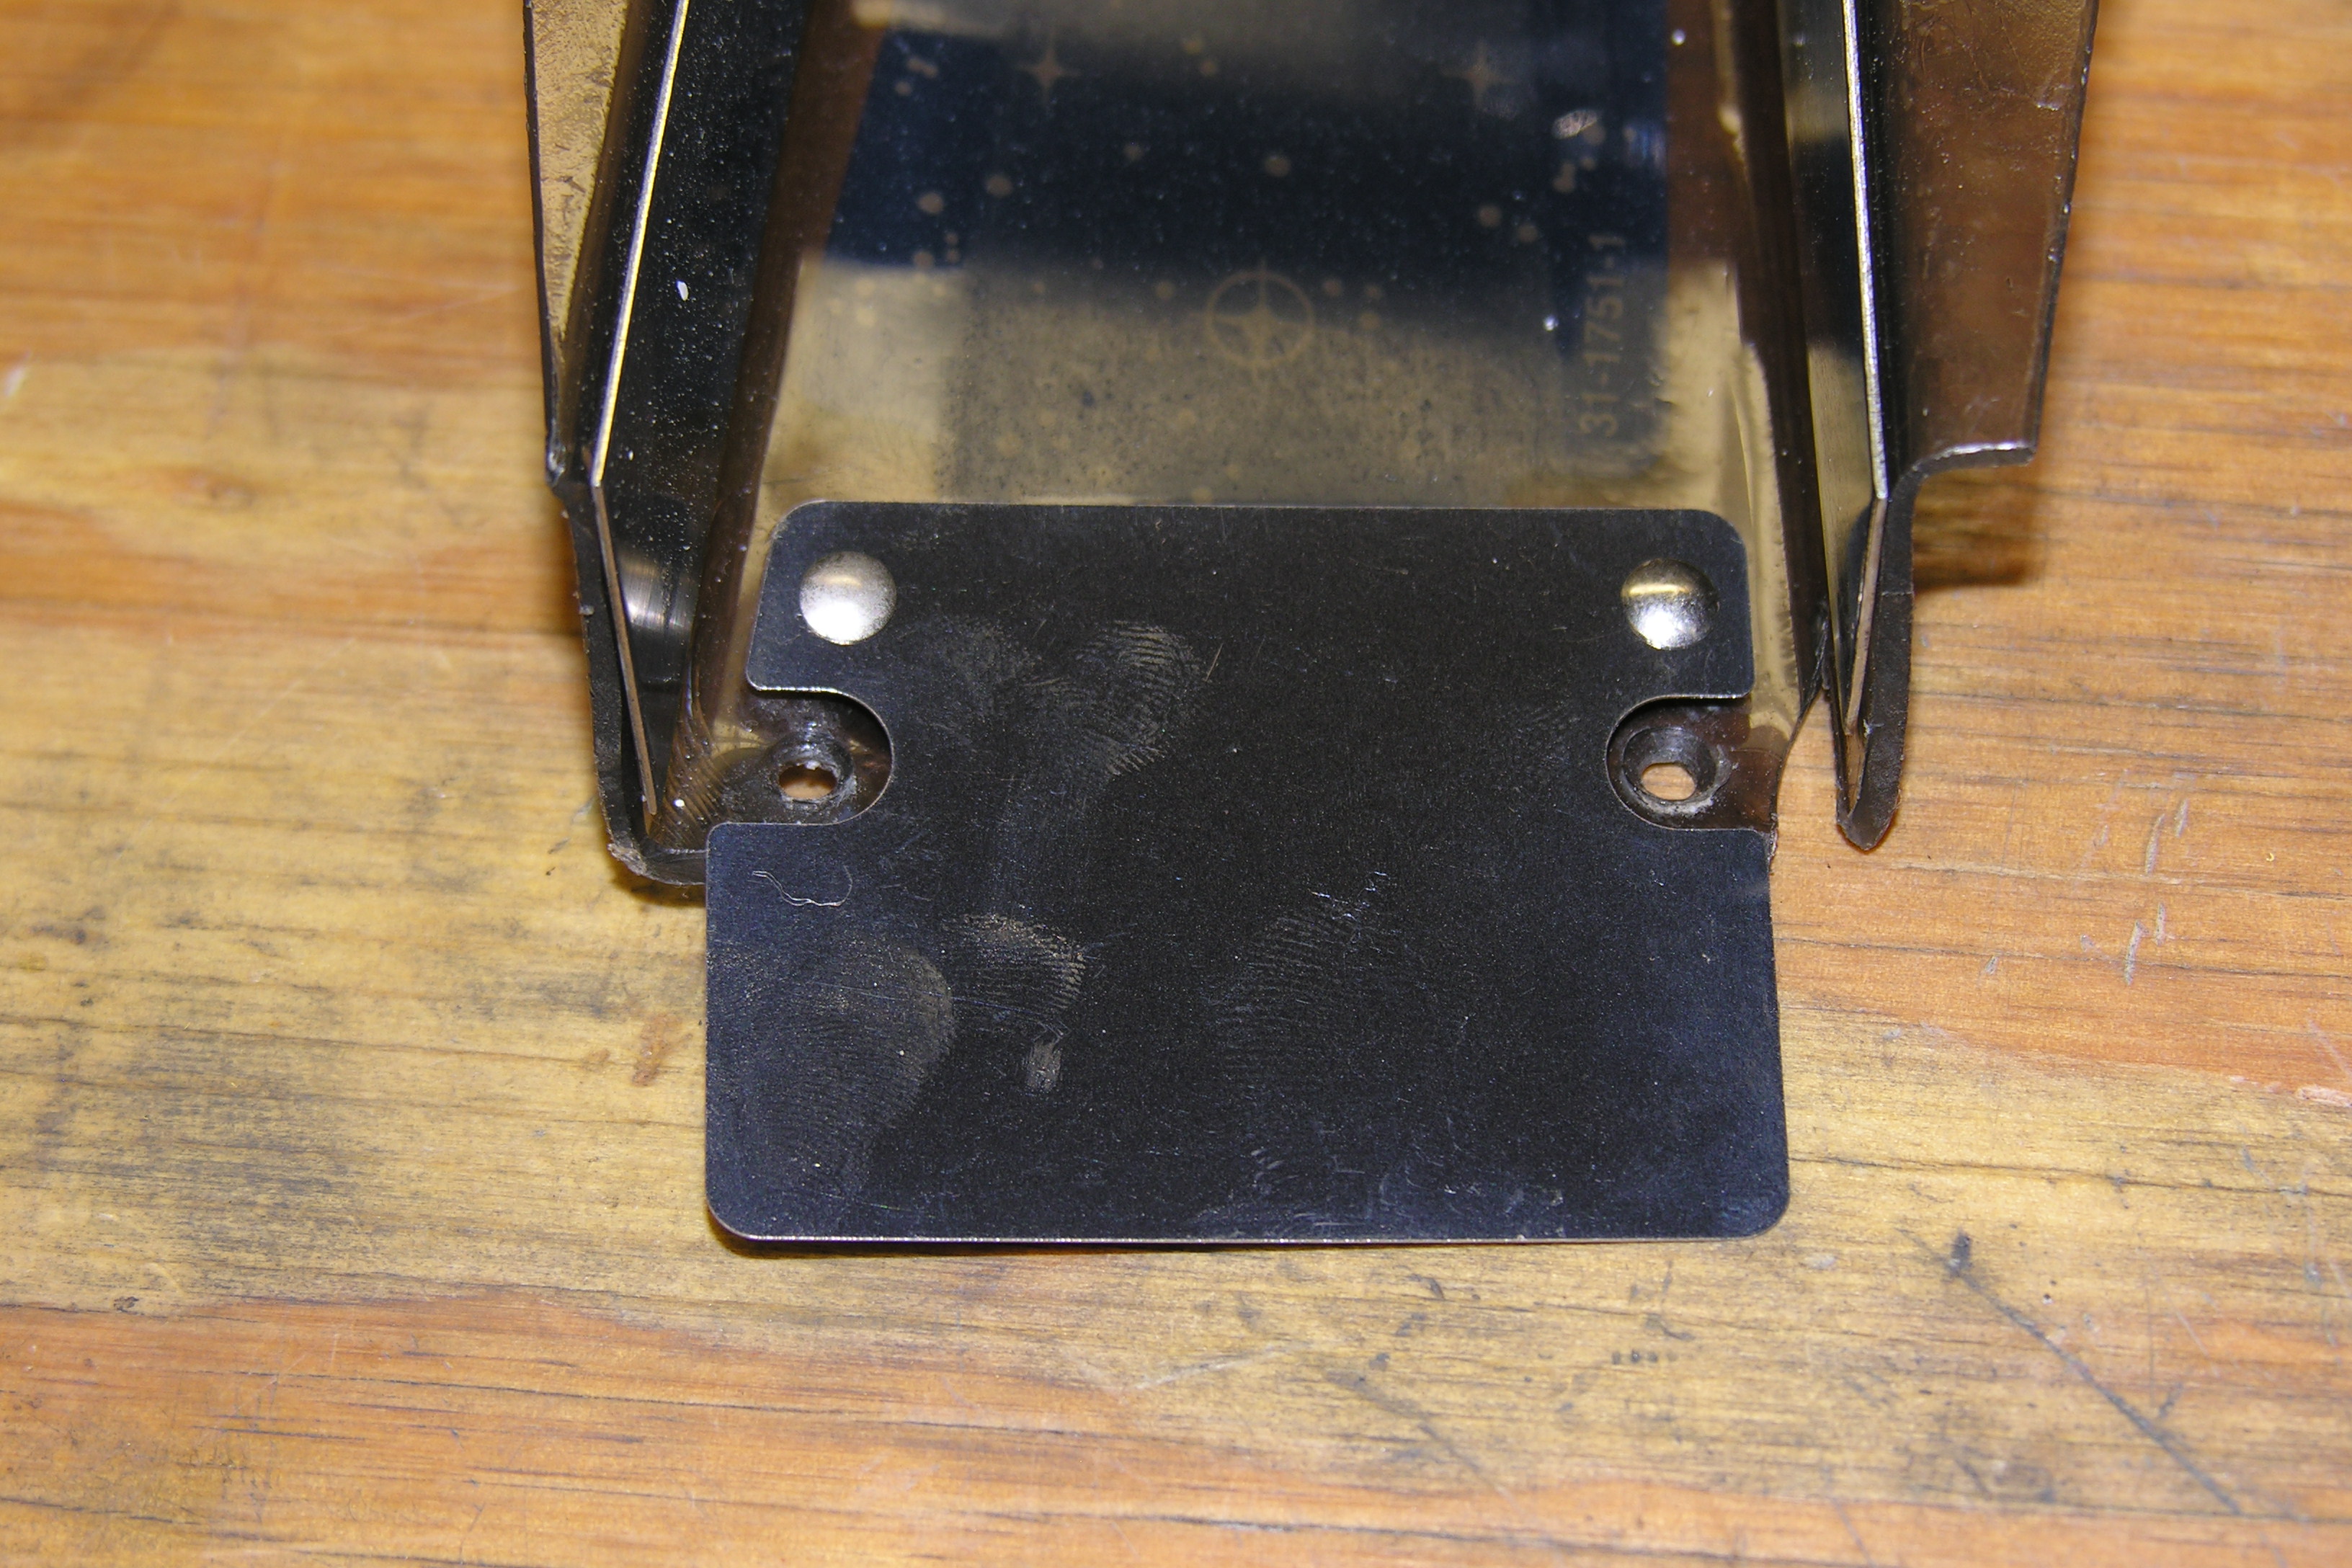
 Here's
a picture of two clipped rivets. These are holding on tight, and will not come
off easily. Note the small amount of metal needed for a good grip.
Here's
a picture of two clipped rivets. These are holding on tight, and will not come
off easily. Note the small amount of metal needed for a good grip. Rivet Clips - Riveting Without a Riveter
Riveting is difficult without the right tools. And even then, you need a wide set of tools to deal with all the different possibilities. We've been working on ramp flaps, and of course they need rivets. These rivet clips are surprisingly strong, and are like tiny versions of the pushnuts that hold in DMDs. They'll grab on to the same length of metal that a regular rivet needs to roll over, so they can use the same size rivets as would be used for conventional riveting. That also means that there are no clearance problems. And best of all, it looks exactly like a factory rivet from the top, and requires a careful look to see that the rivet is clipped, not clinched, on the bottom. The rivet can be clinched at a later time without removing the clip. Finally, rivet clips can get to places that riveting tools cannot.
Kits available at Pinbits.
Plastic also needs a backup washer. Although a rivet clip would work without one, a washer feels safer.
Here's
a picture of two clipped rivets. These are holding on tight, and will not come
off easily. Note the small amount of metal needed for a good grip.
 Drill
or dremel your old rivet rollovers. Knock the rivet body out with a
punch. Drill
or dremel your old rivet rollovers. Knock the rivet body out with a
punch. |
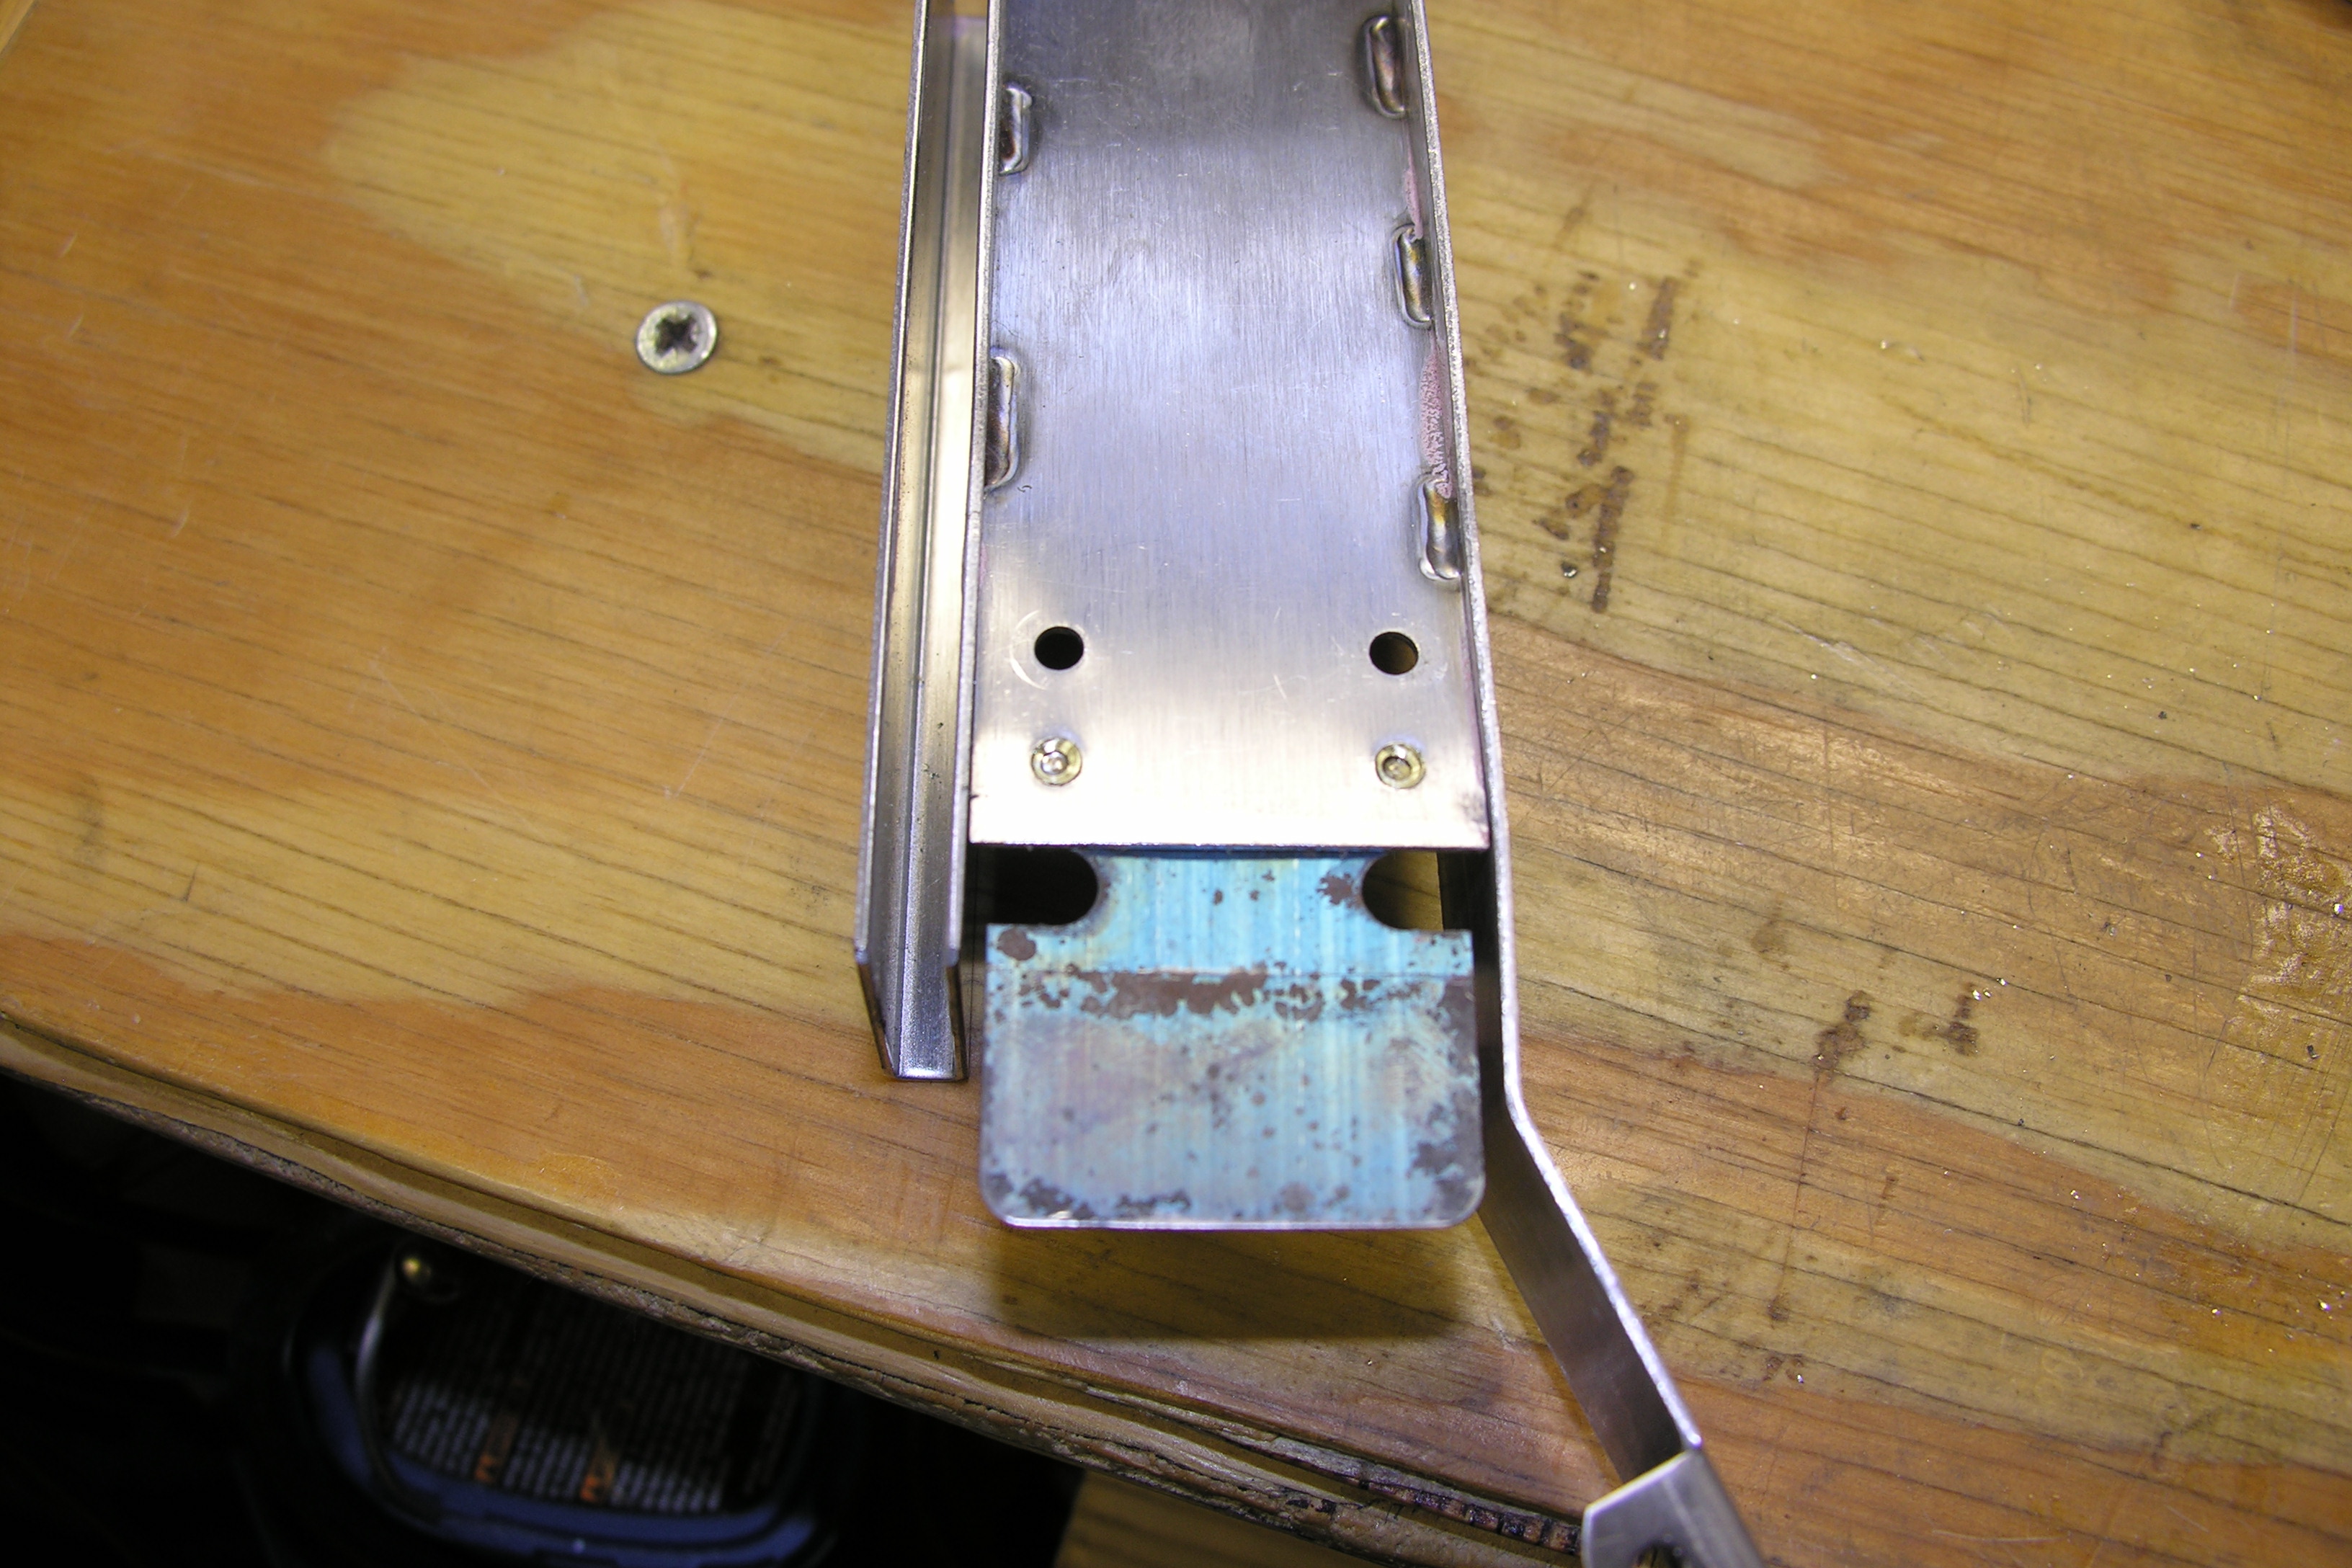
Put the new flap on the ramp, and poke the new rivets through.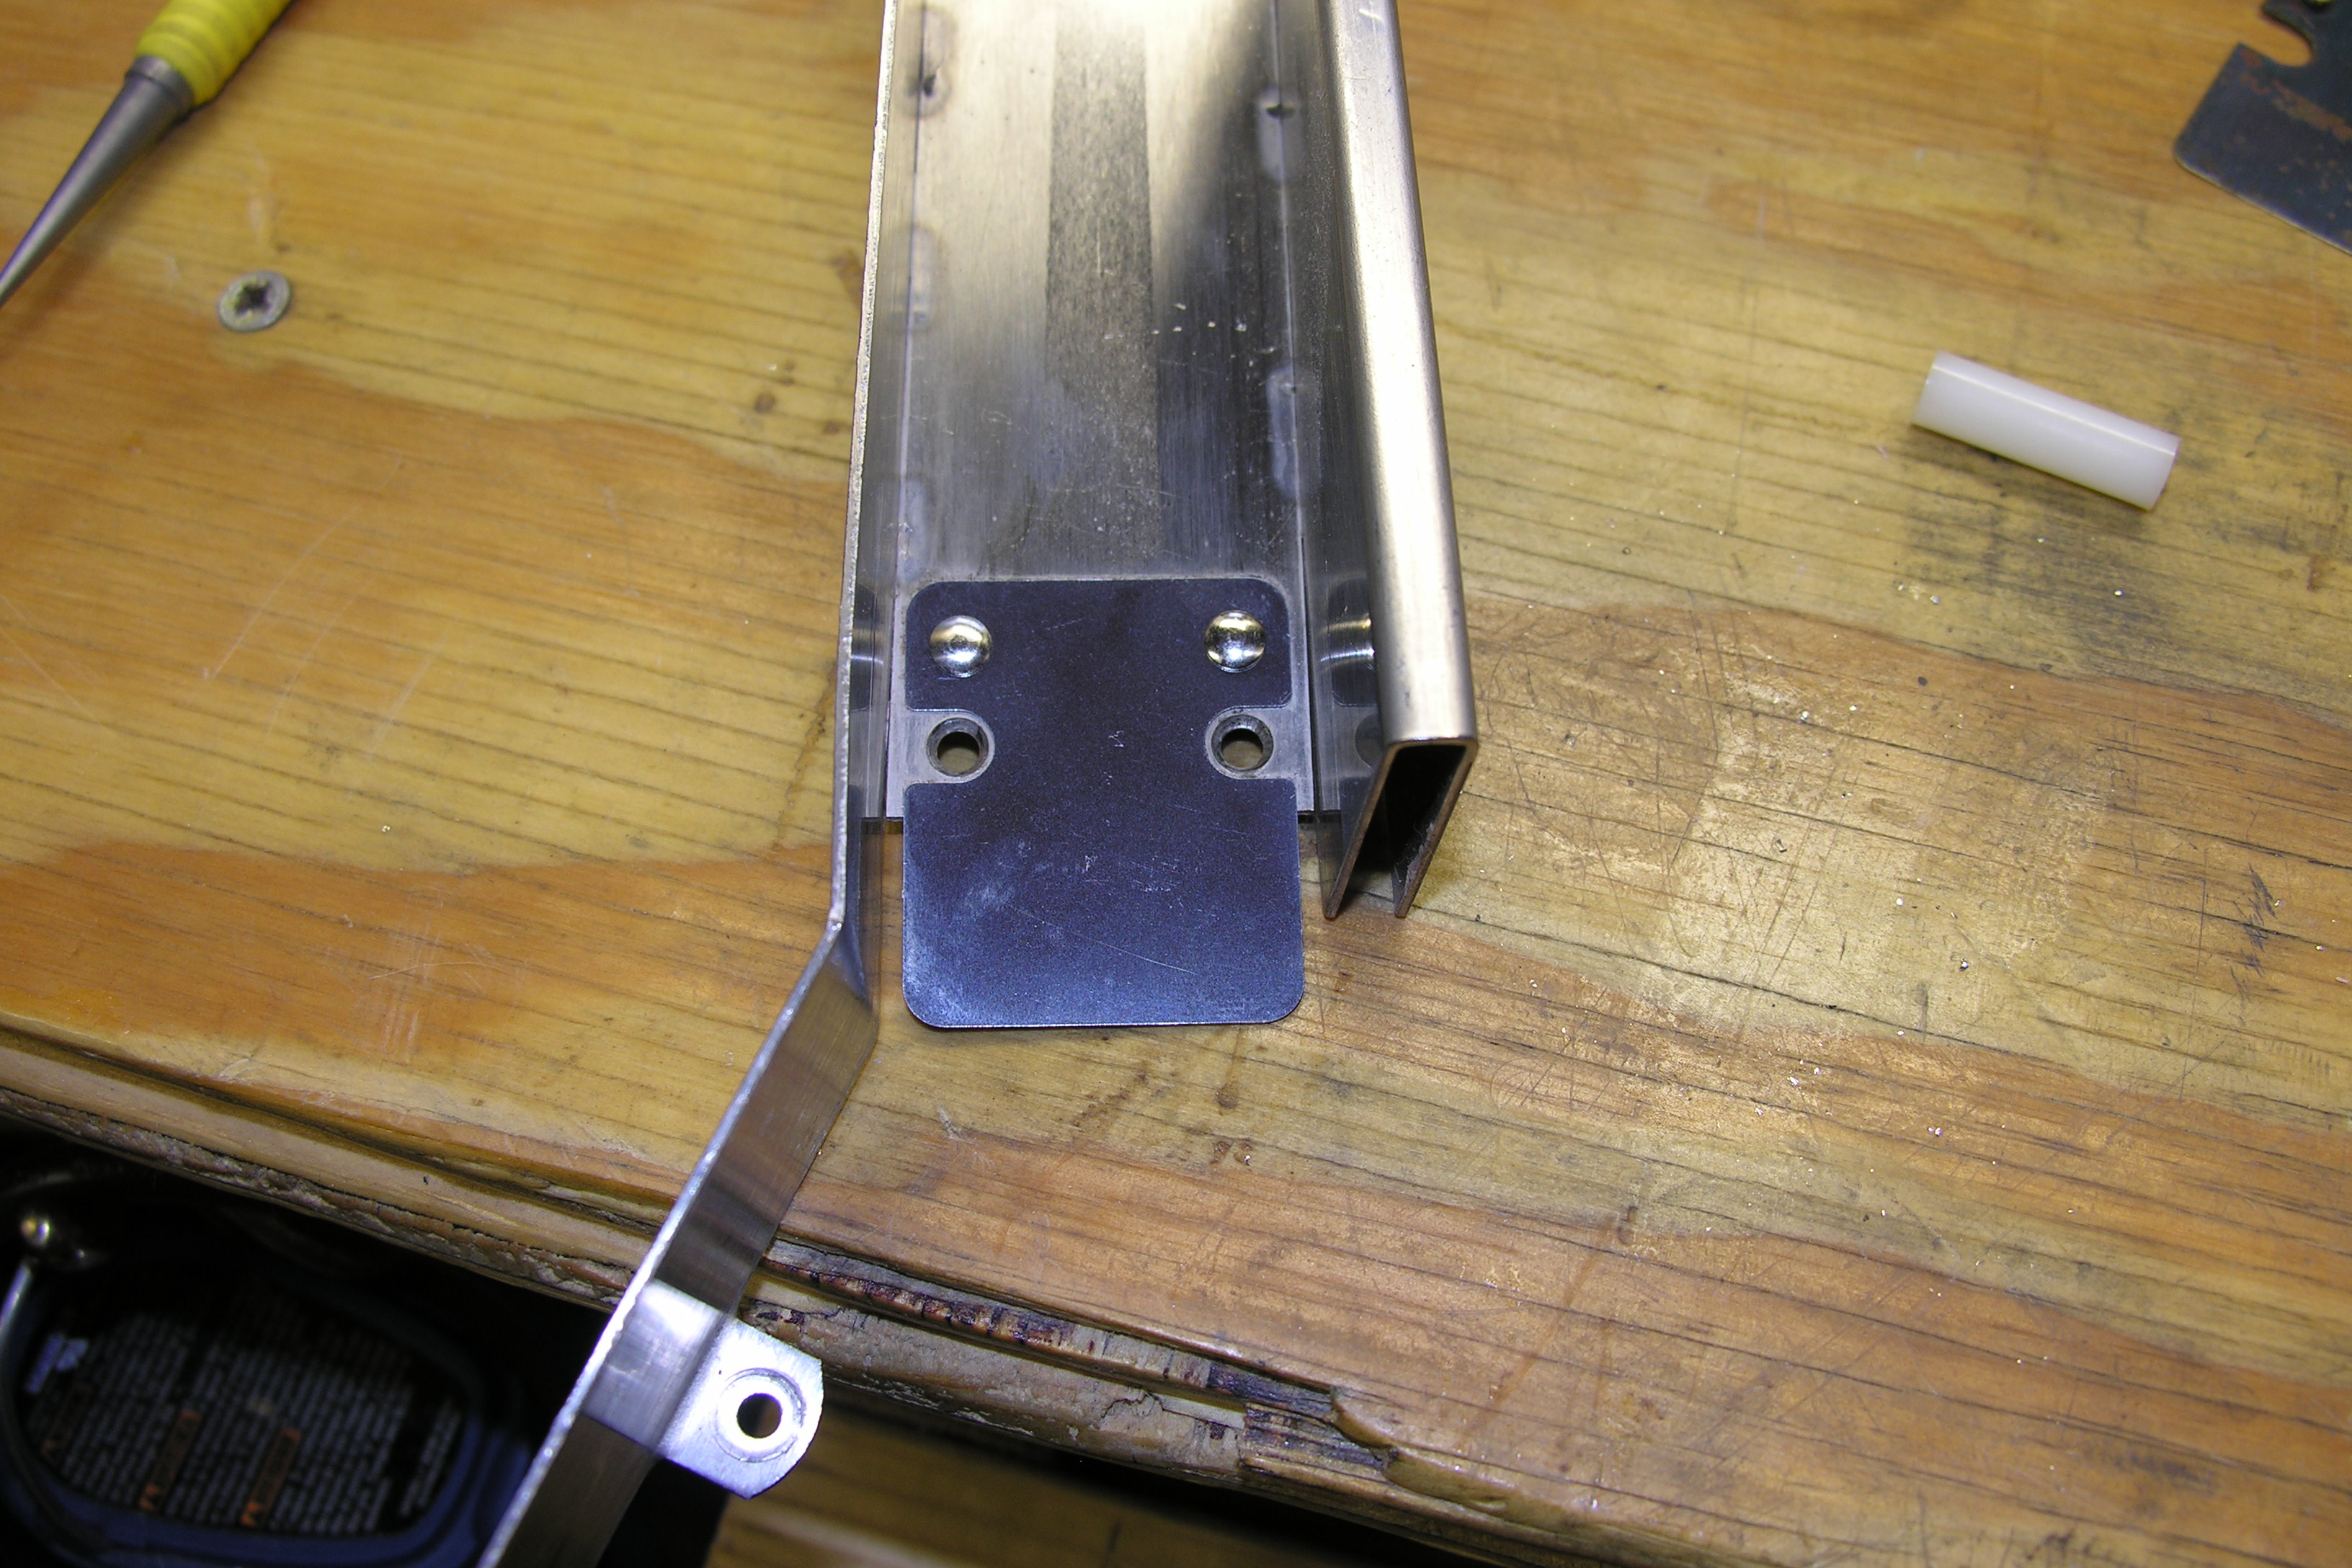 |
 IMPORTANT: Put
some tape over the rivets and the flap edge to stop things running
around on you. This makes it easier to get the tool aligned. IMPORTANT: Put
some tape over the rivets and the flap edge to stop things running
around on you. This makes it easier to get the tool aligned. |
A bit of tape on the back is useful as well.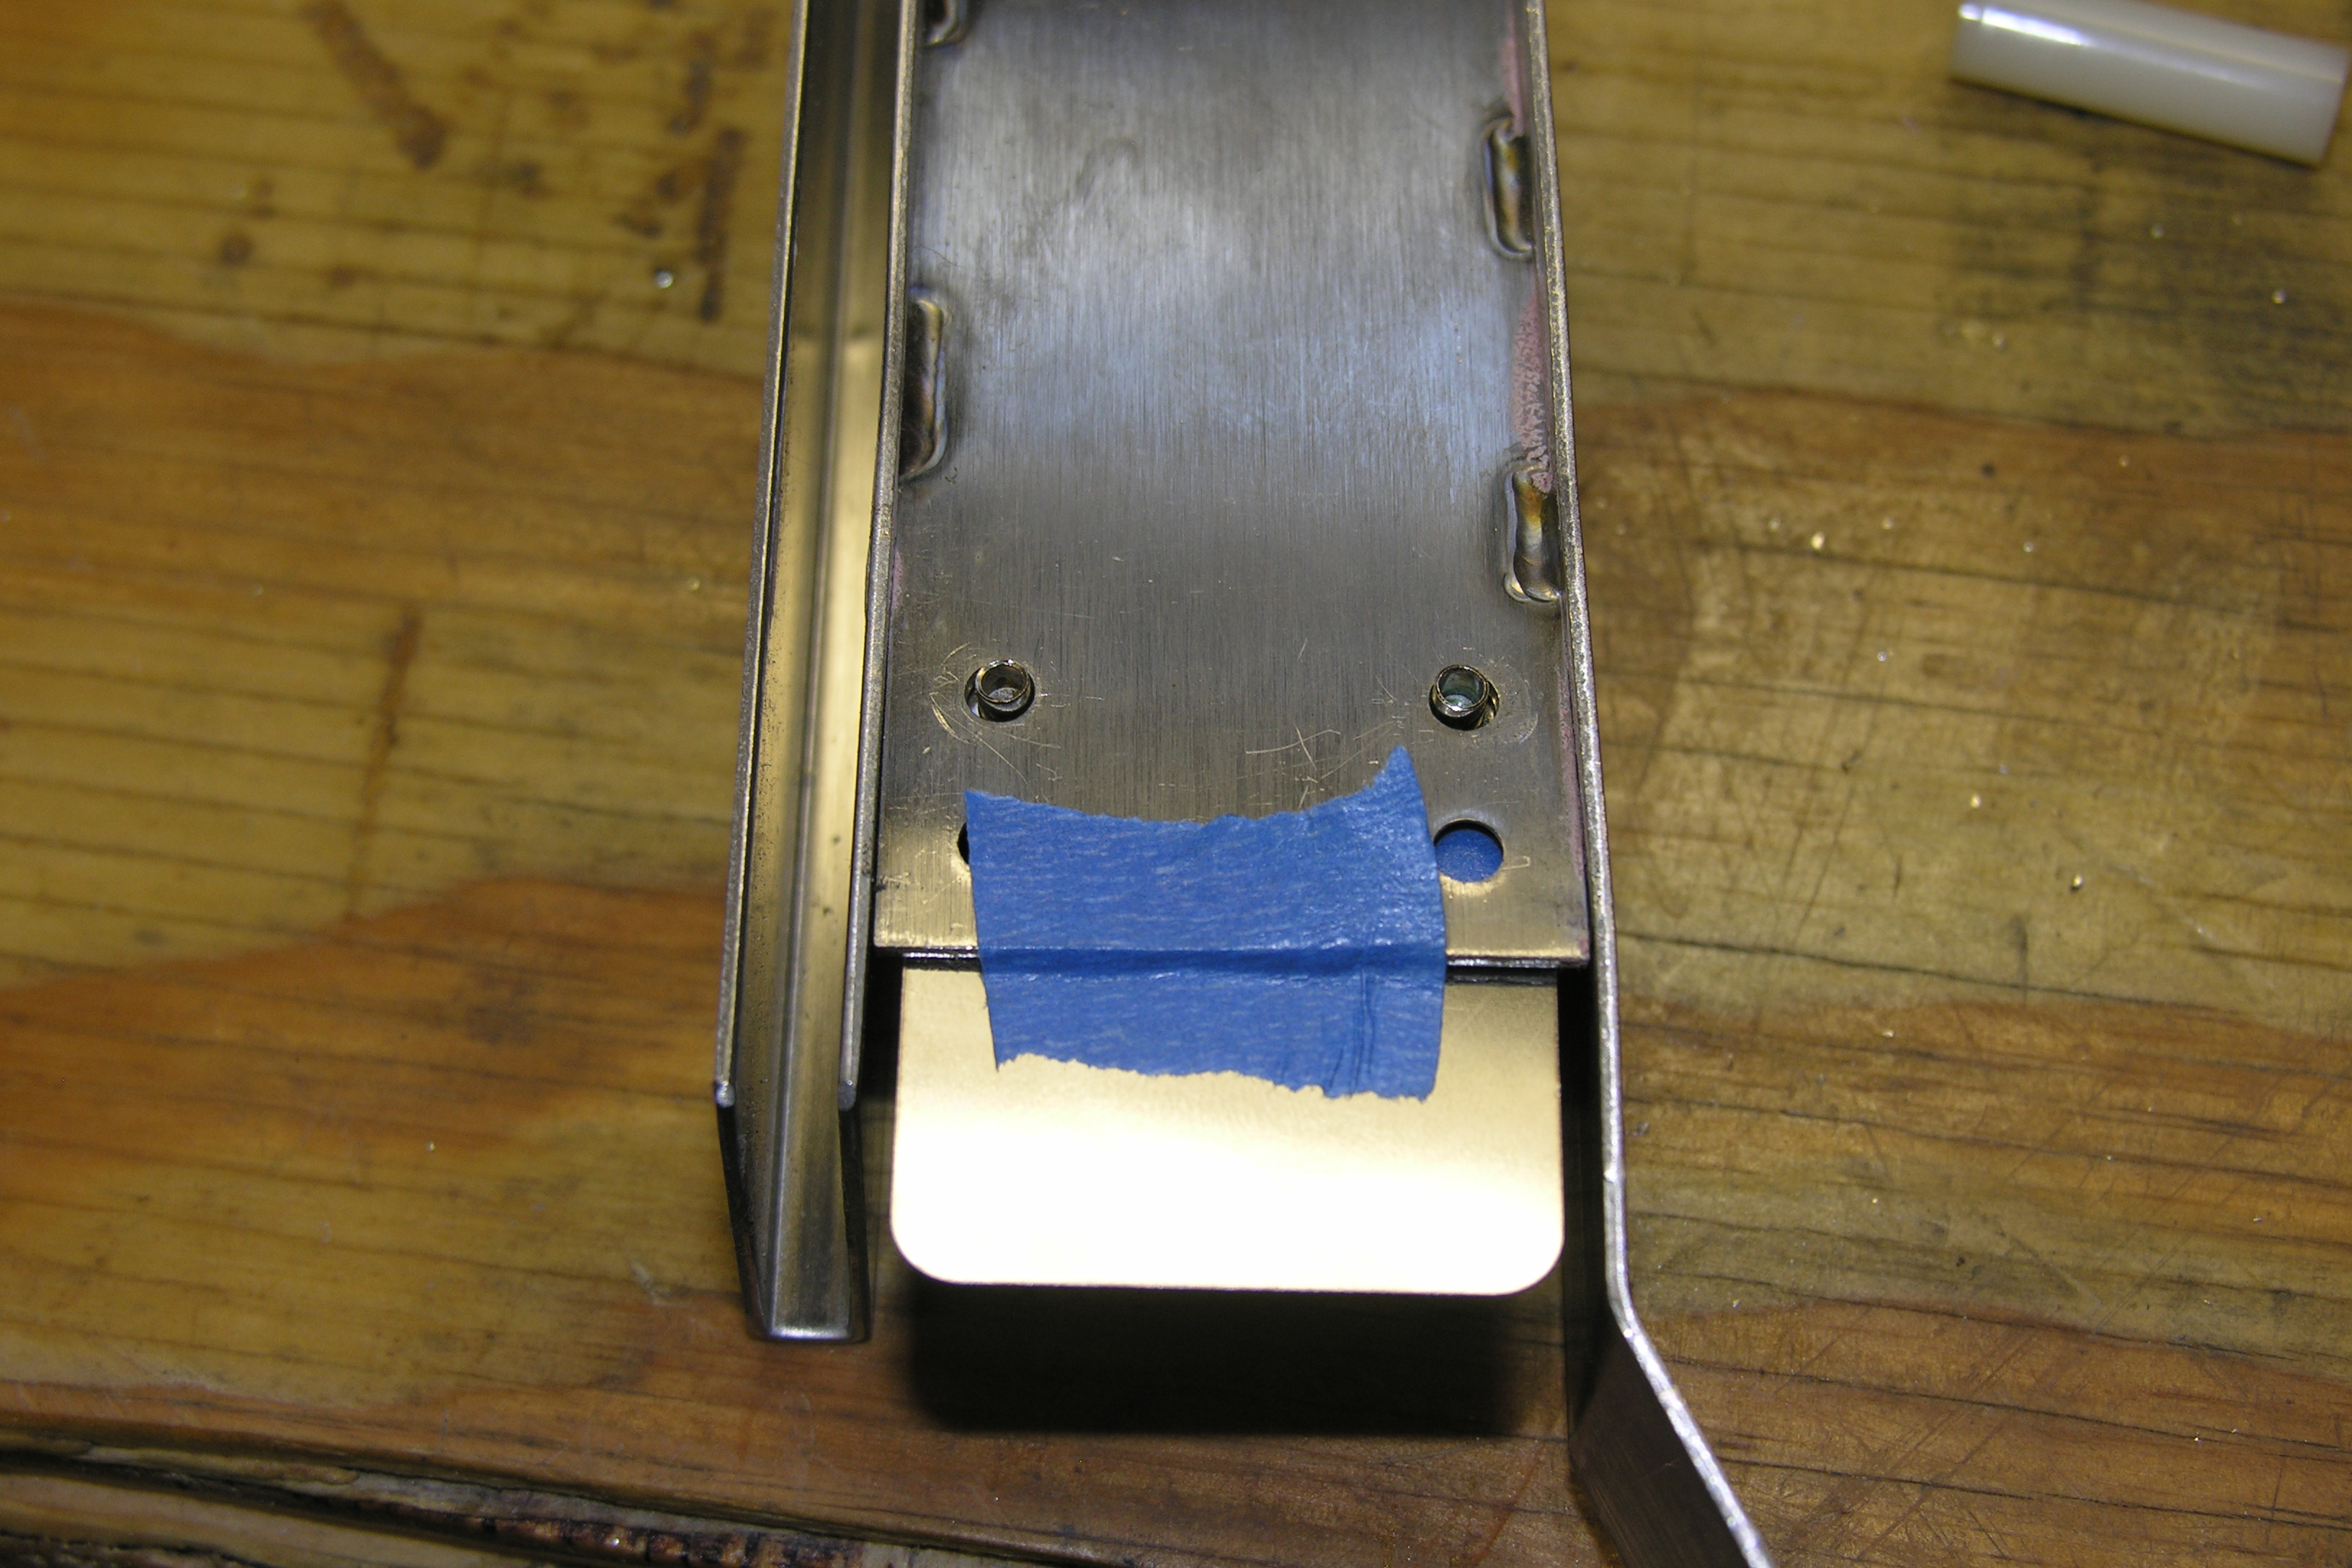 |
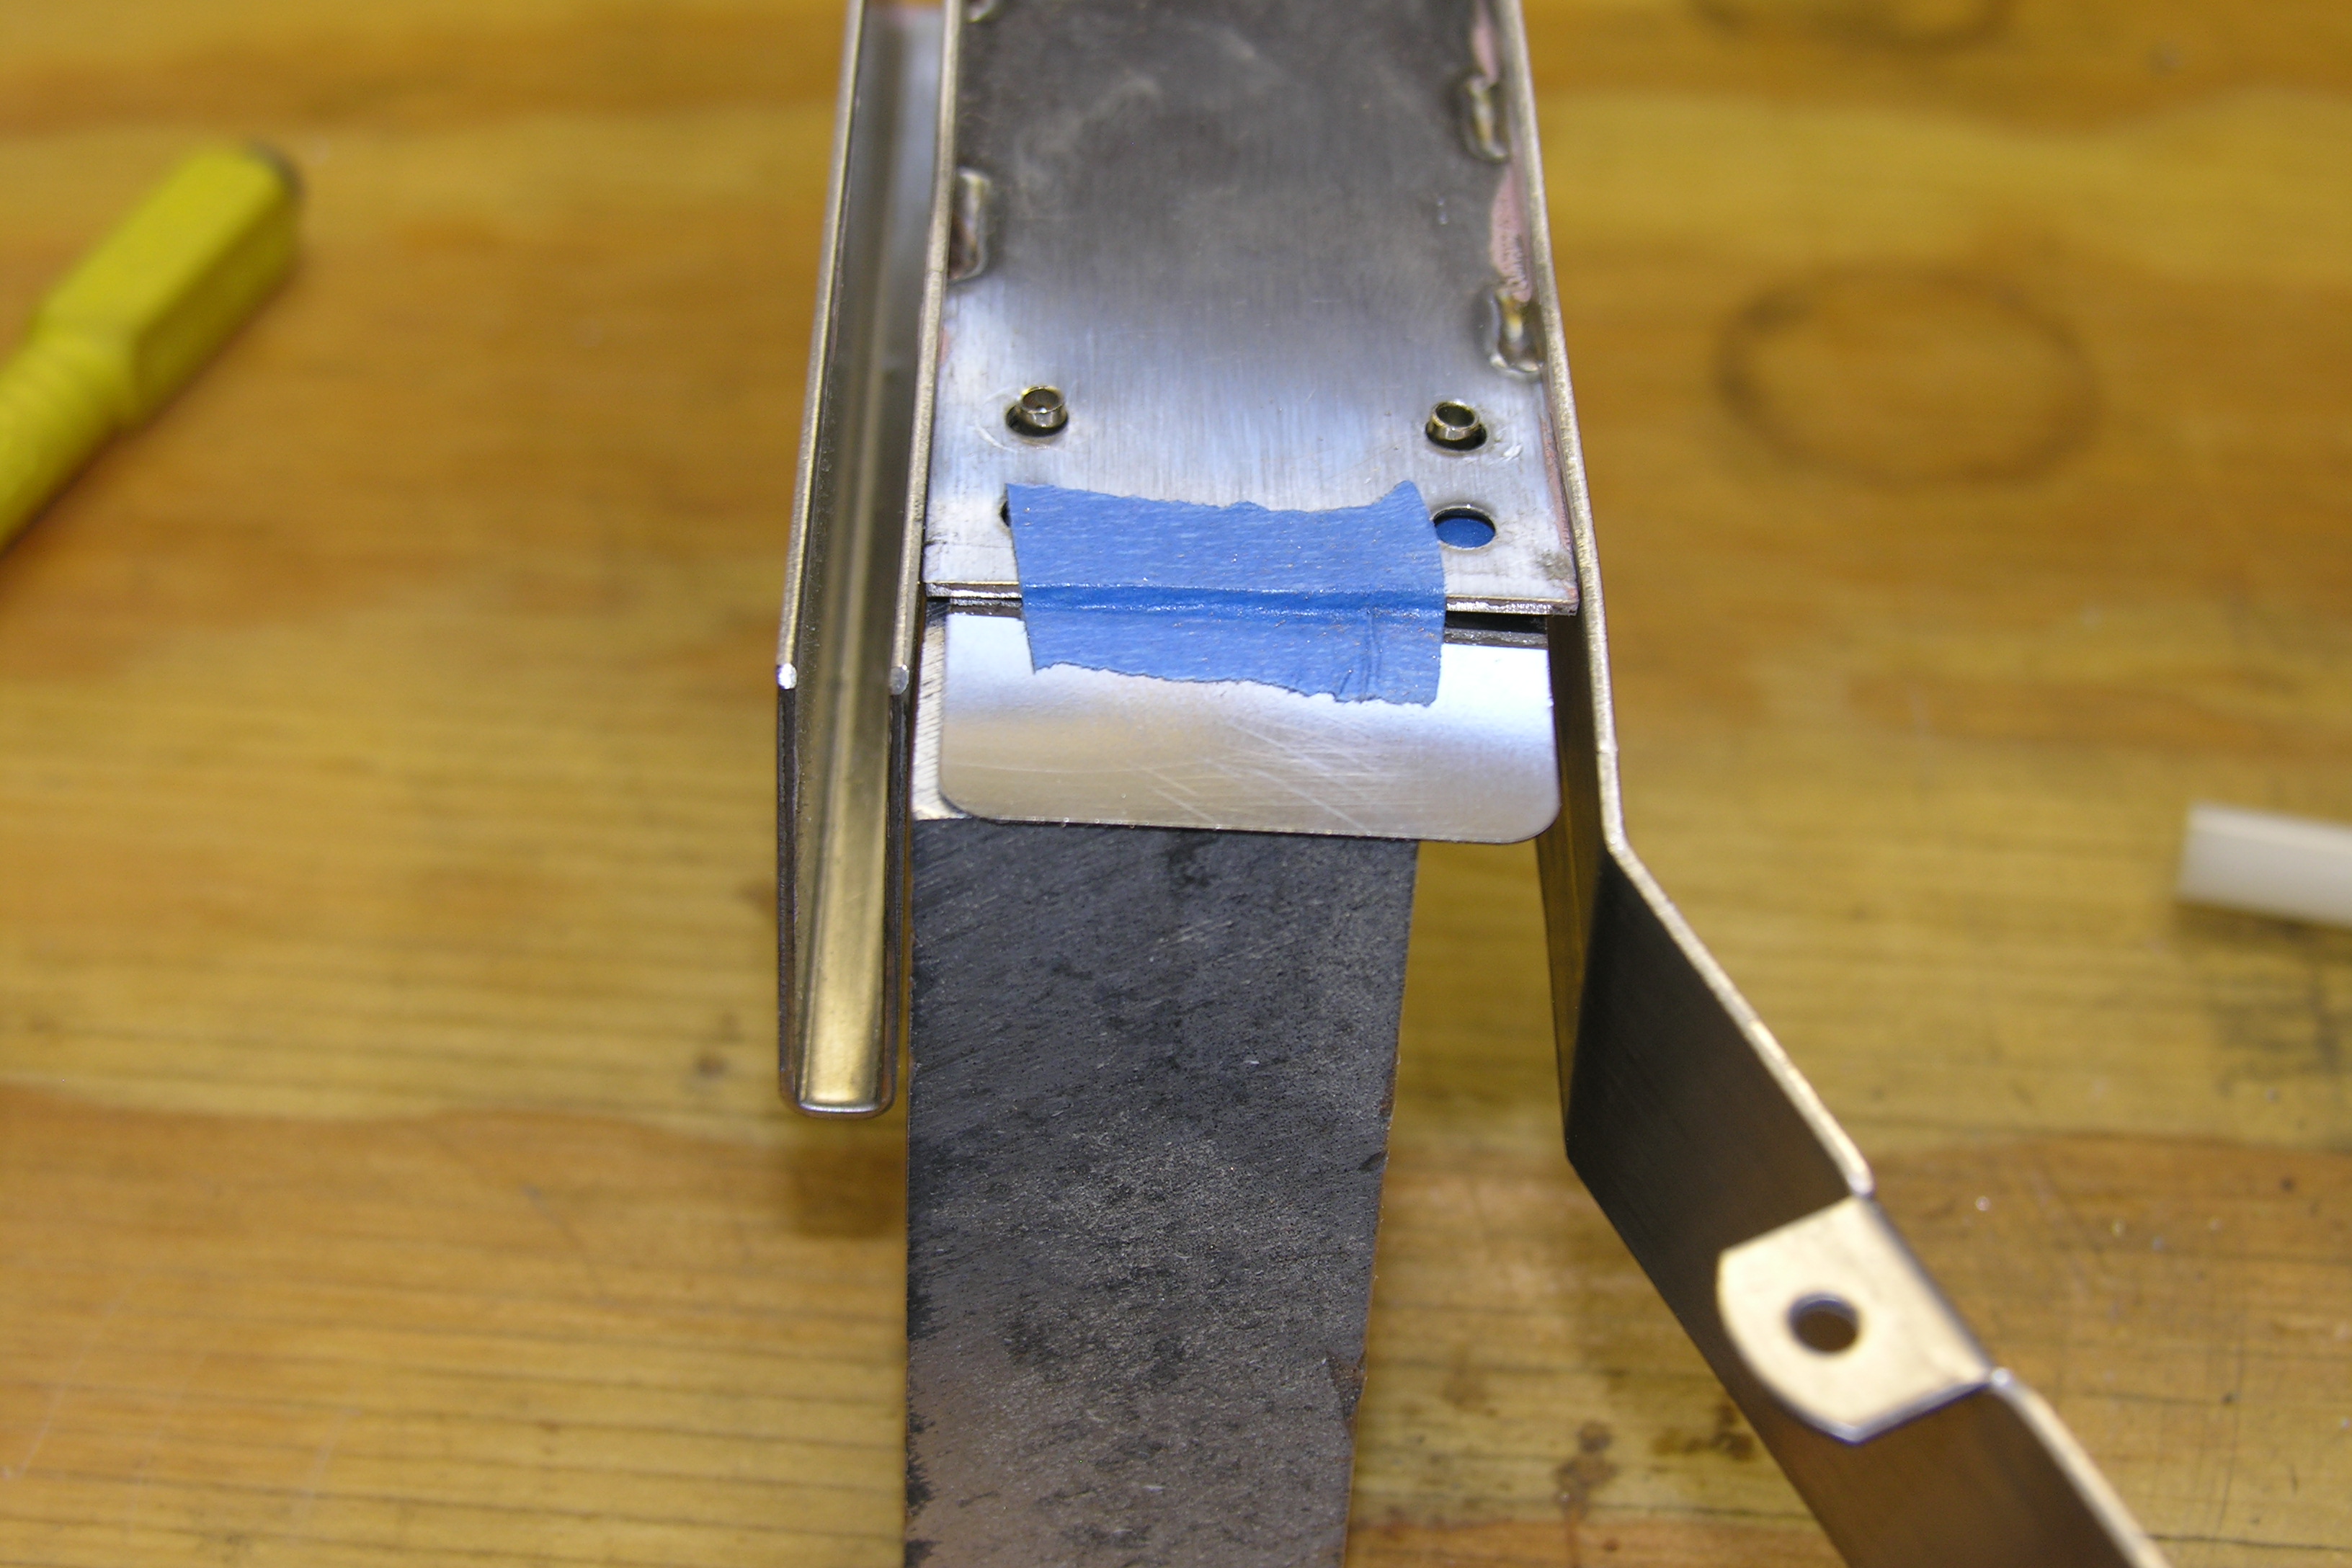 Find
a solid block of wood, plastic or other material to support the rivet
head. Find
a solid block of wood, plastic or other material to support the rivet
head. |
Put the clip, cone up, onto the head. It won't sit level, but don't
worry about that right now.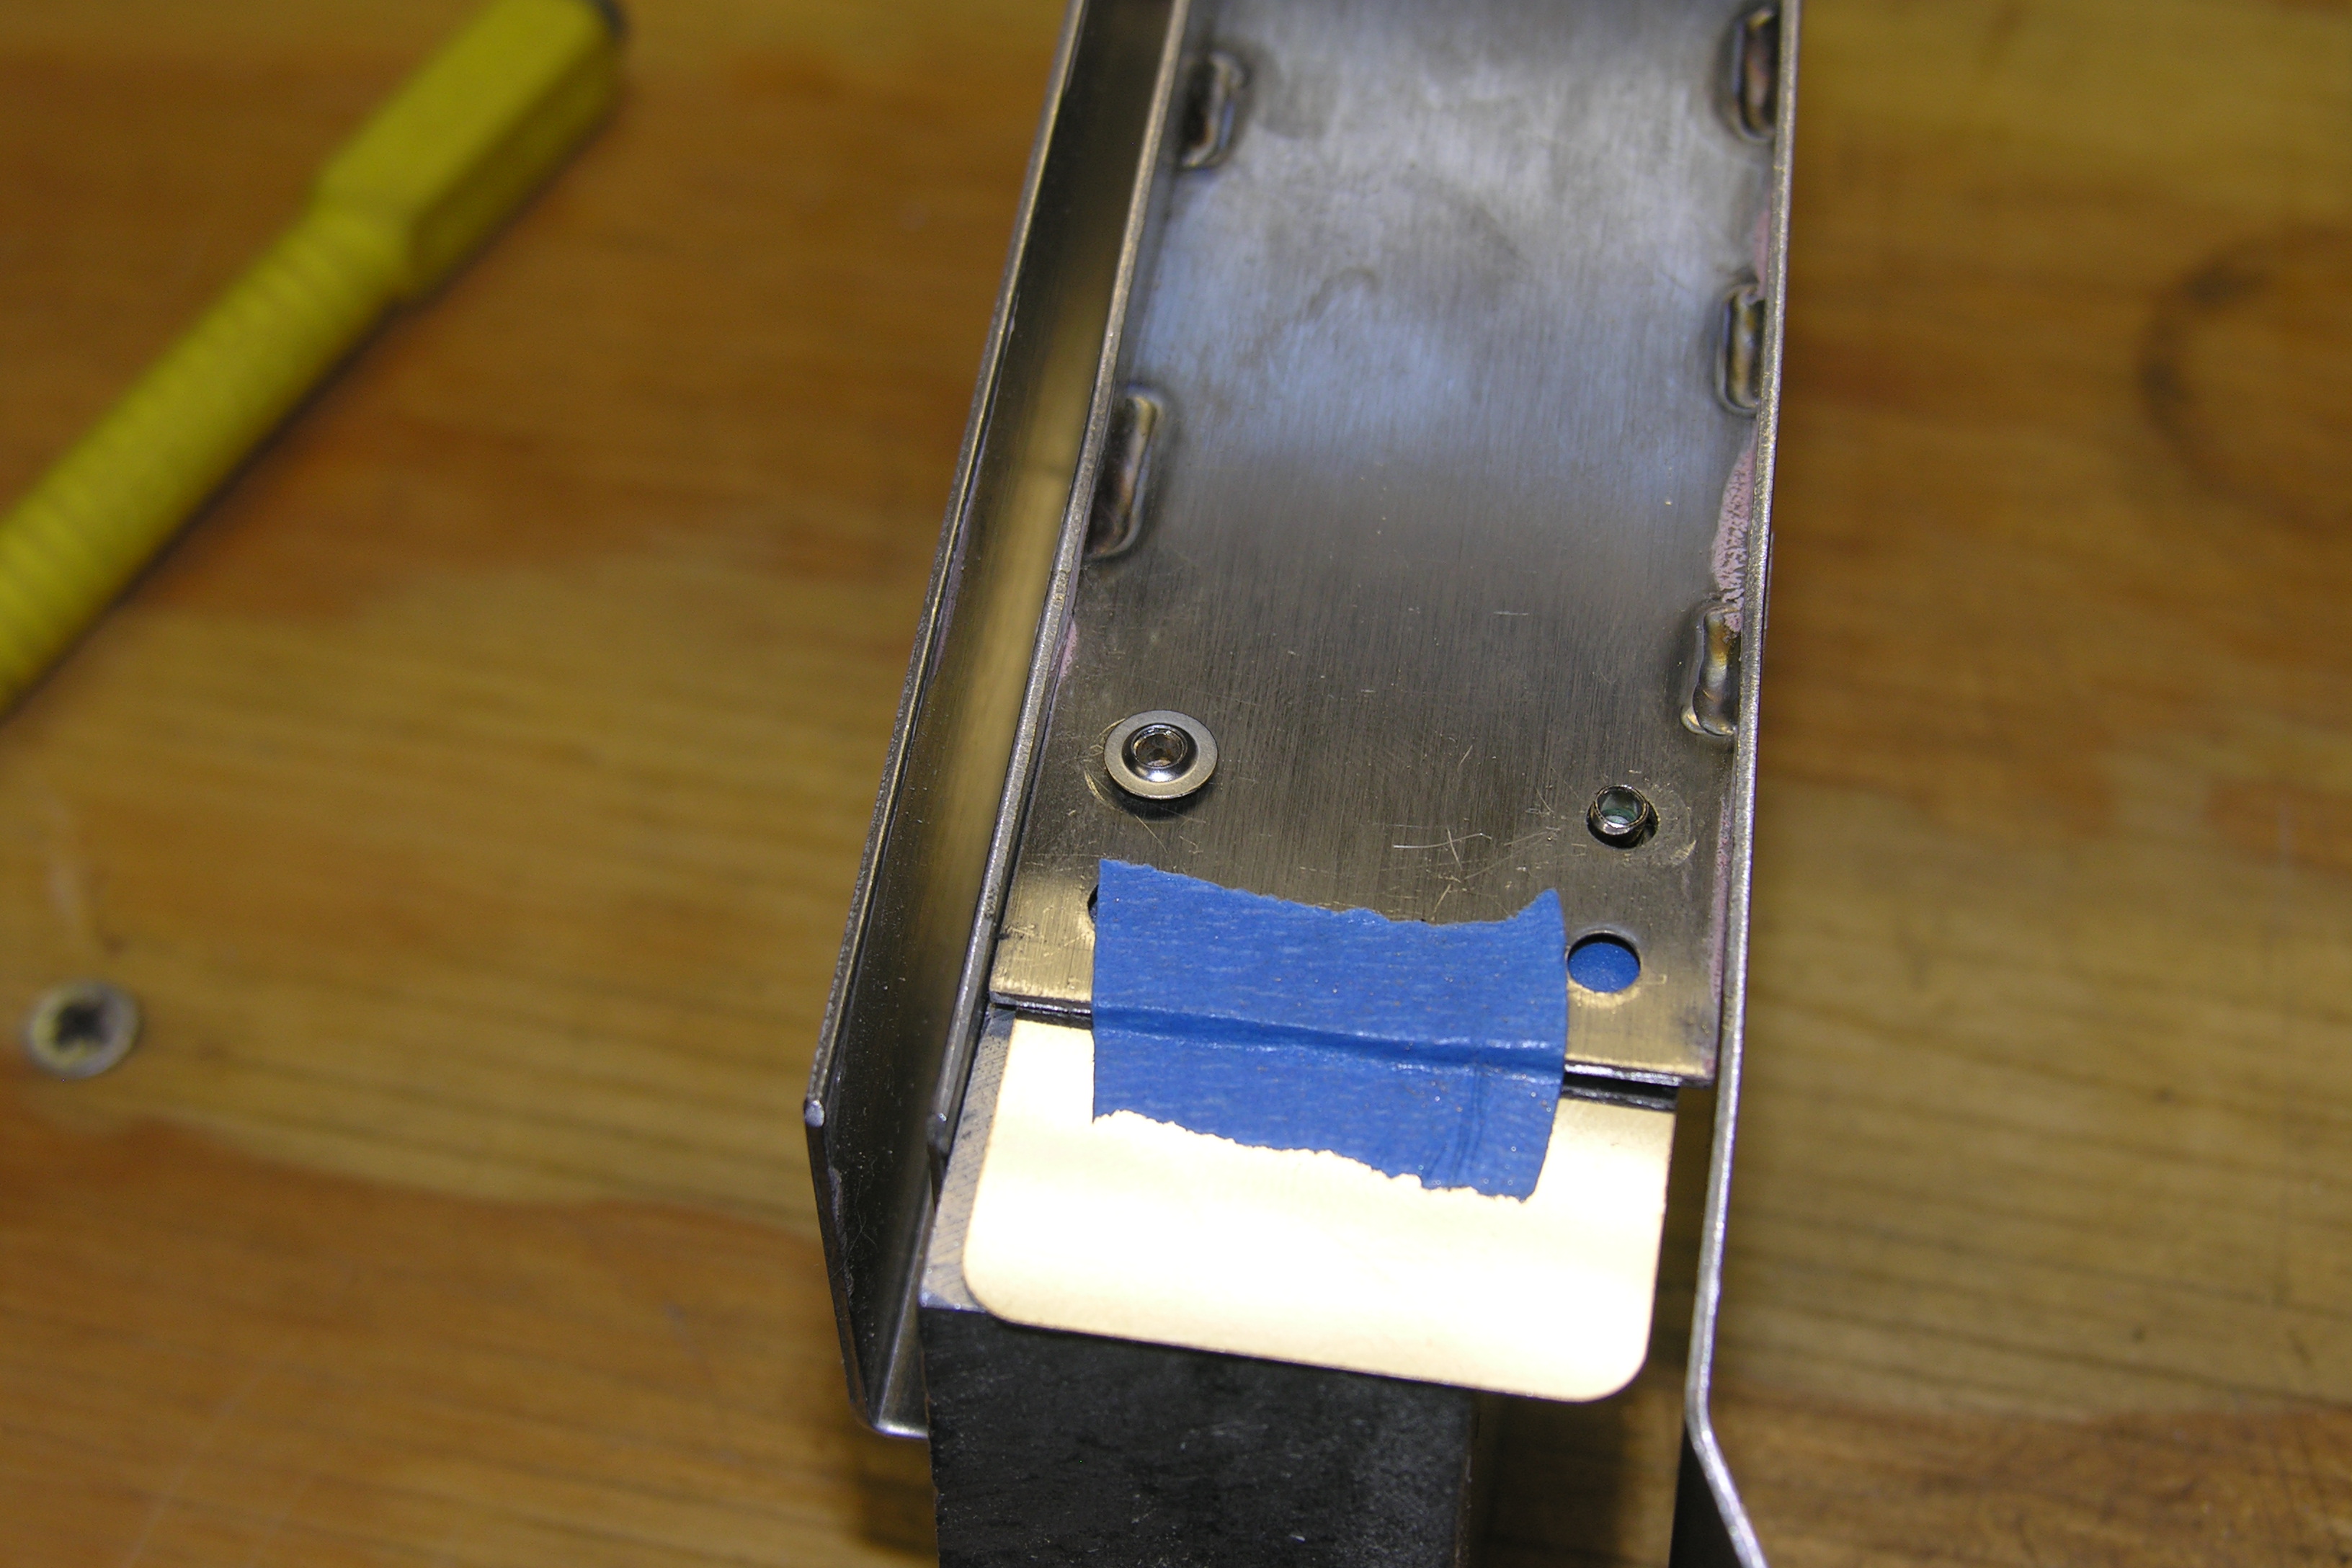 |
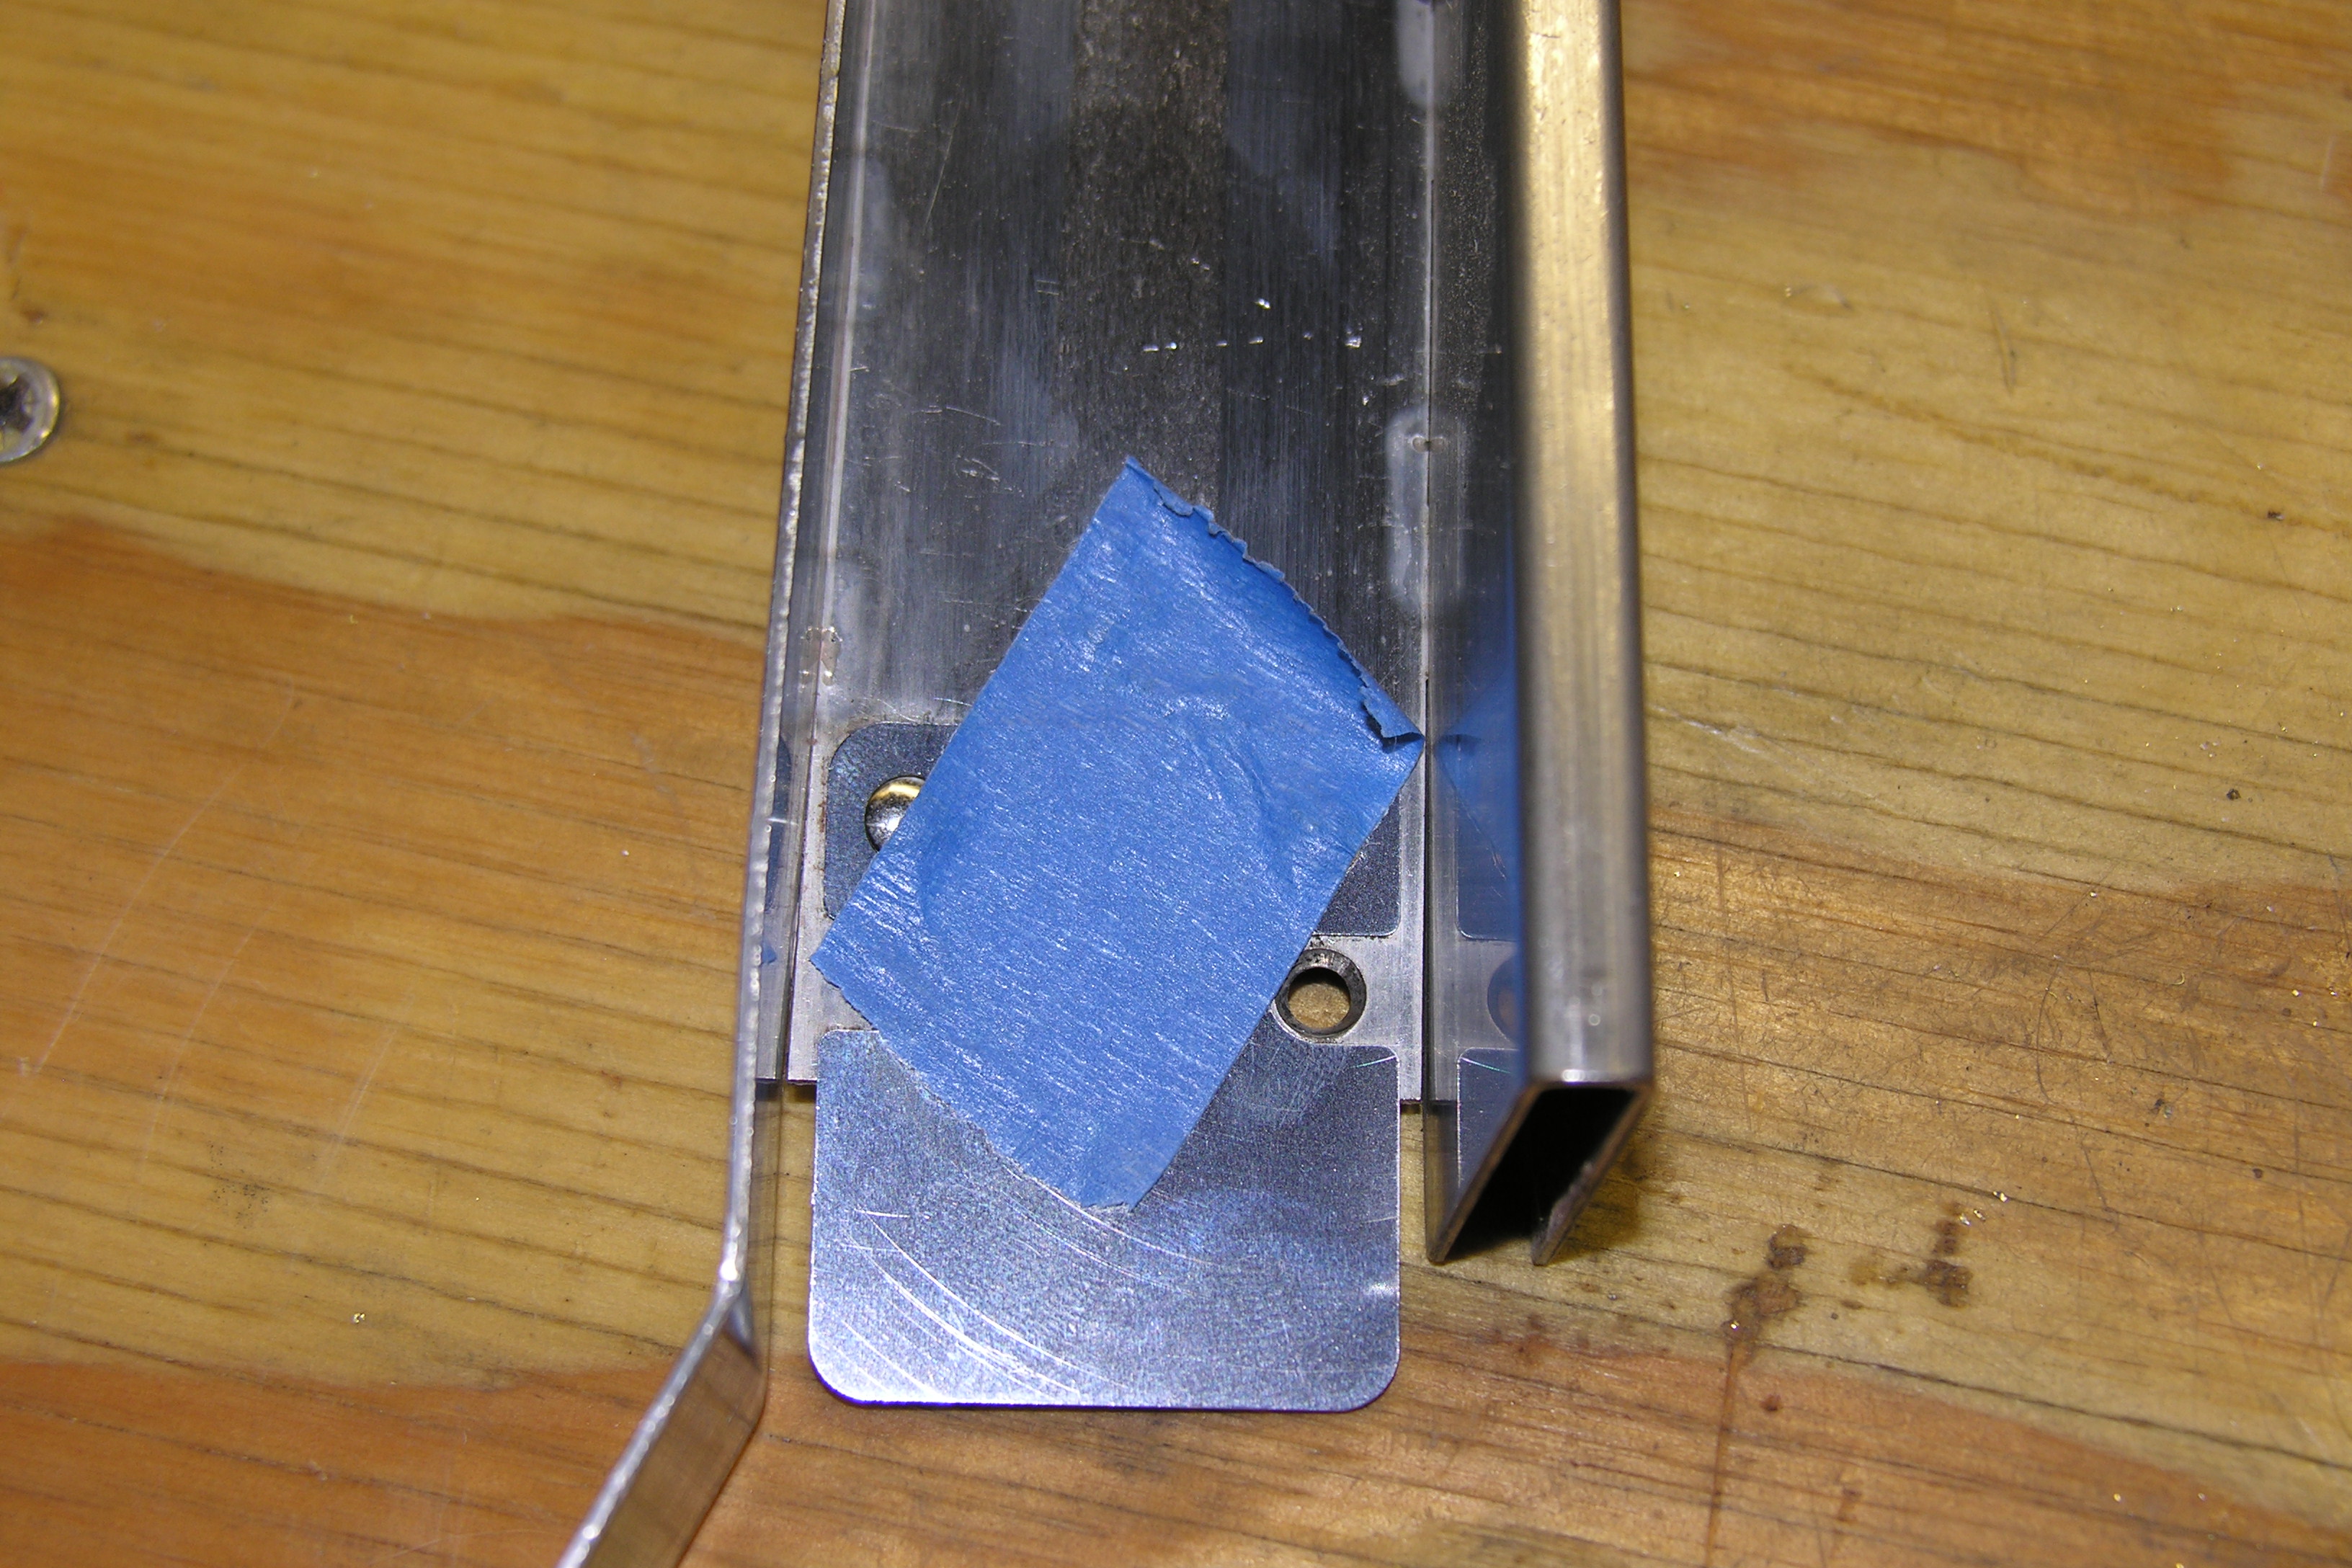
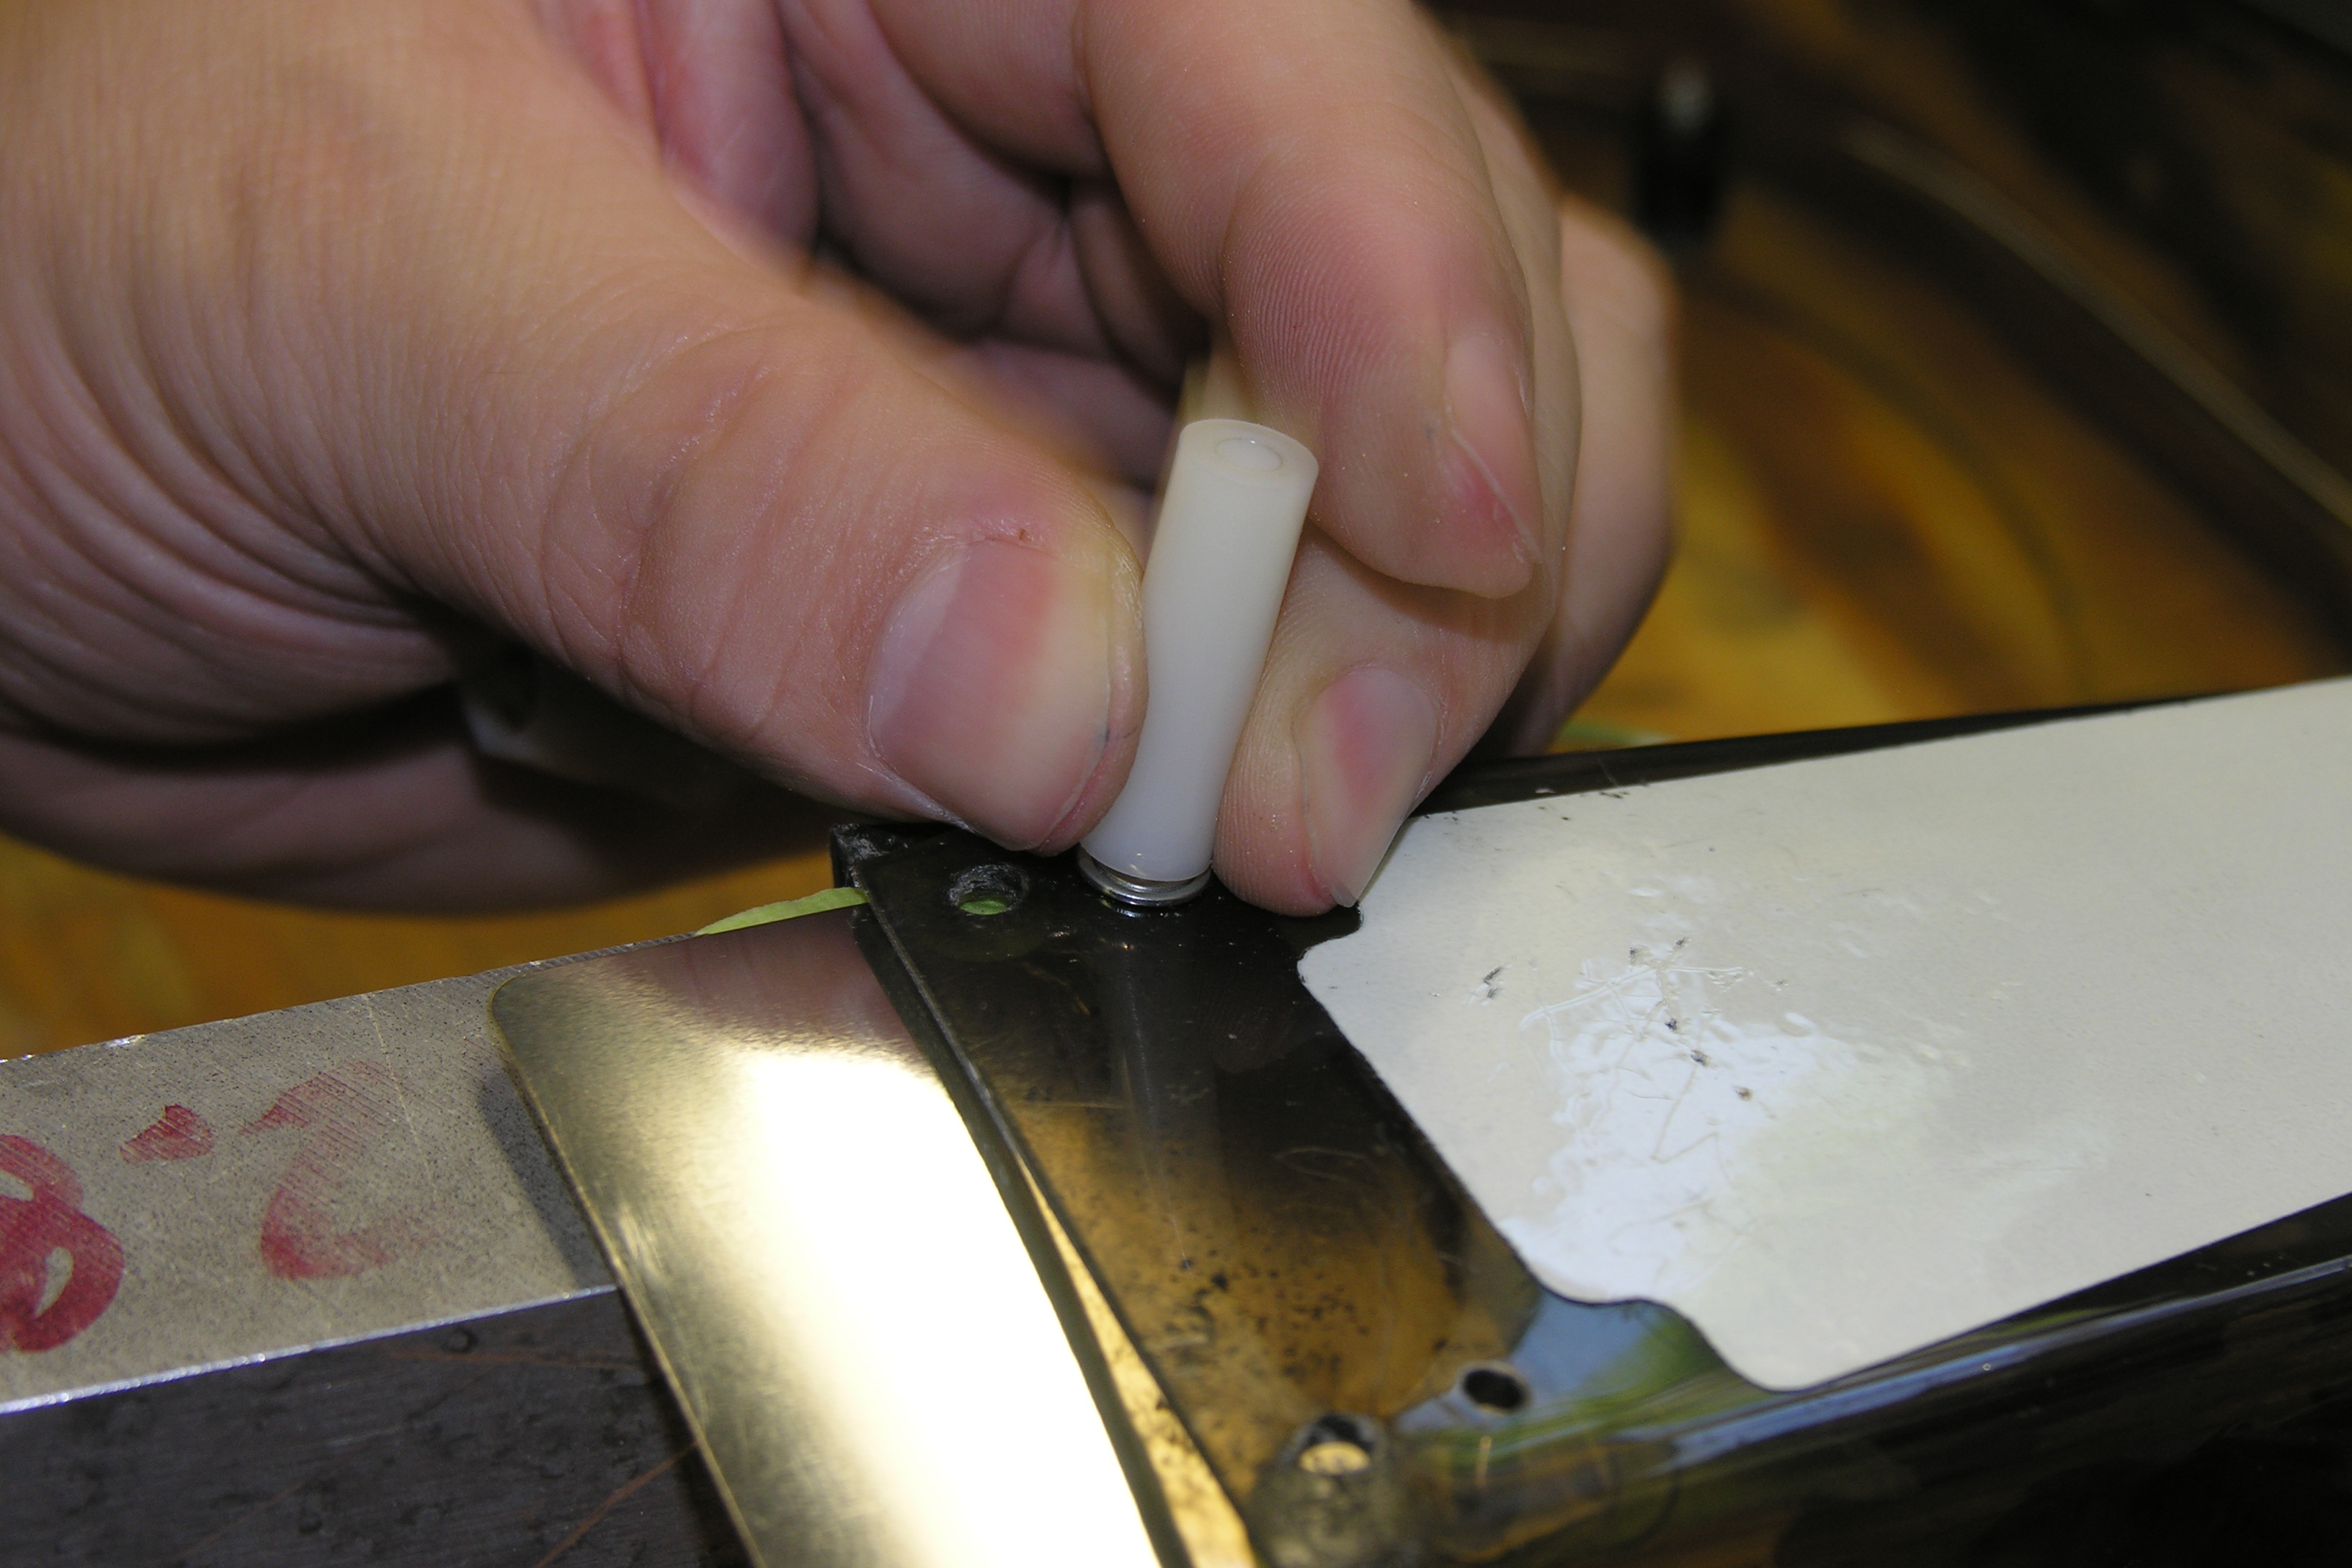
 Get
your hammer to hand. I use a small nylon headed hammer, smaller is
better. Put the clip tool on the rivet clip, so that the cone is in the
hole. The tool should swivel a bit when everything is aligned. It is
important that the tool, rivet and clip are all properly aligned. Get
your hammer to hand. I use a small nylon headed hammer, smaller is
better. Put the clip tool on the rivet clip, so that the cone is in the
hole. The tool should swivel a bit when everything is aligned. It is
important that the tool, rivet and clip are all properly aligned. |
A few gentle taps with the hammer will seat the clip. This does not
take a lot of force. WARNING: If the tool is not aligned, the rivet will stretch the hole and
the clip will not grip. If the clip is loose, throw it away and get
another one.
WARNING: If the tool is not aligned, the rivet will stretch the hole and
the clip will not grip. If the clip is loose, throw it away and get
another one. |
 The
first one is done. The
first one is done. |
Repeat for the other side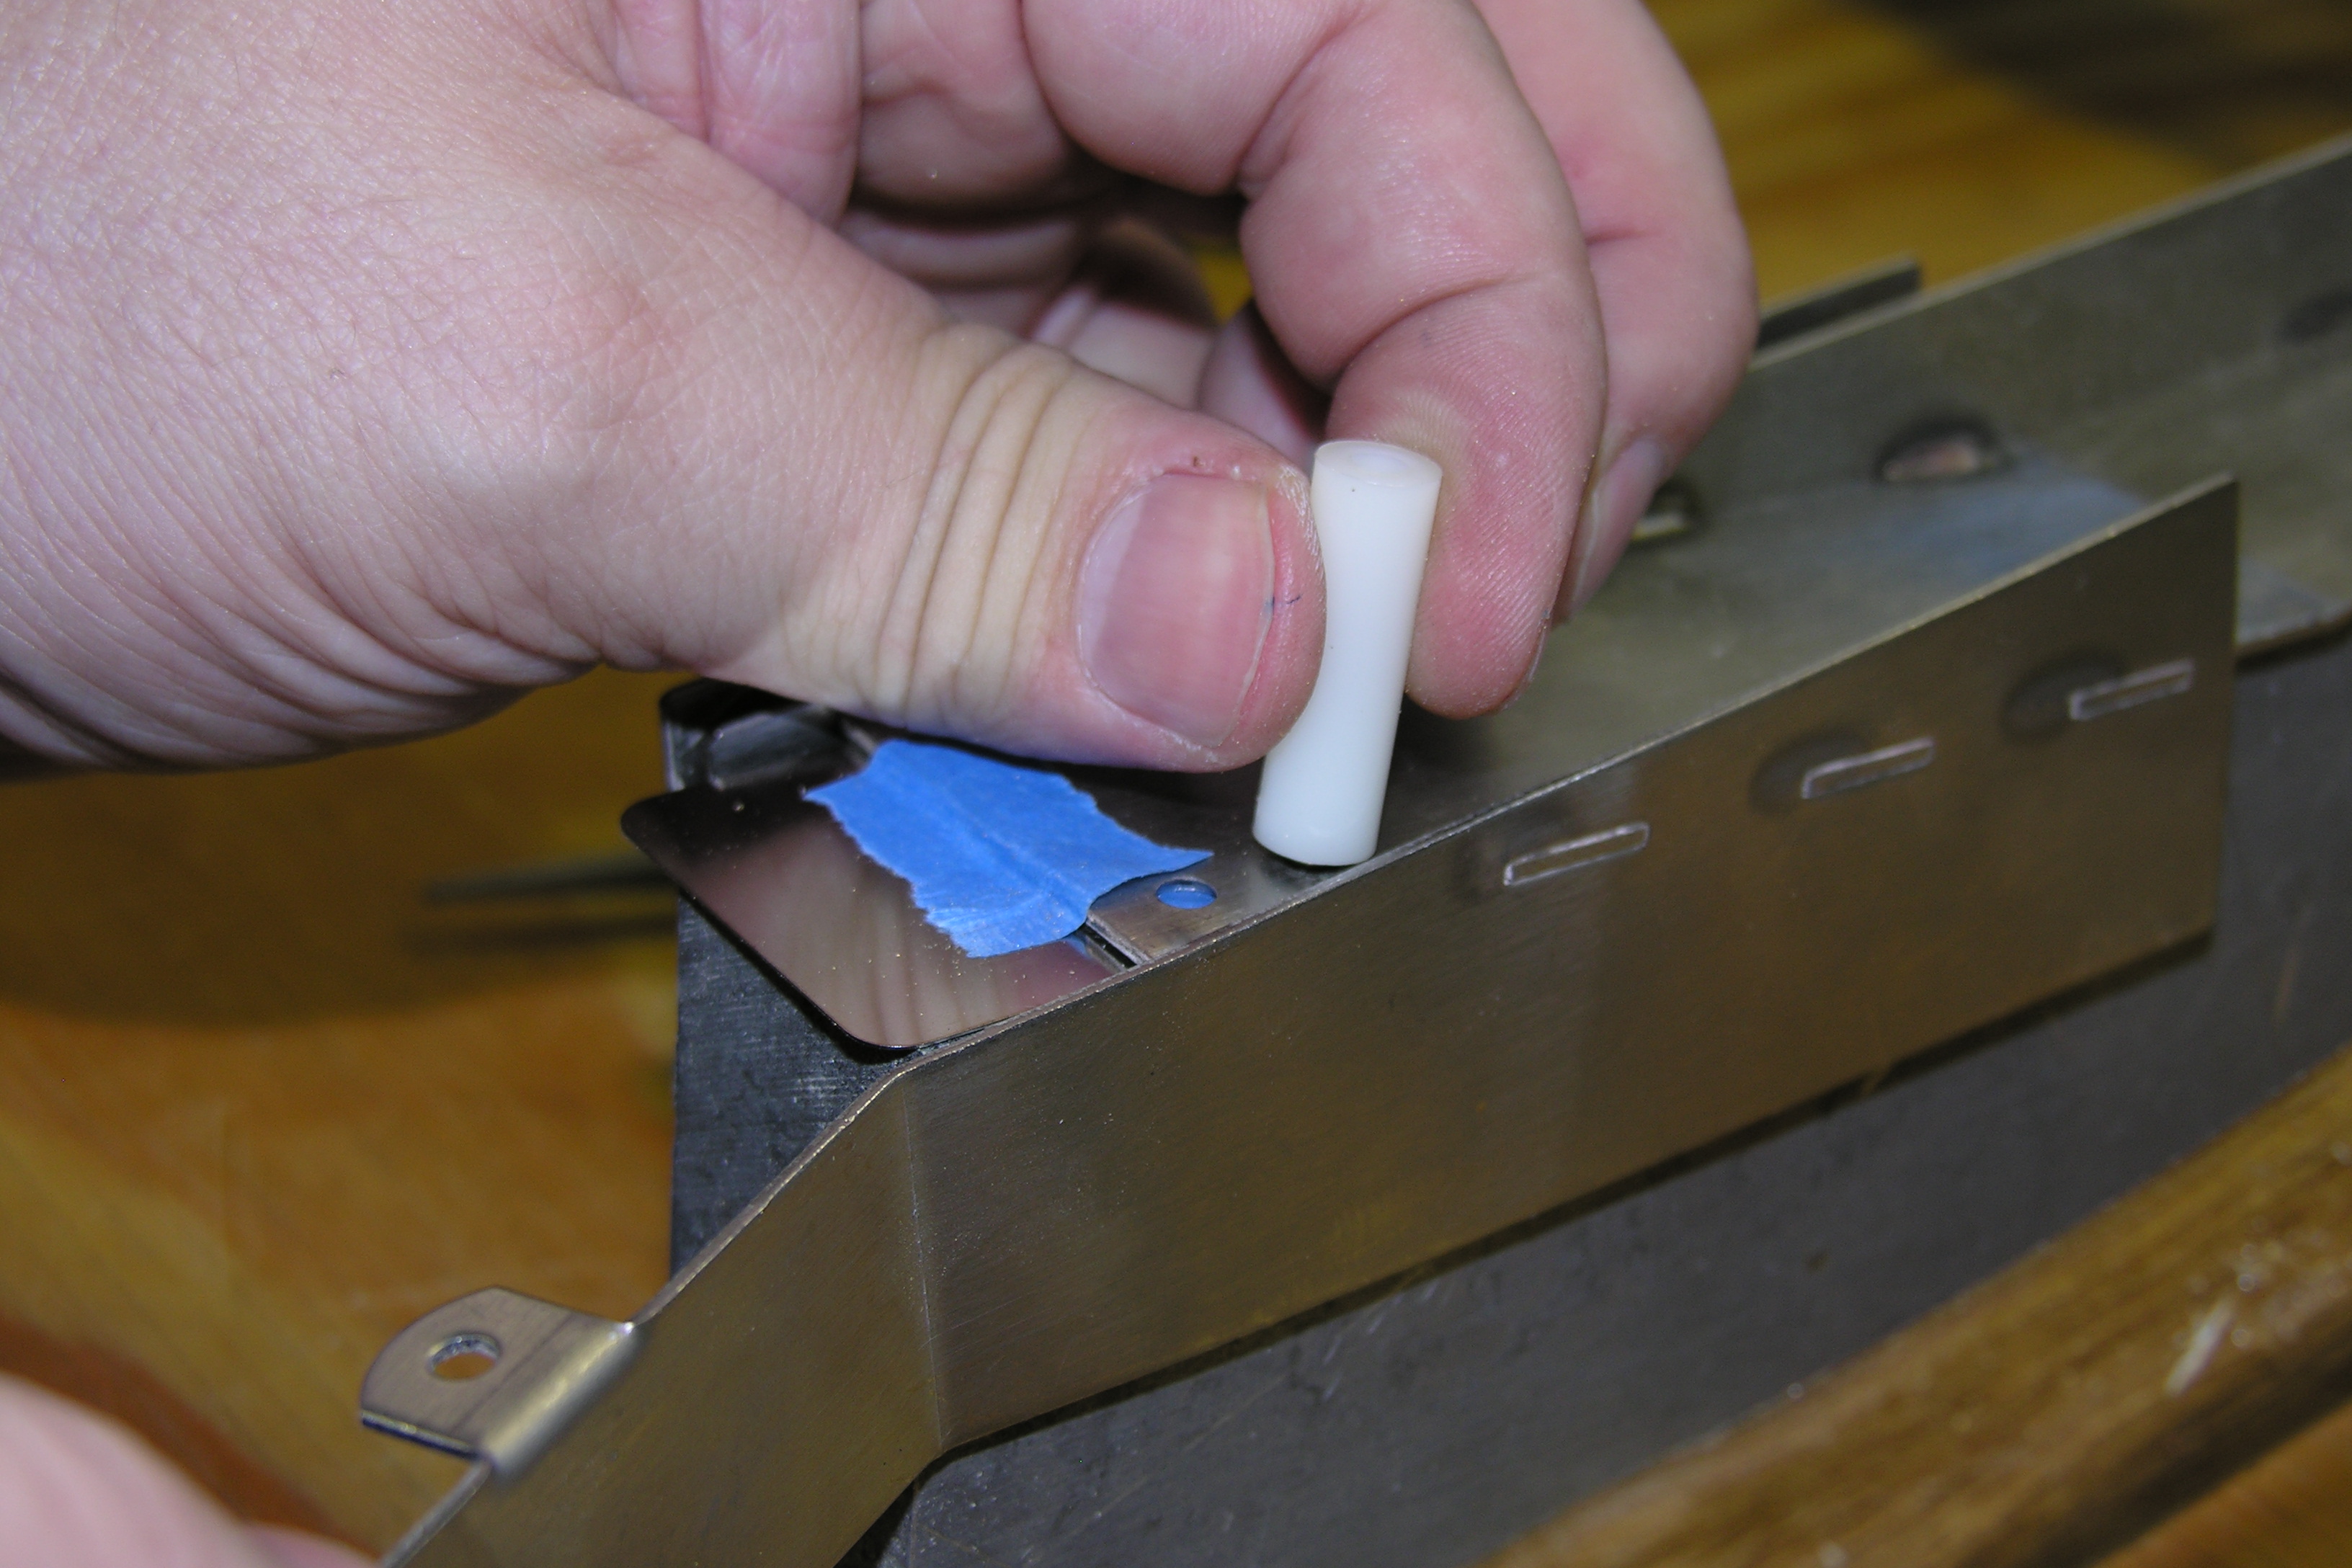 |
 Gentle
hammer taps... Gentle
hammer taps... |
And here's the finished flap assembly.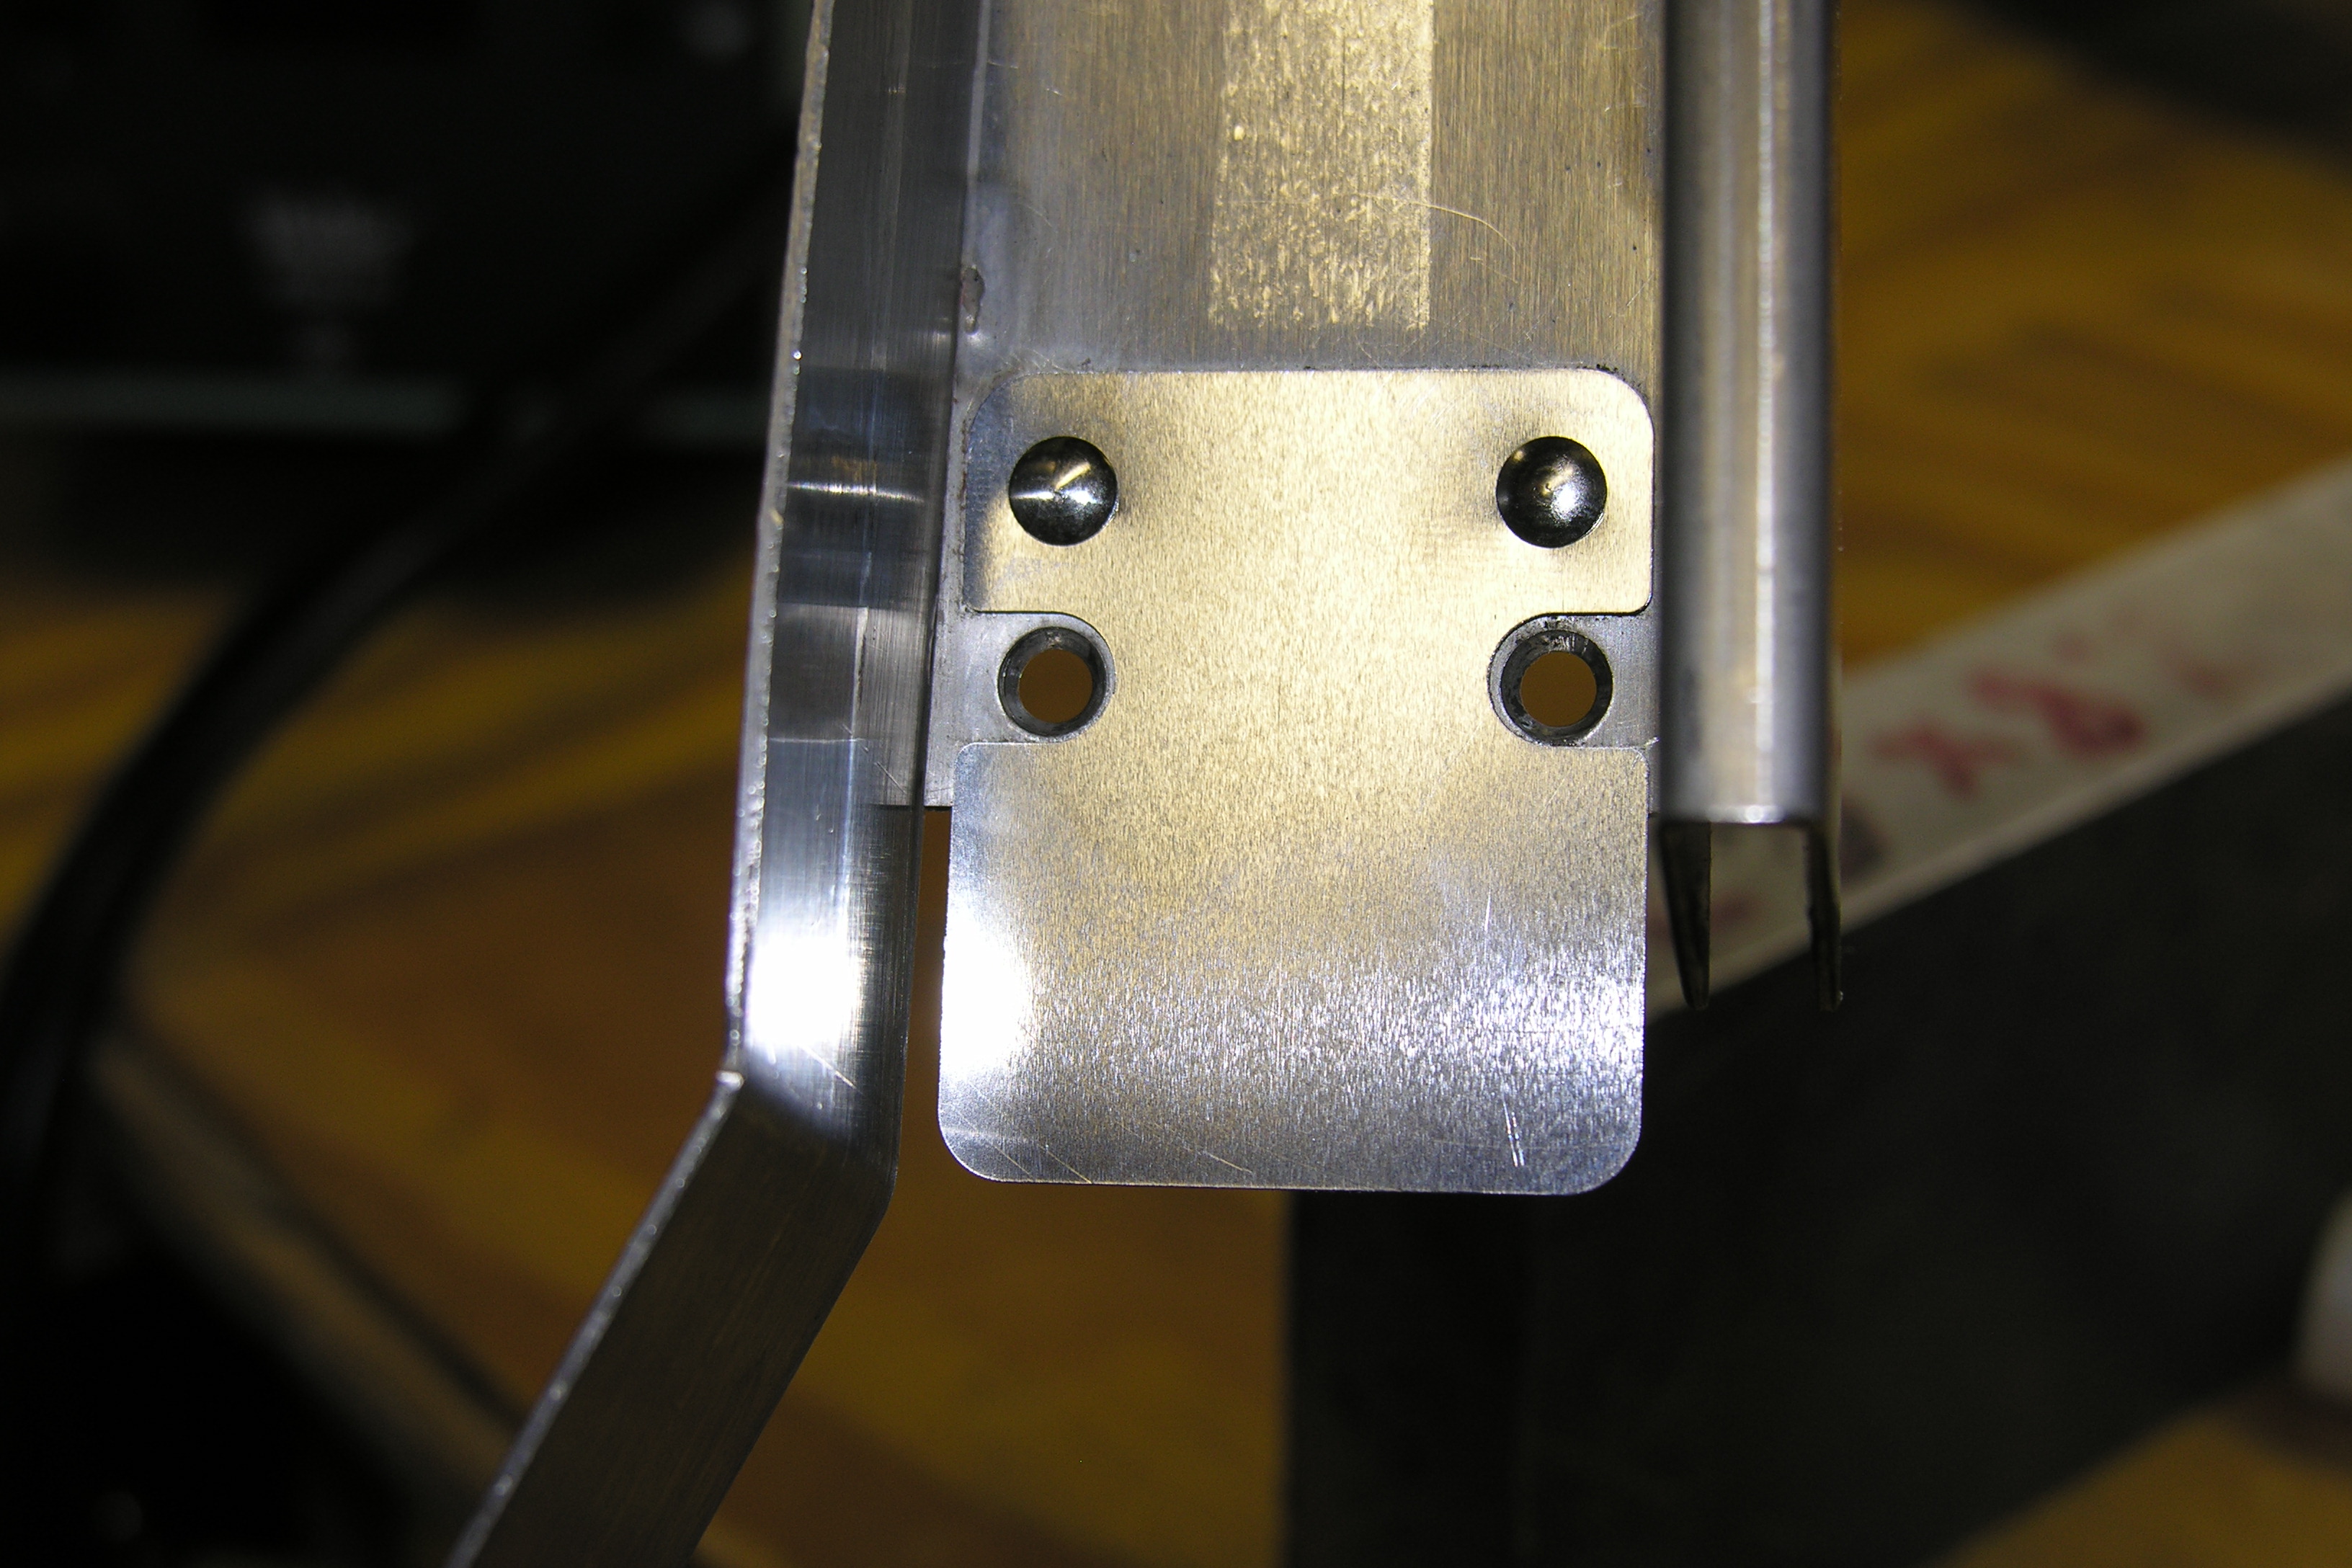 |
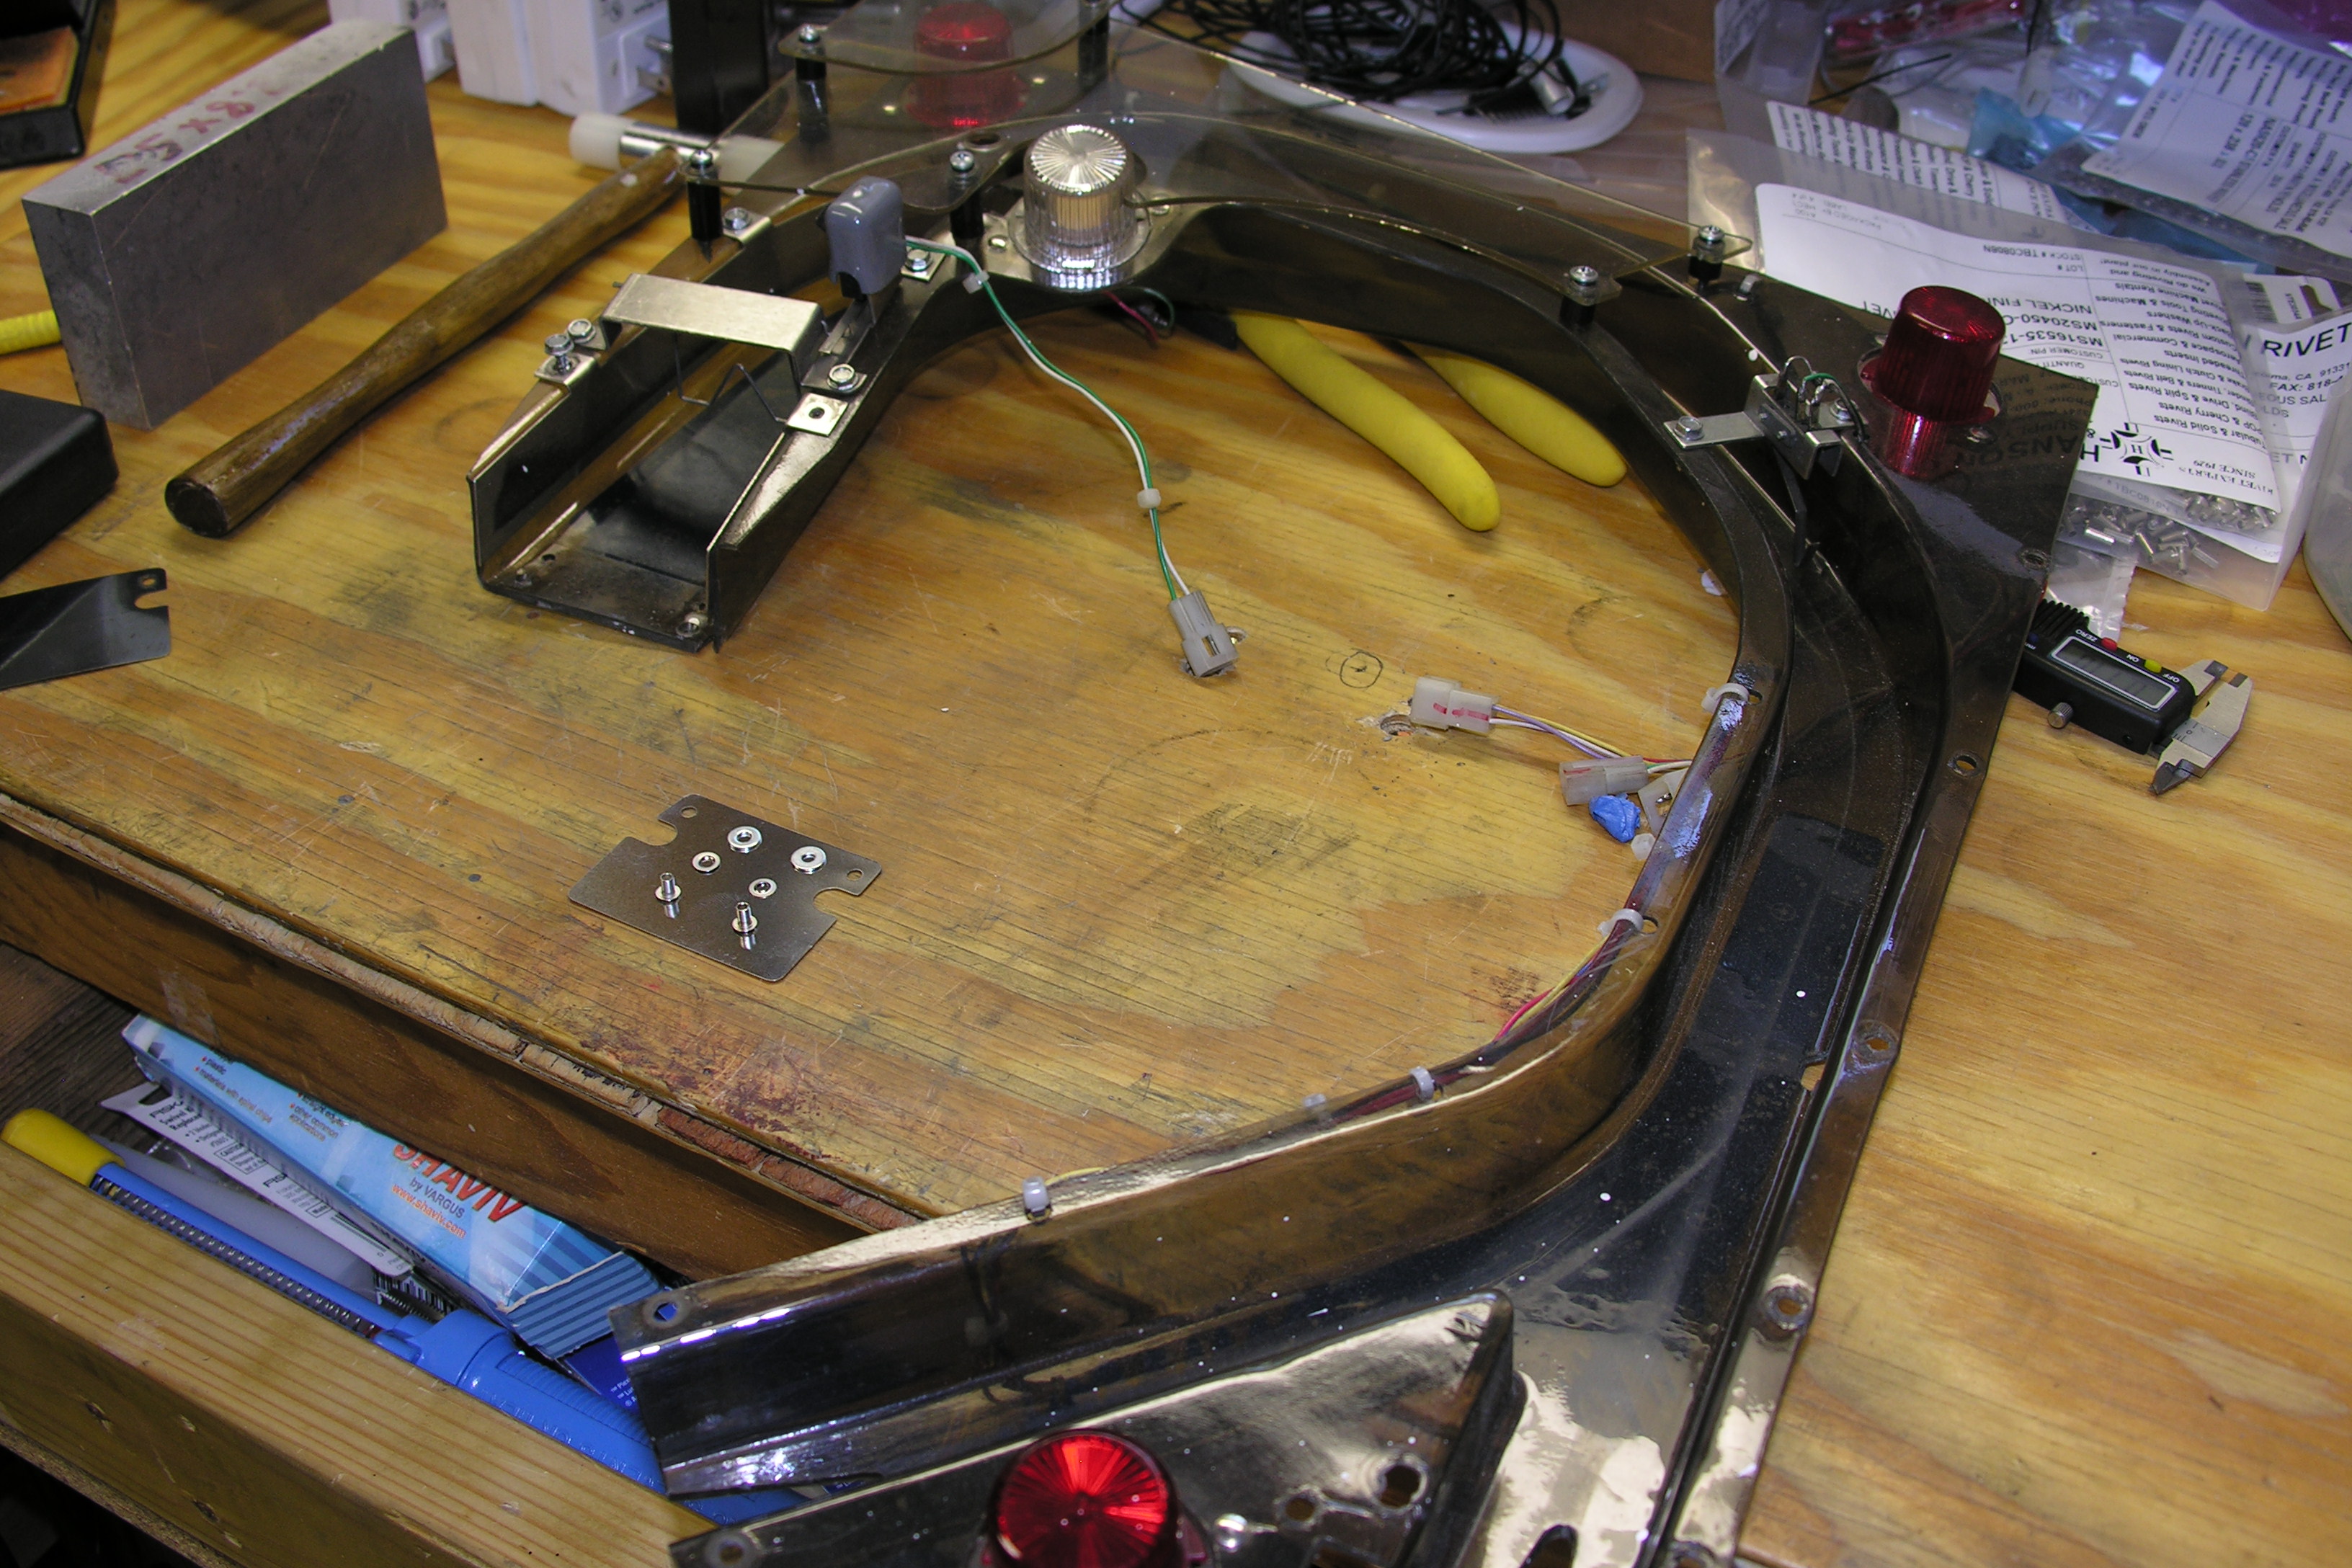 Here's
a Twilight Zone main ramp. Plastic attachment, this time. Here's
a Twilight Zone main ramp. Plastic attachment, this time. |
The kit includes the two backup washers.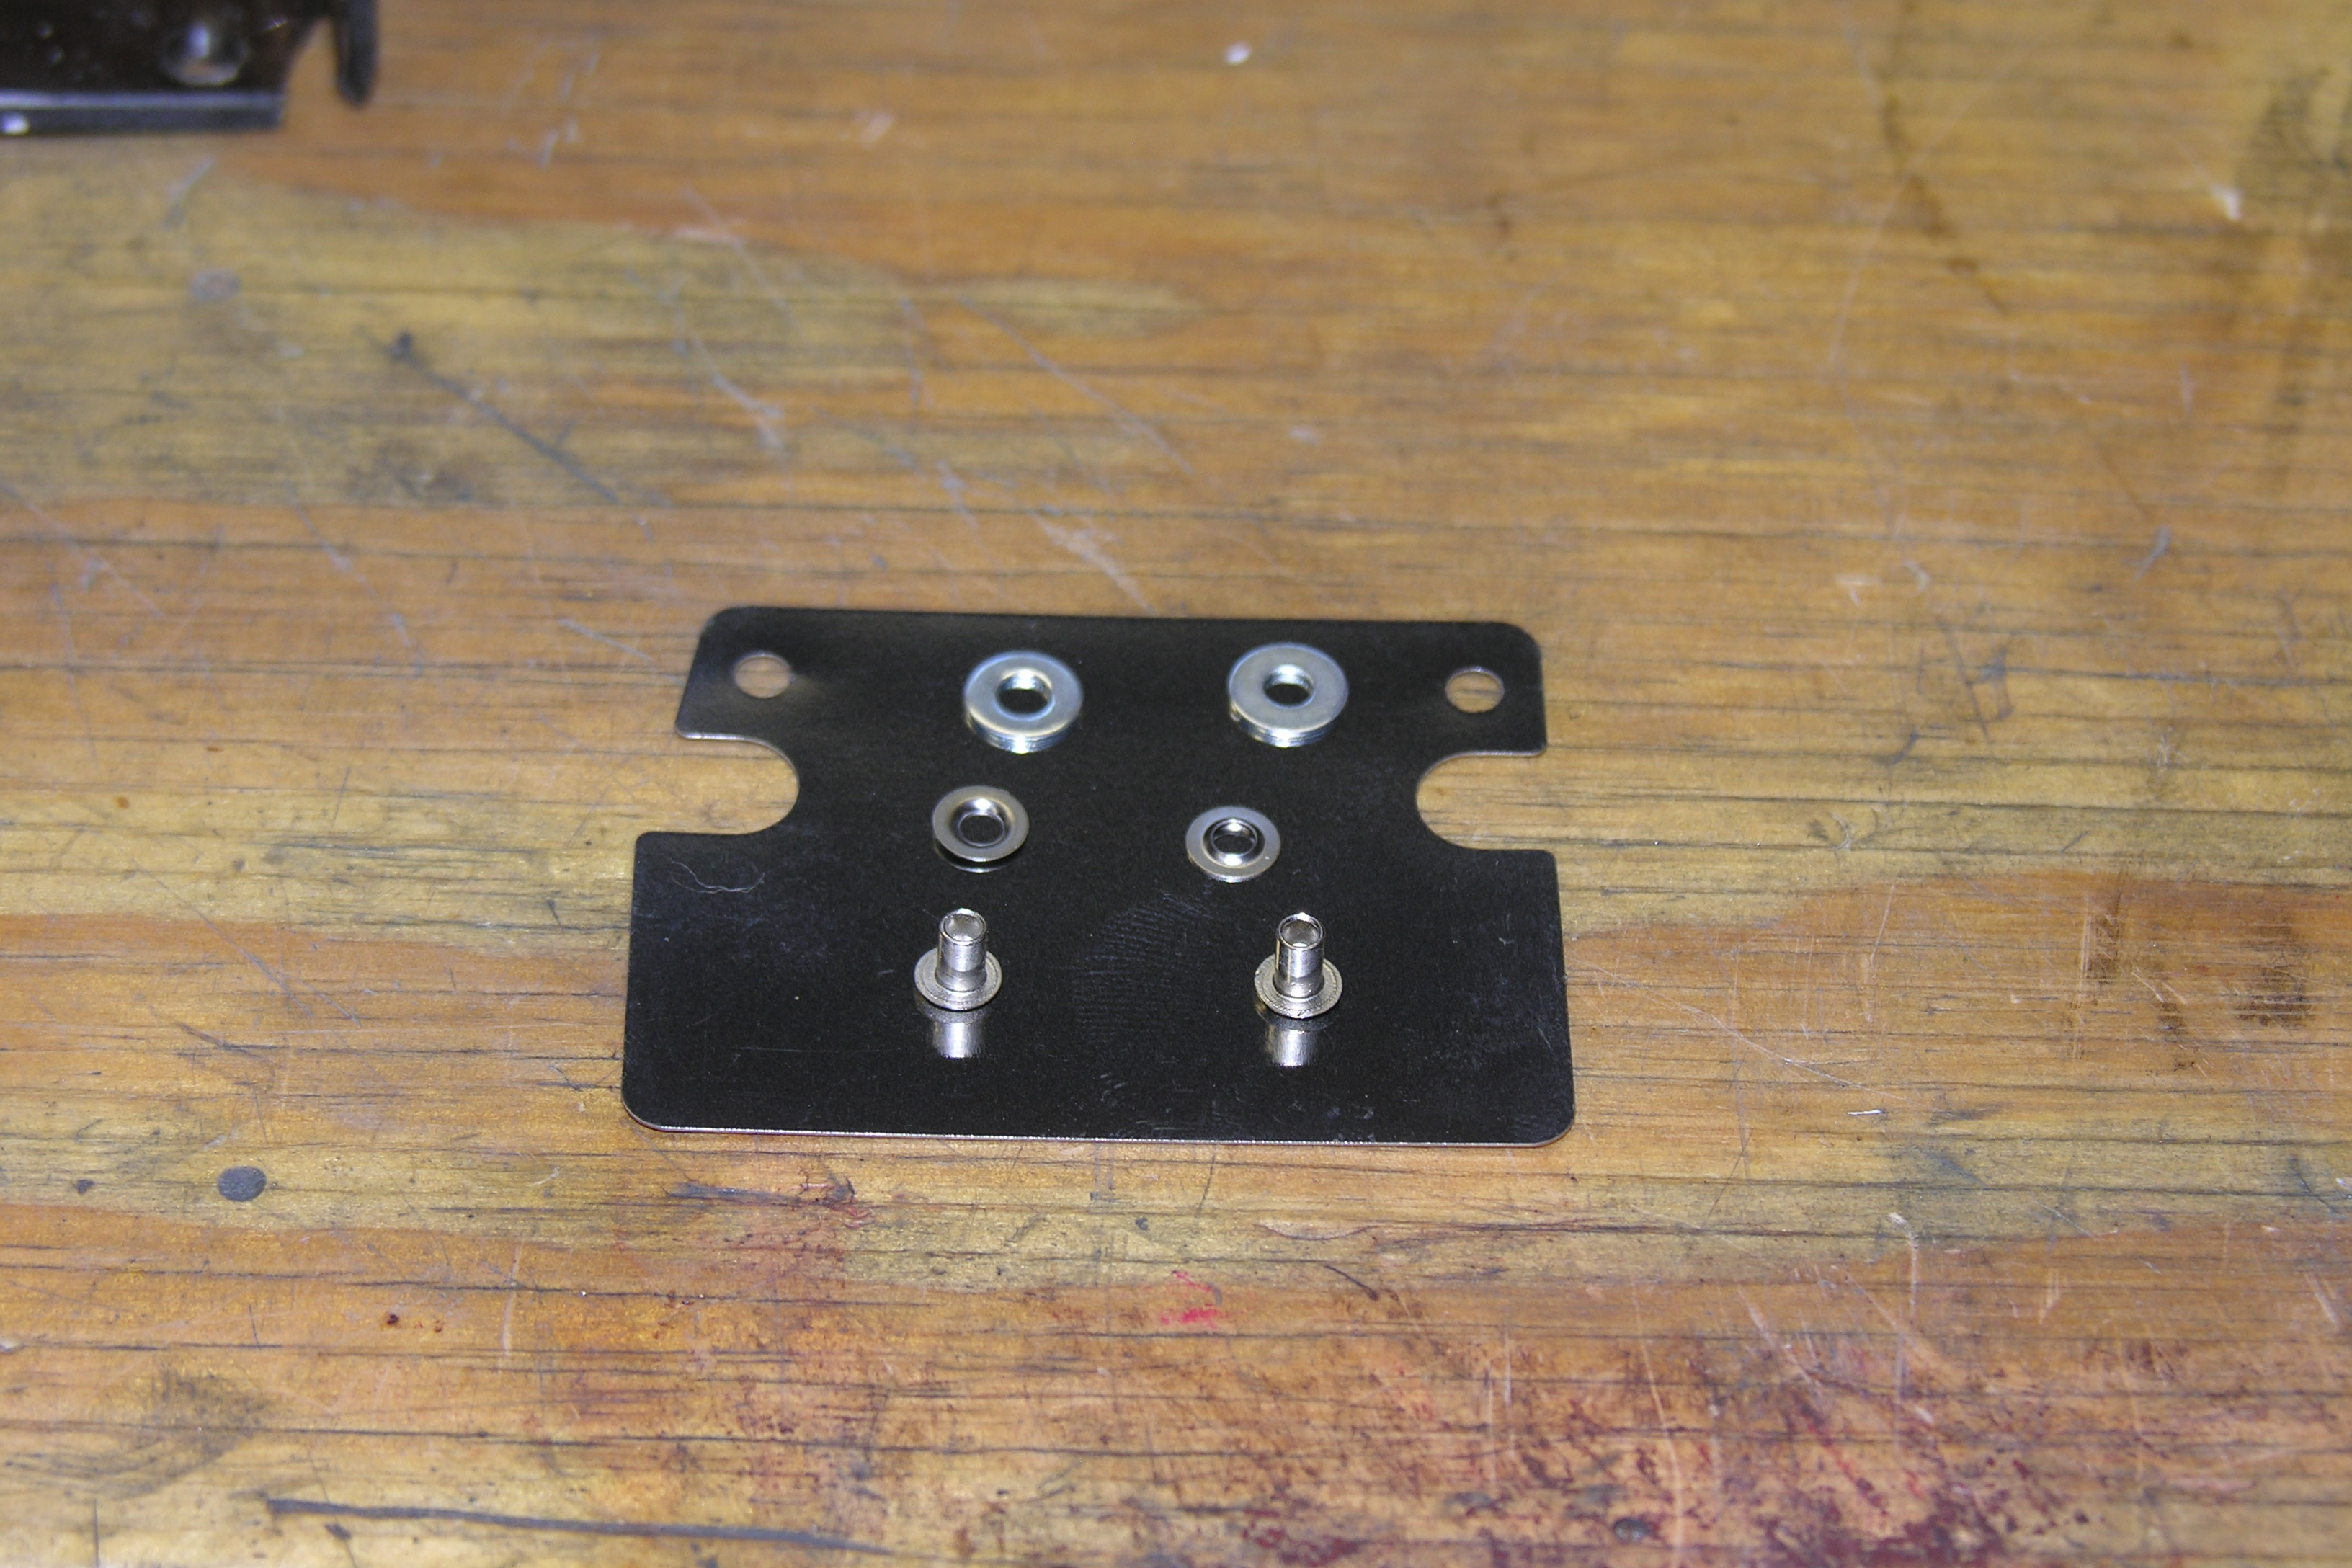 |
 Put
the new ramp in place, and insert the rivets. Put
the new ramp in place, and insert the rivets. |
Tape holds it together while we work.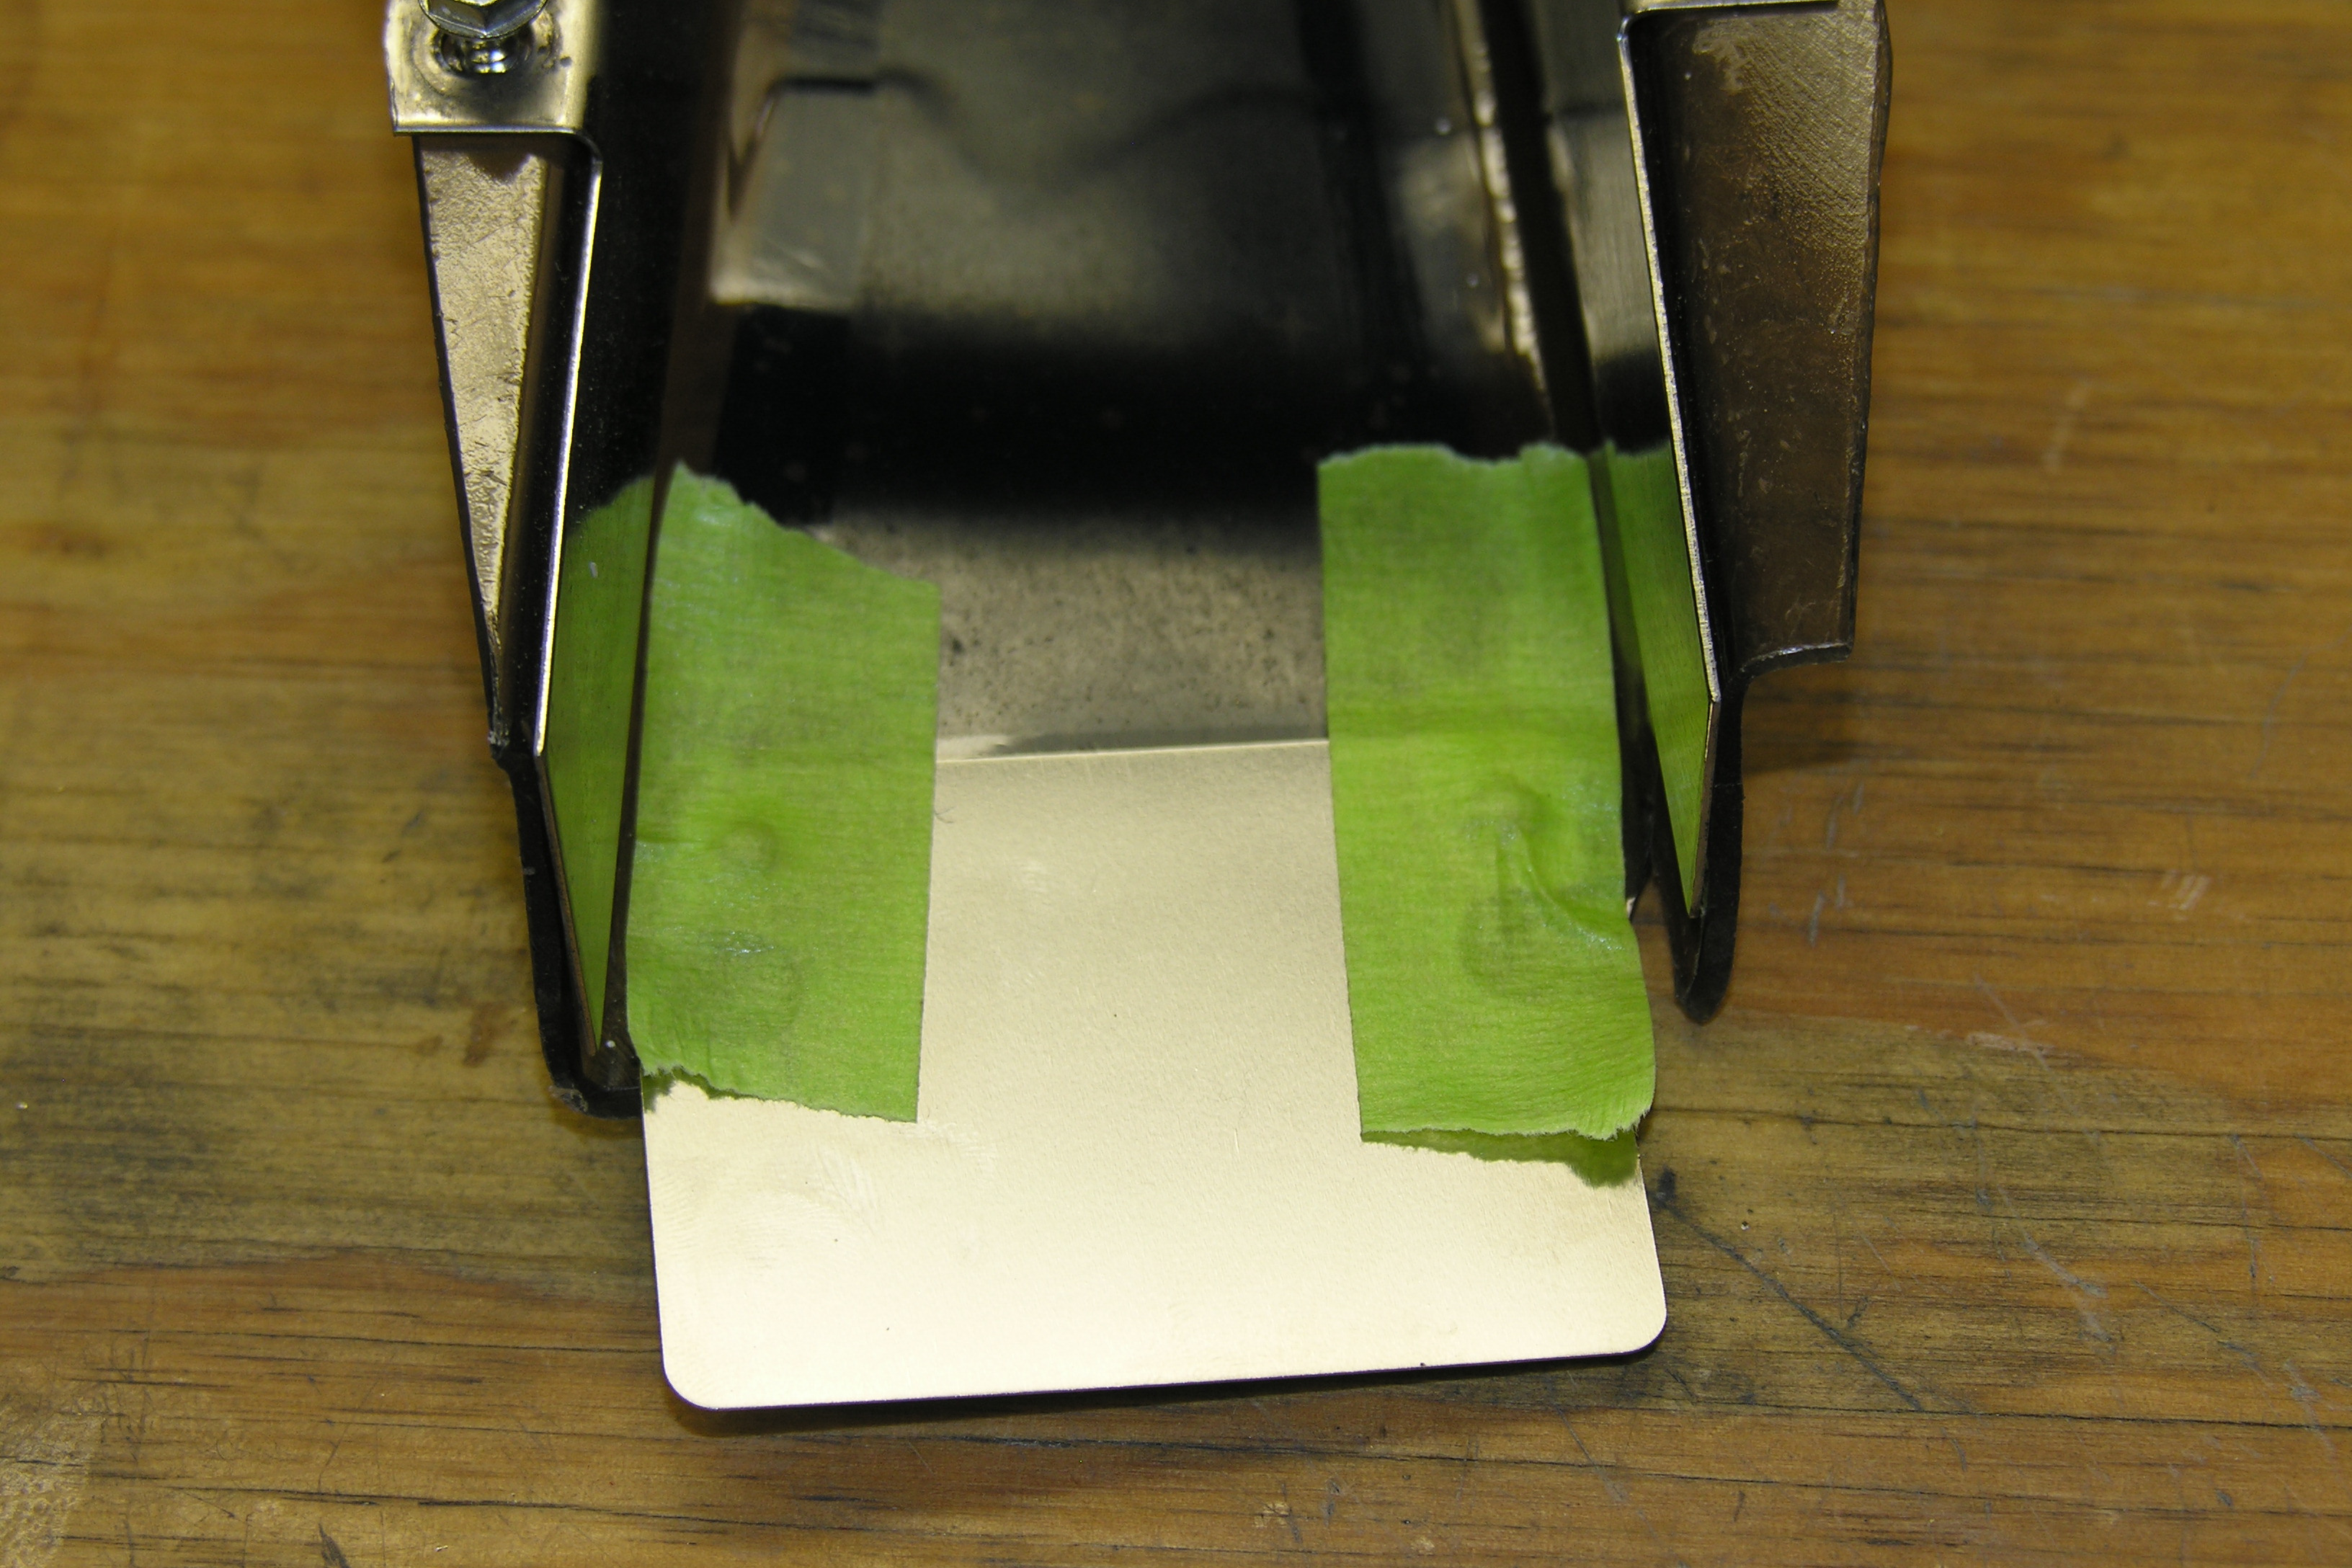 |
 A
block to support the rivet head. A
block to support the rivet head. |
Apply the washer and the clip. |
 Put
the tool in place, make sure that it swivels in a small circle. This
means that the clip is centered on the rivet. Then, a few taps with the
hammer to seat it. Put
the tool in place, make sure that it swivels in a small circle. This
means that the clip is centered on the rivet. Then, a few taps with the
hammer to seat it. |
Note that the second washer is sitting a bit high. My ramp is
slightly warped.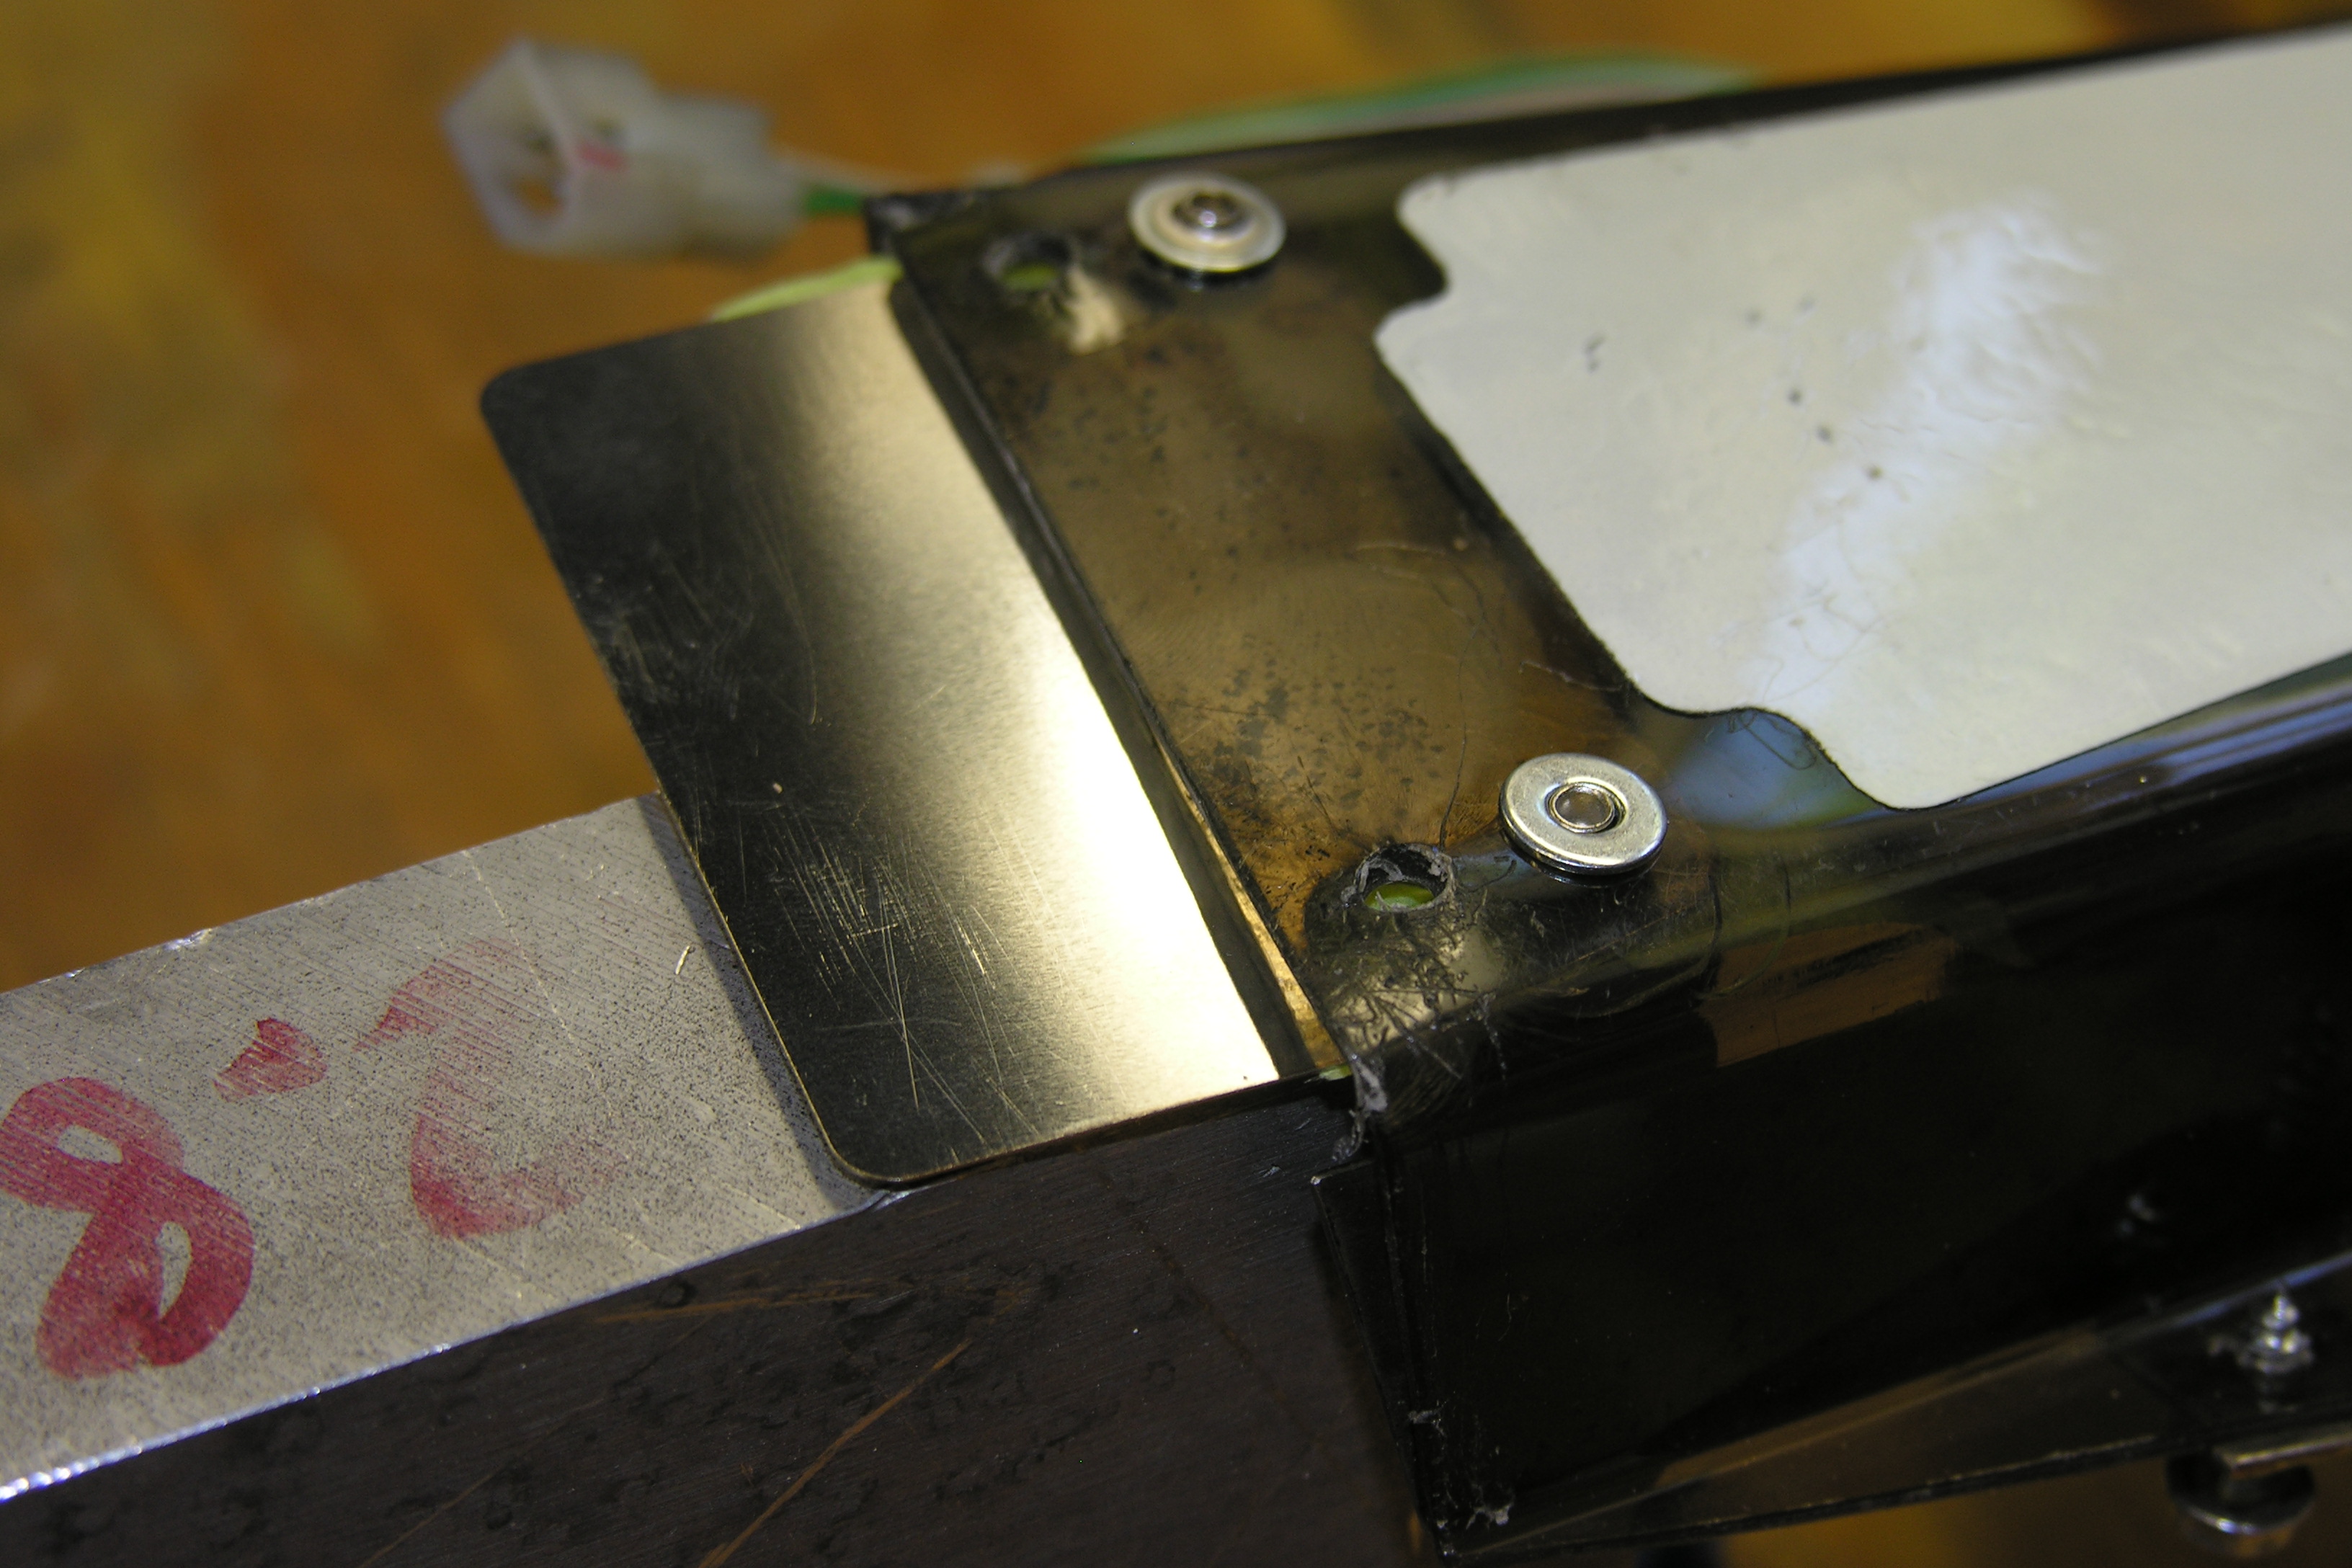 |
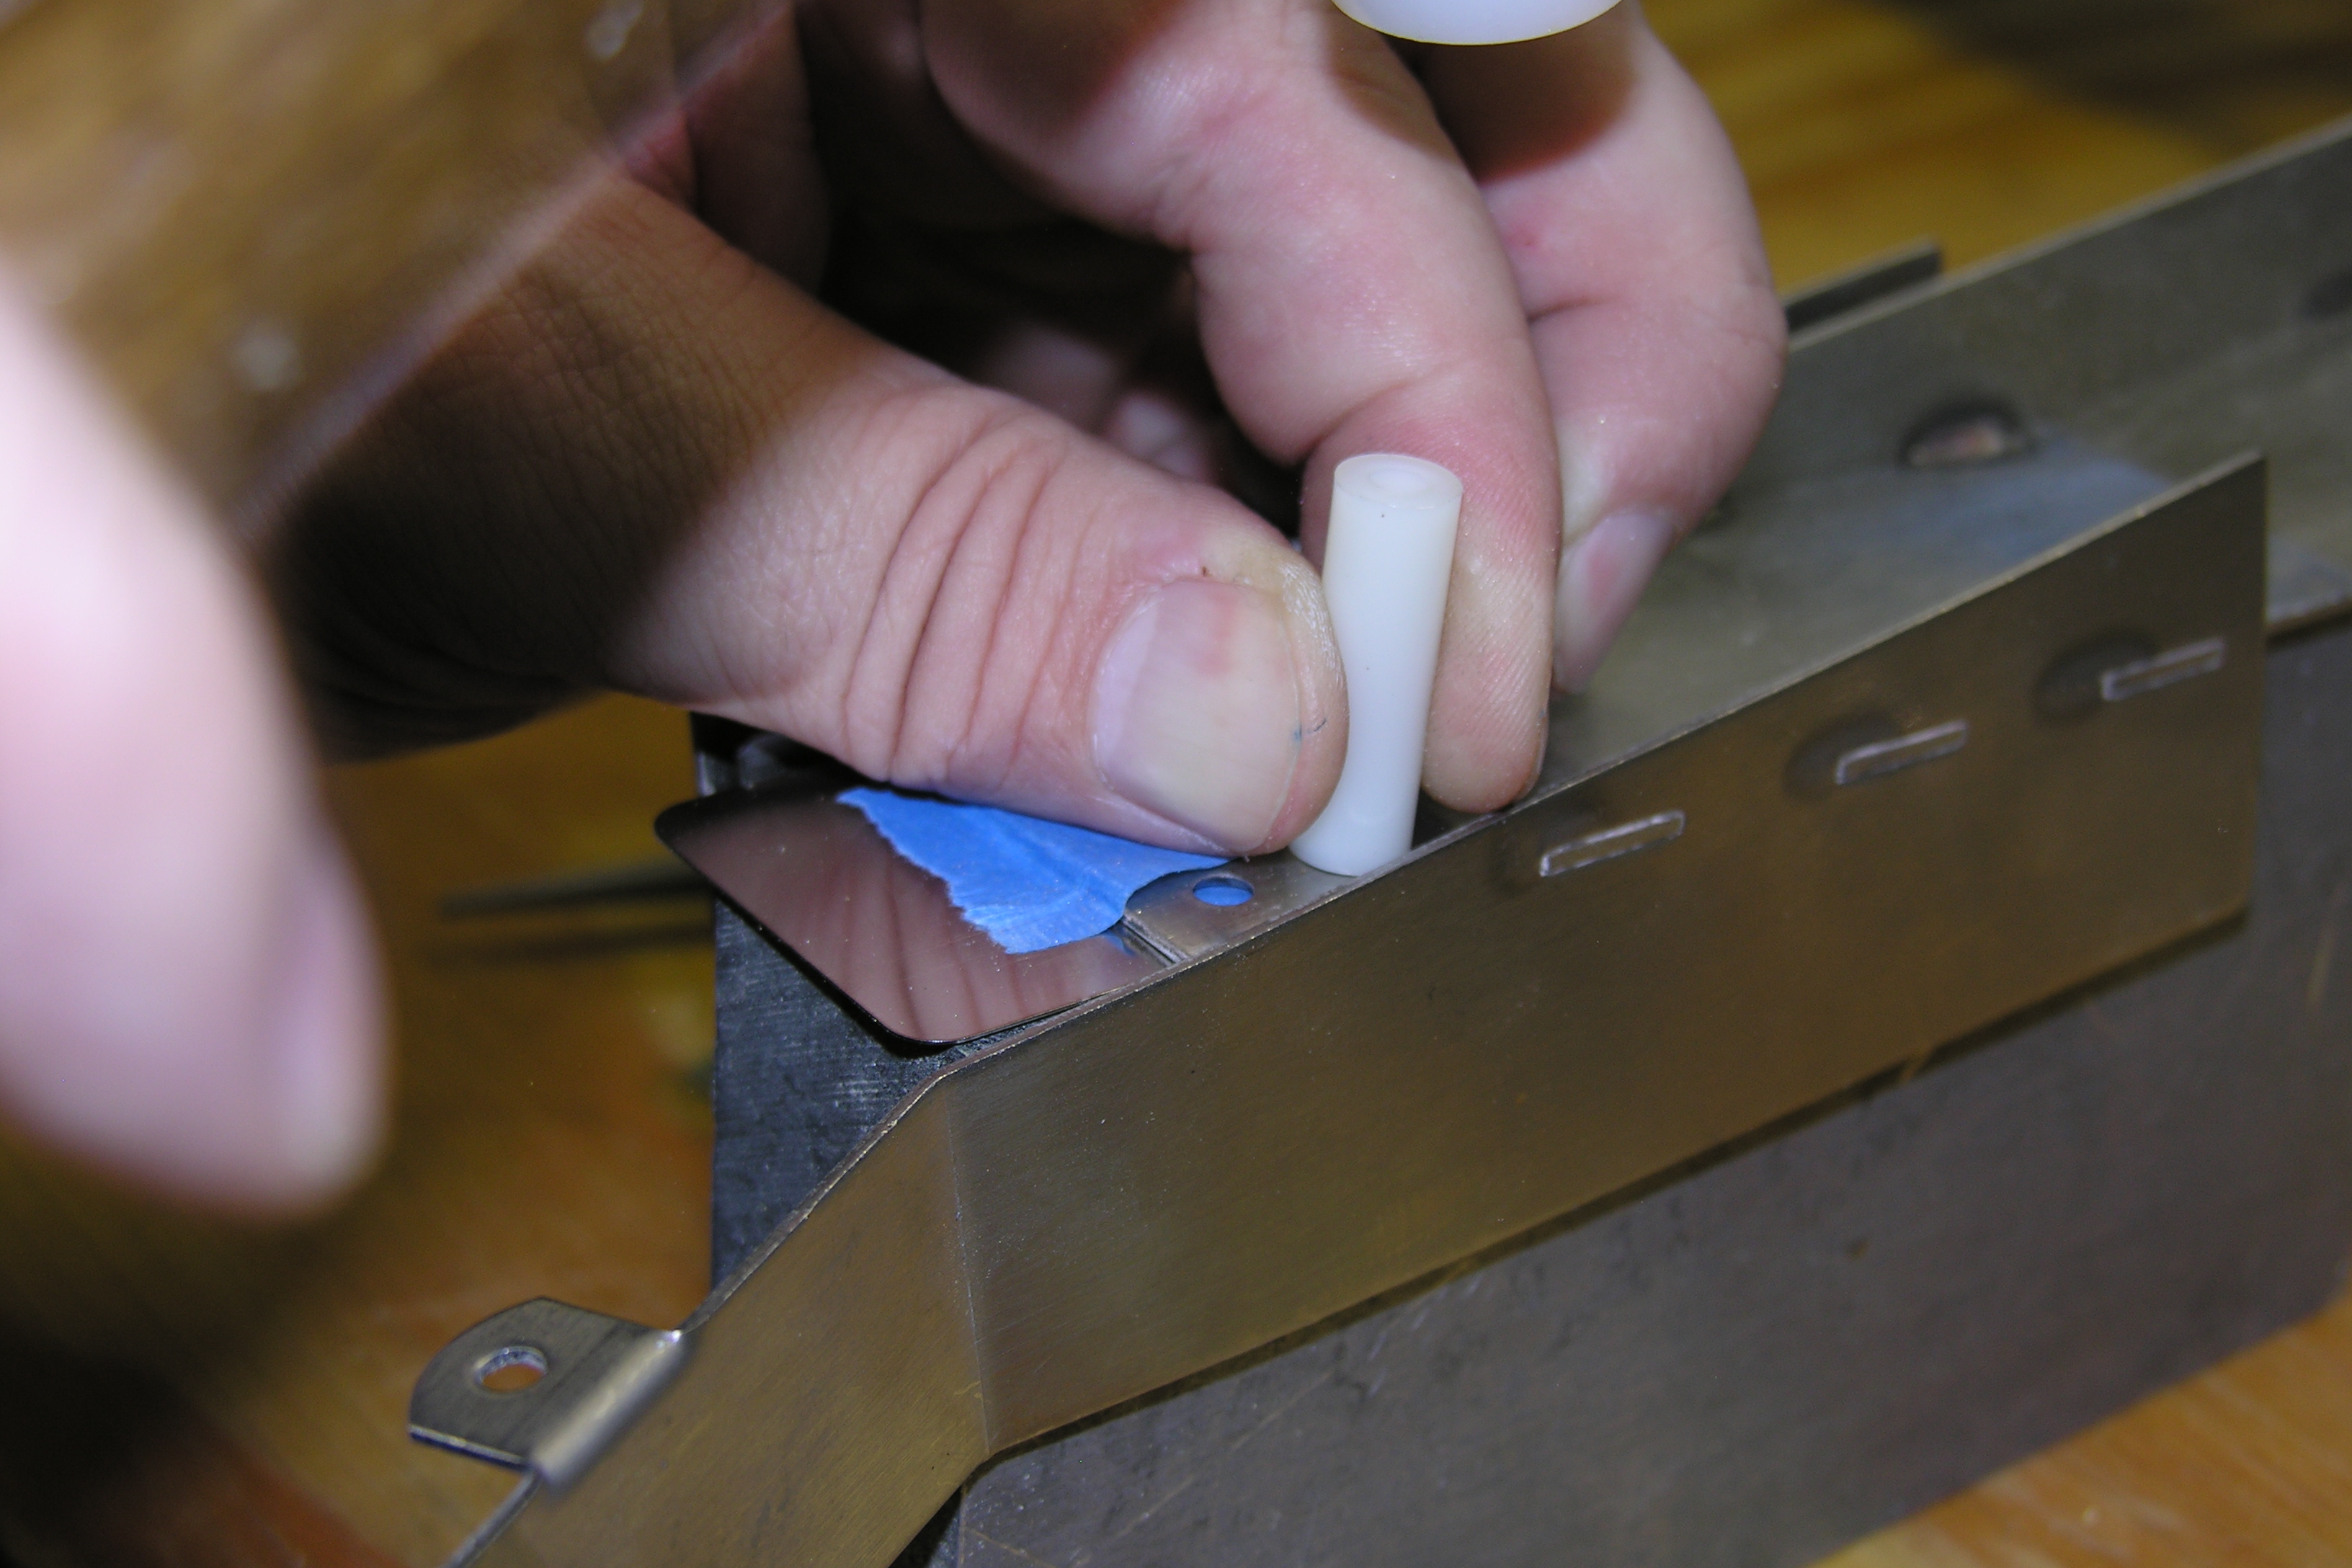
 A
bit of pressure from two fingers lets me get the washer and clip on. A
bit of pressure from two fingers lets me get the washer and clip on. |
I apply pressure to the ramp with my thumb to keep everything flat.
Time for the hammer again.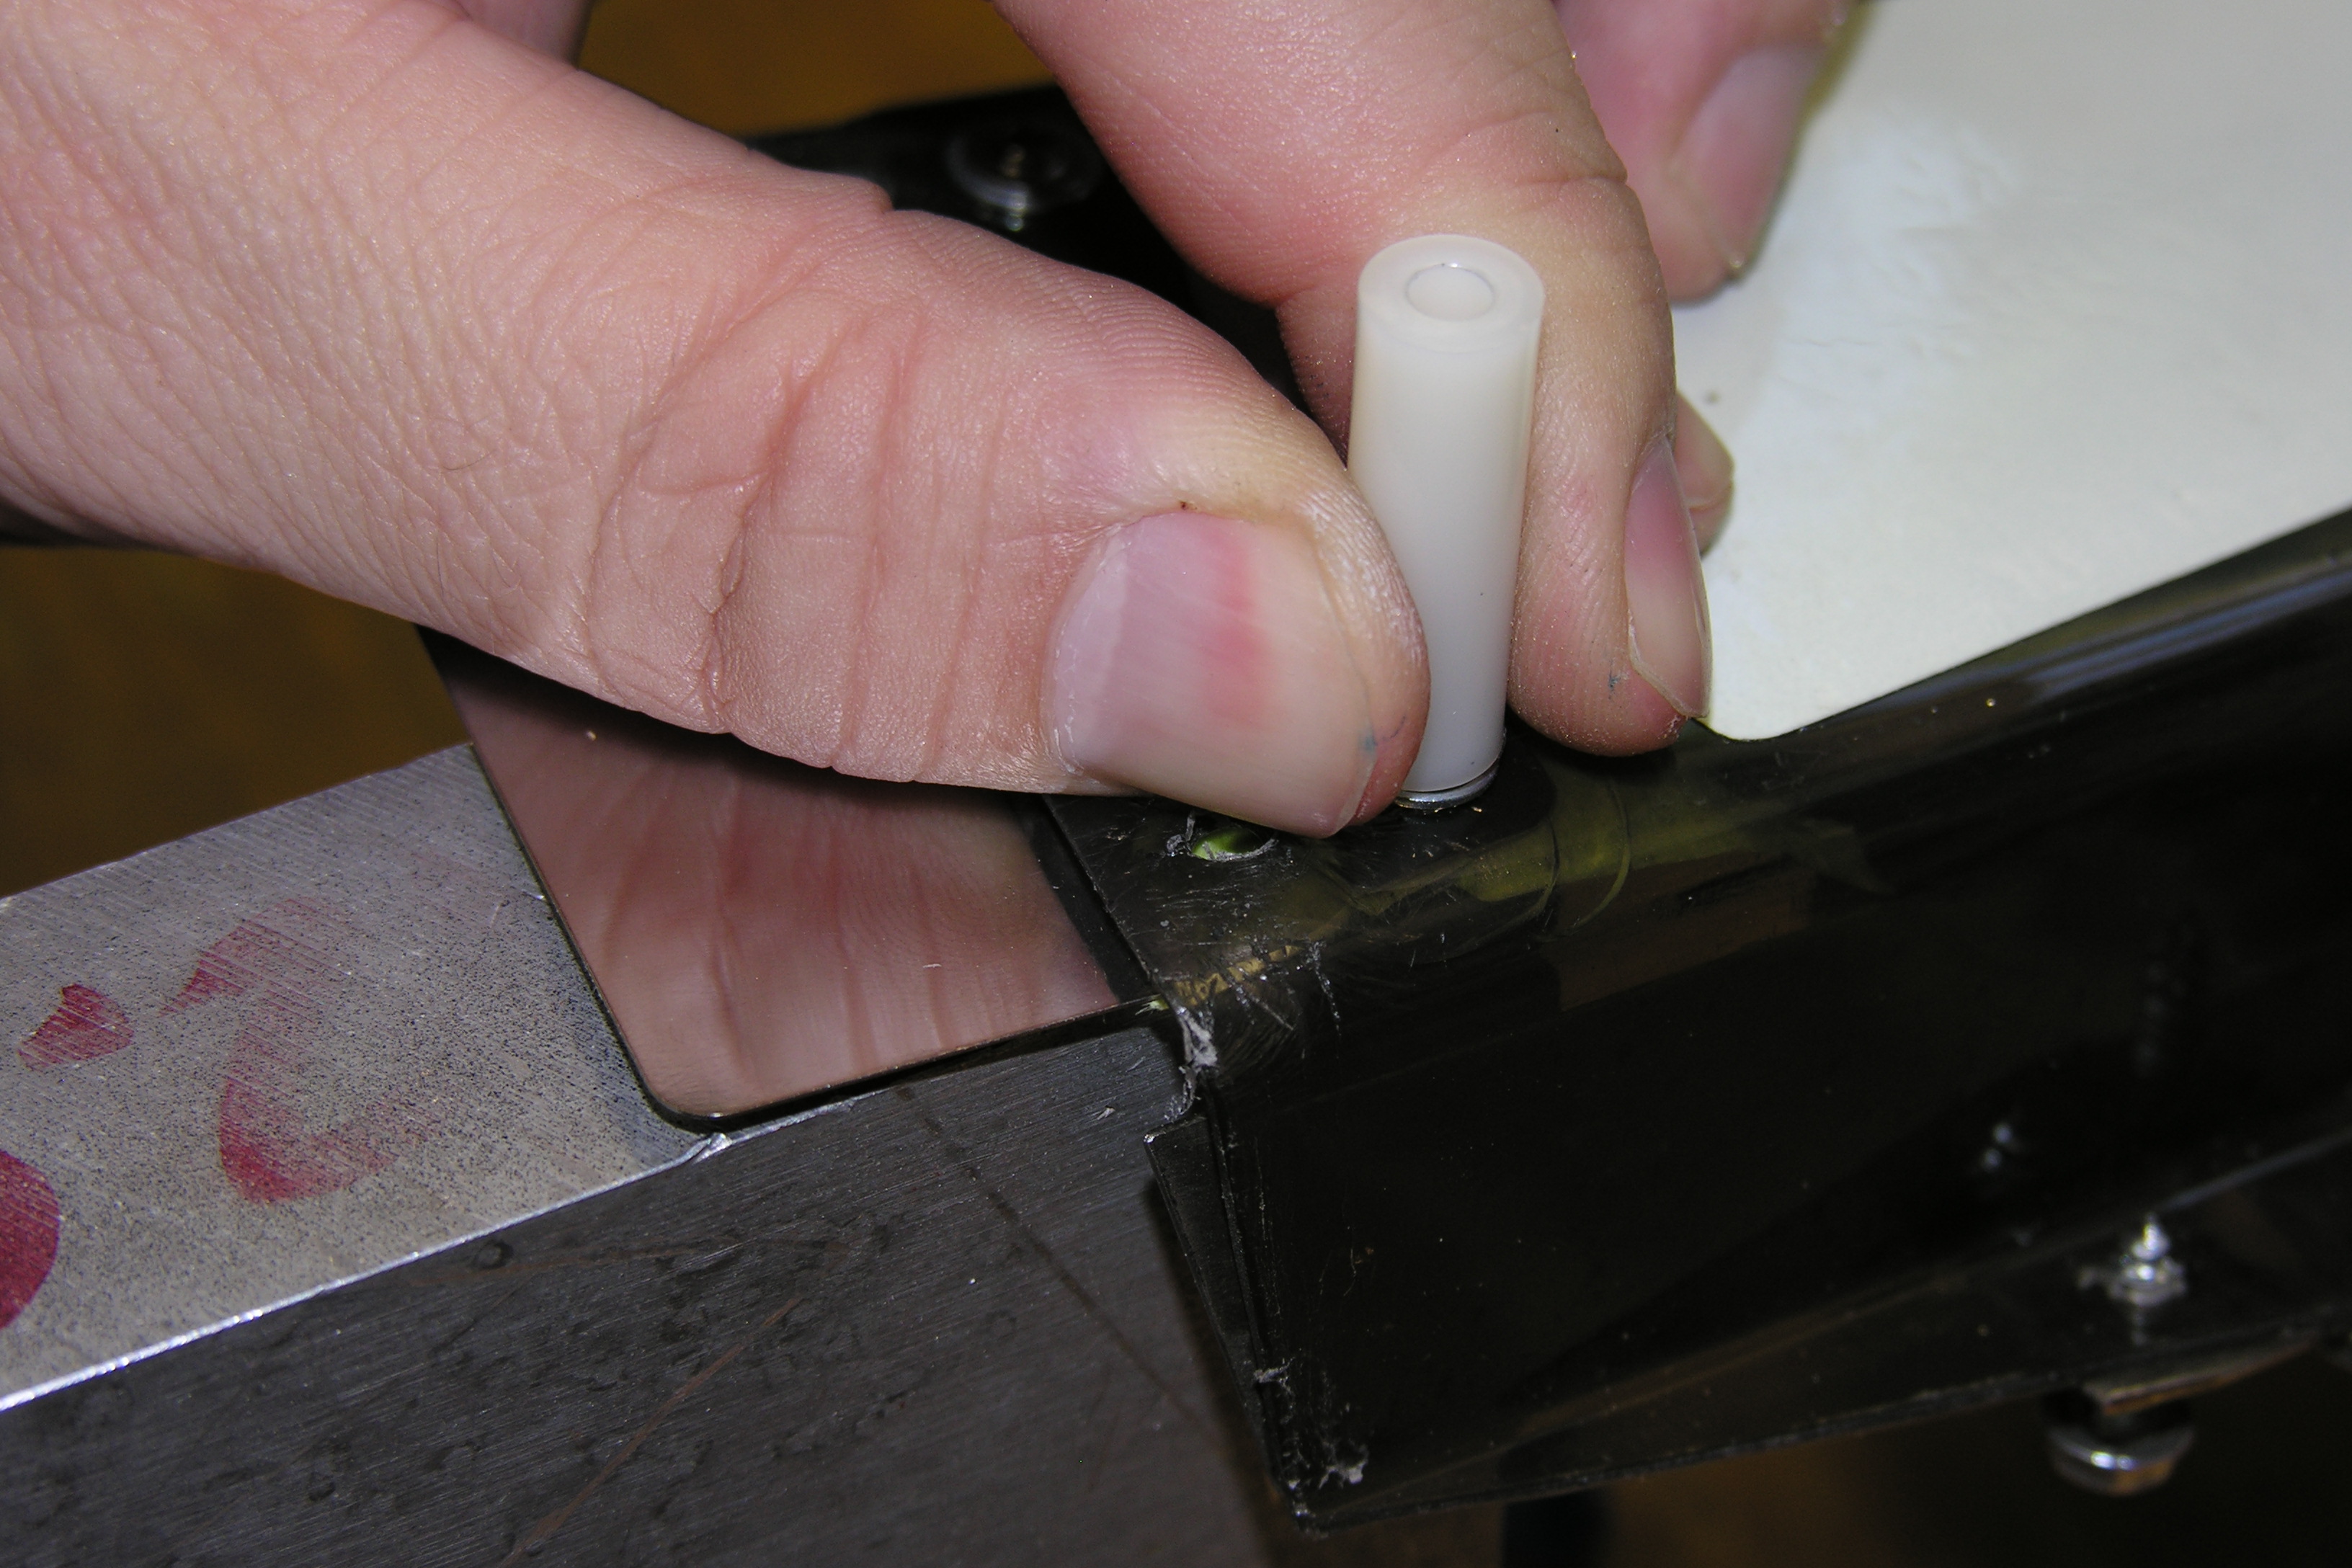 |
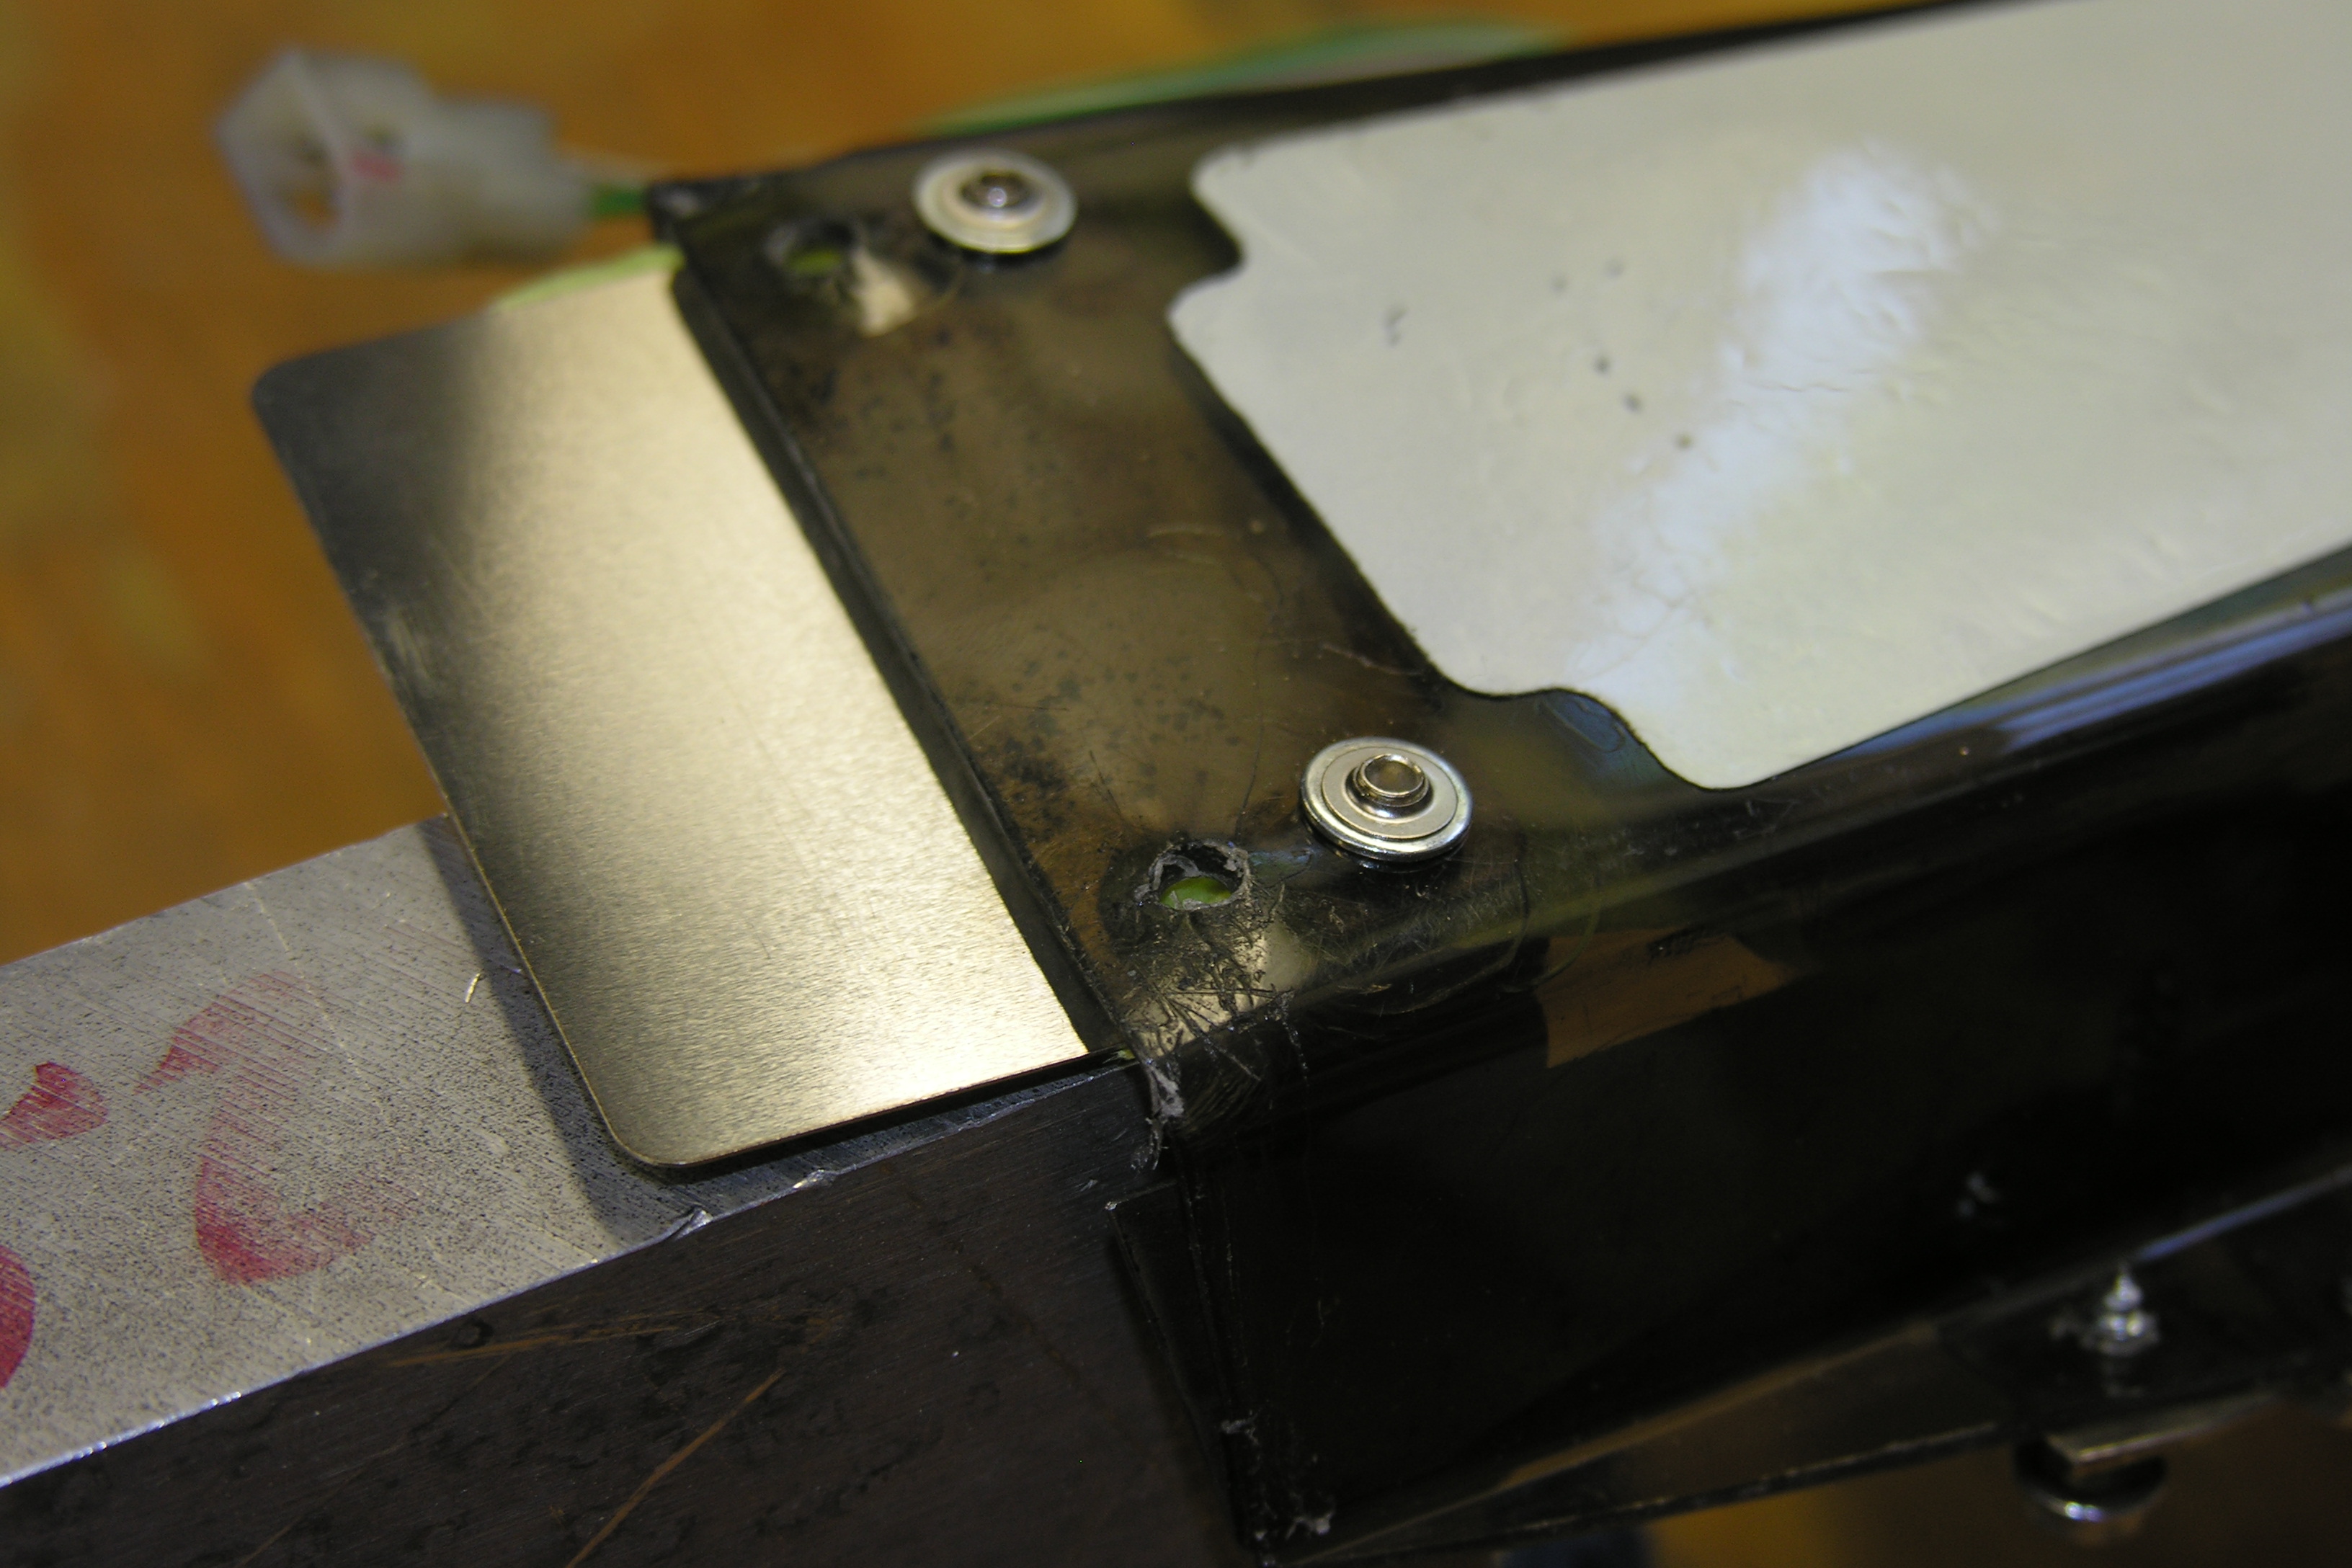 The
finished rivet, washer and clip assemblies. The
finished rivet, washer and clip assemblies. |
And the finished ramp. Again, the clip holds the flap tightly to the
ramp.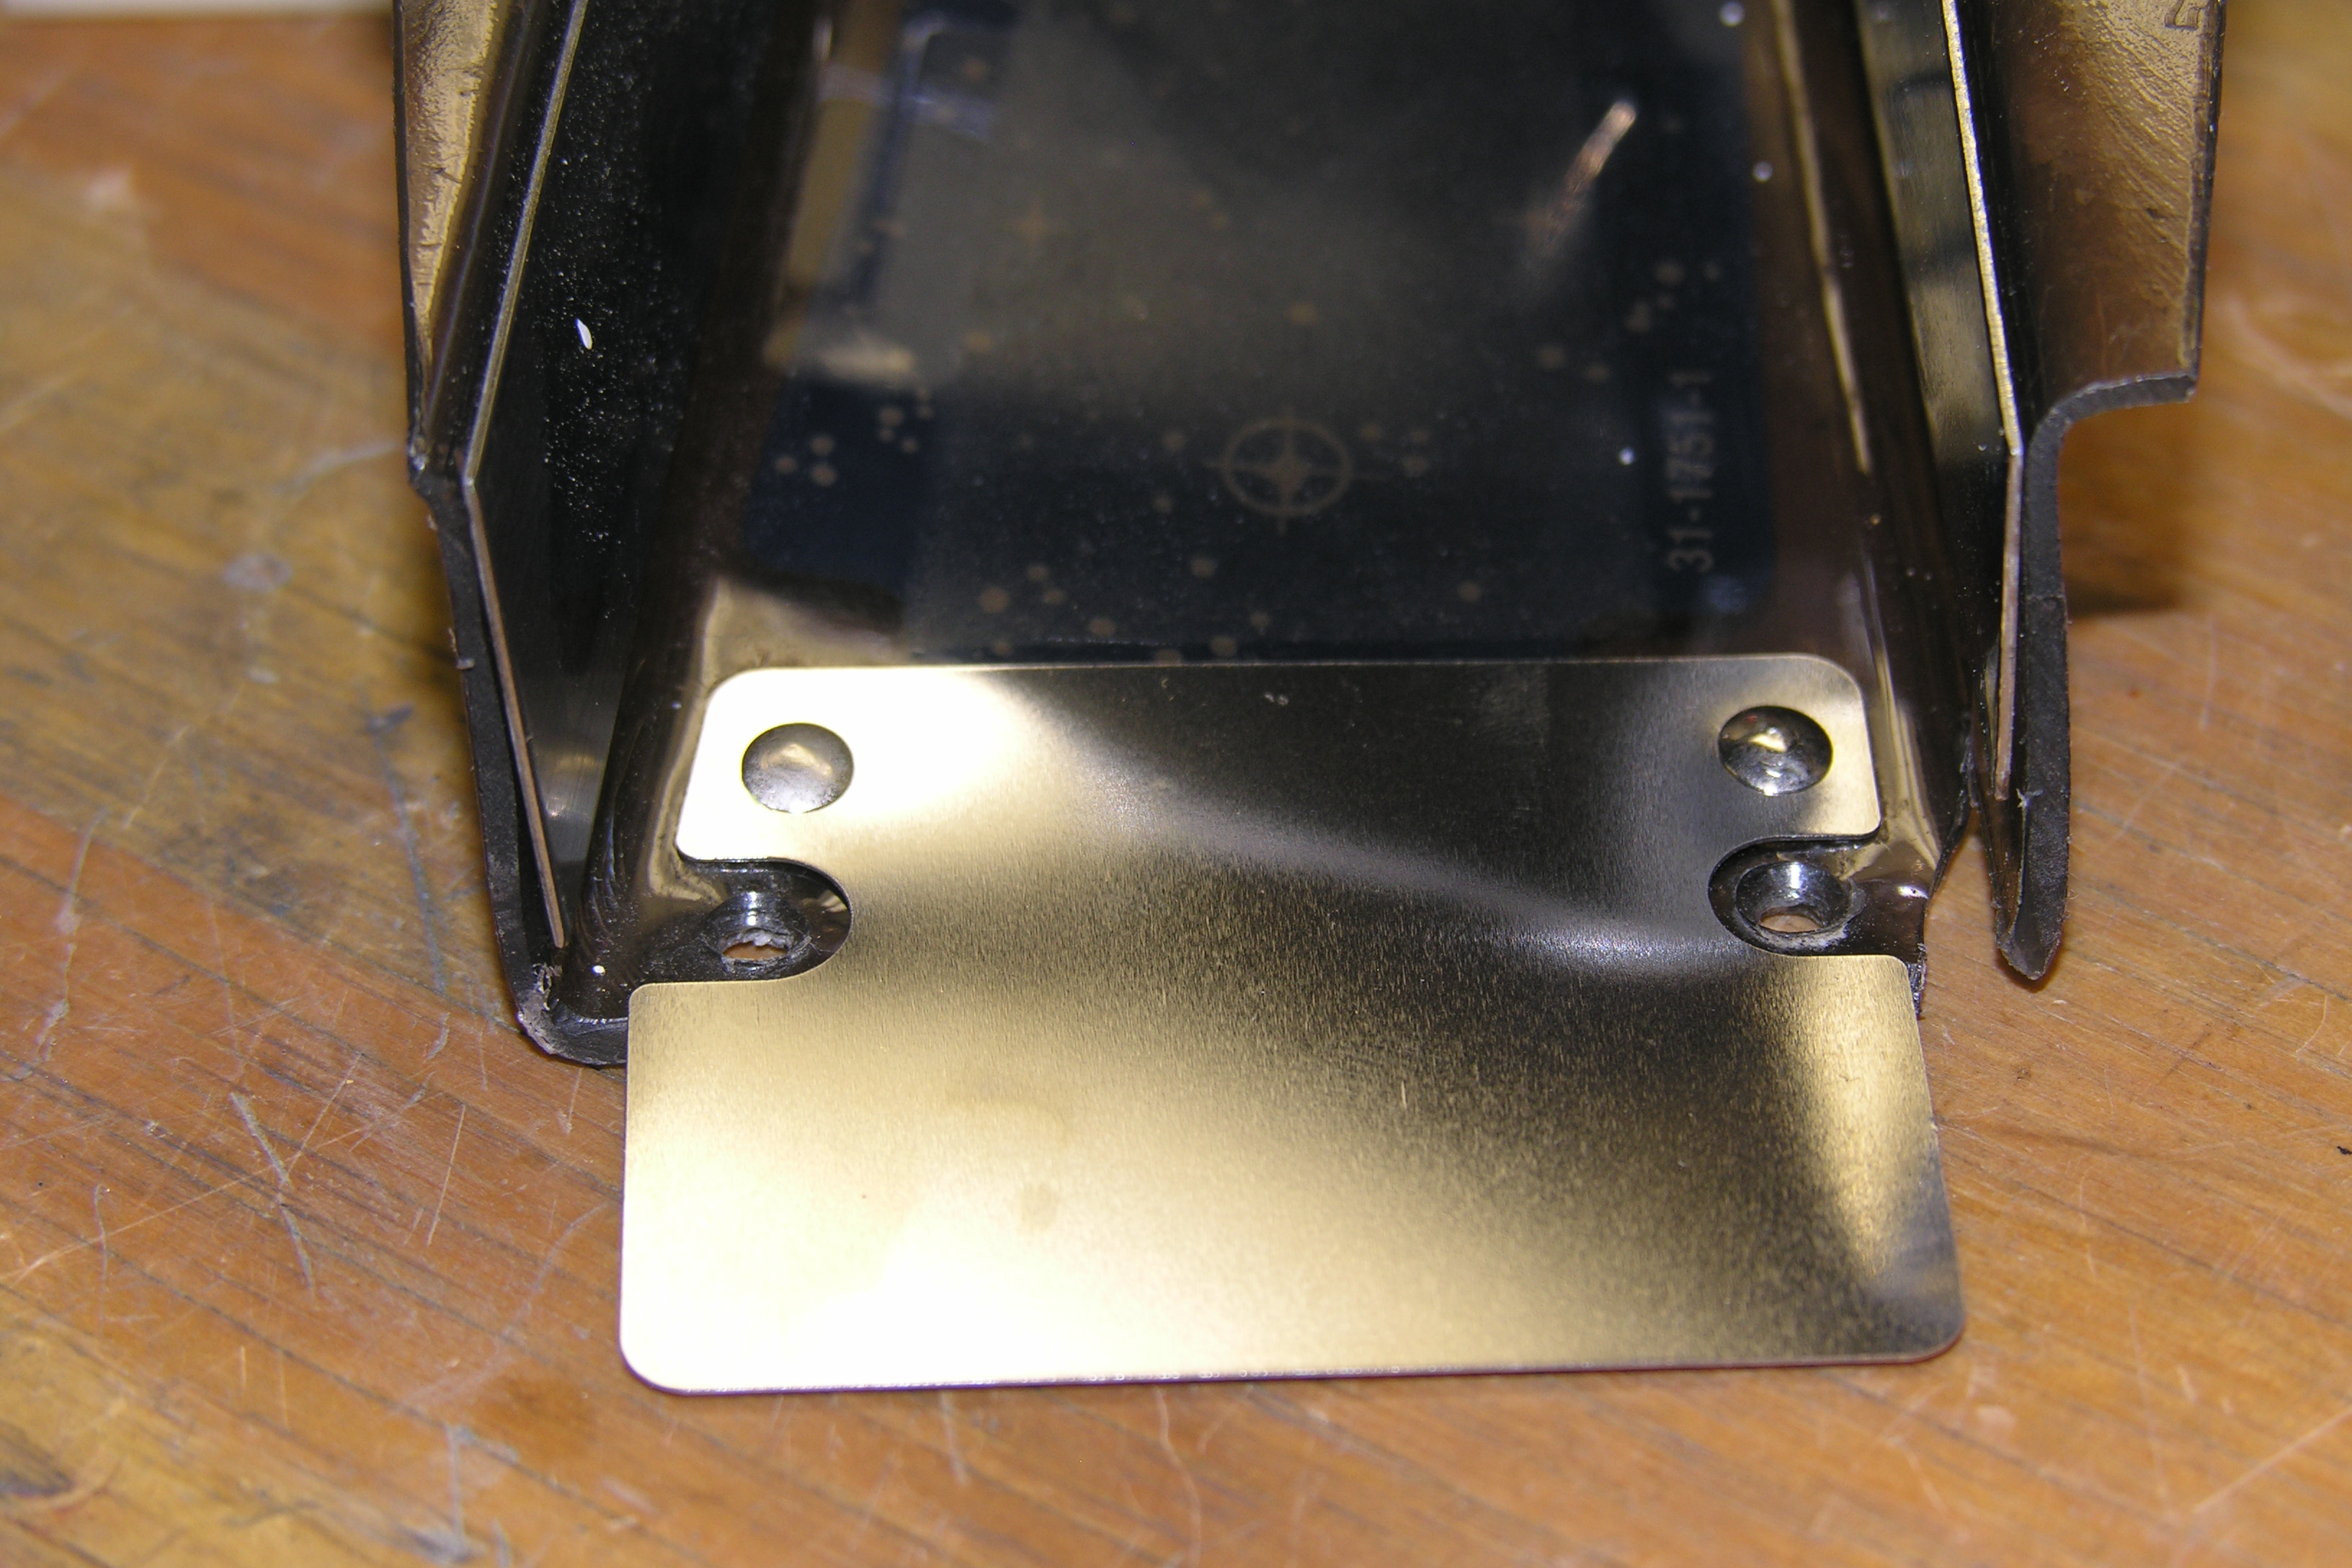 |