| |
|
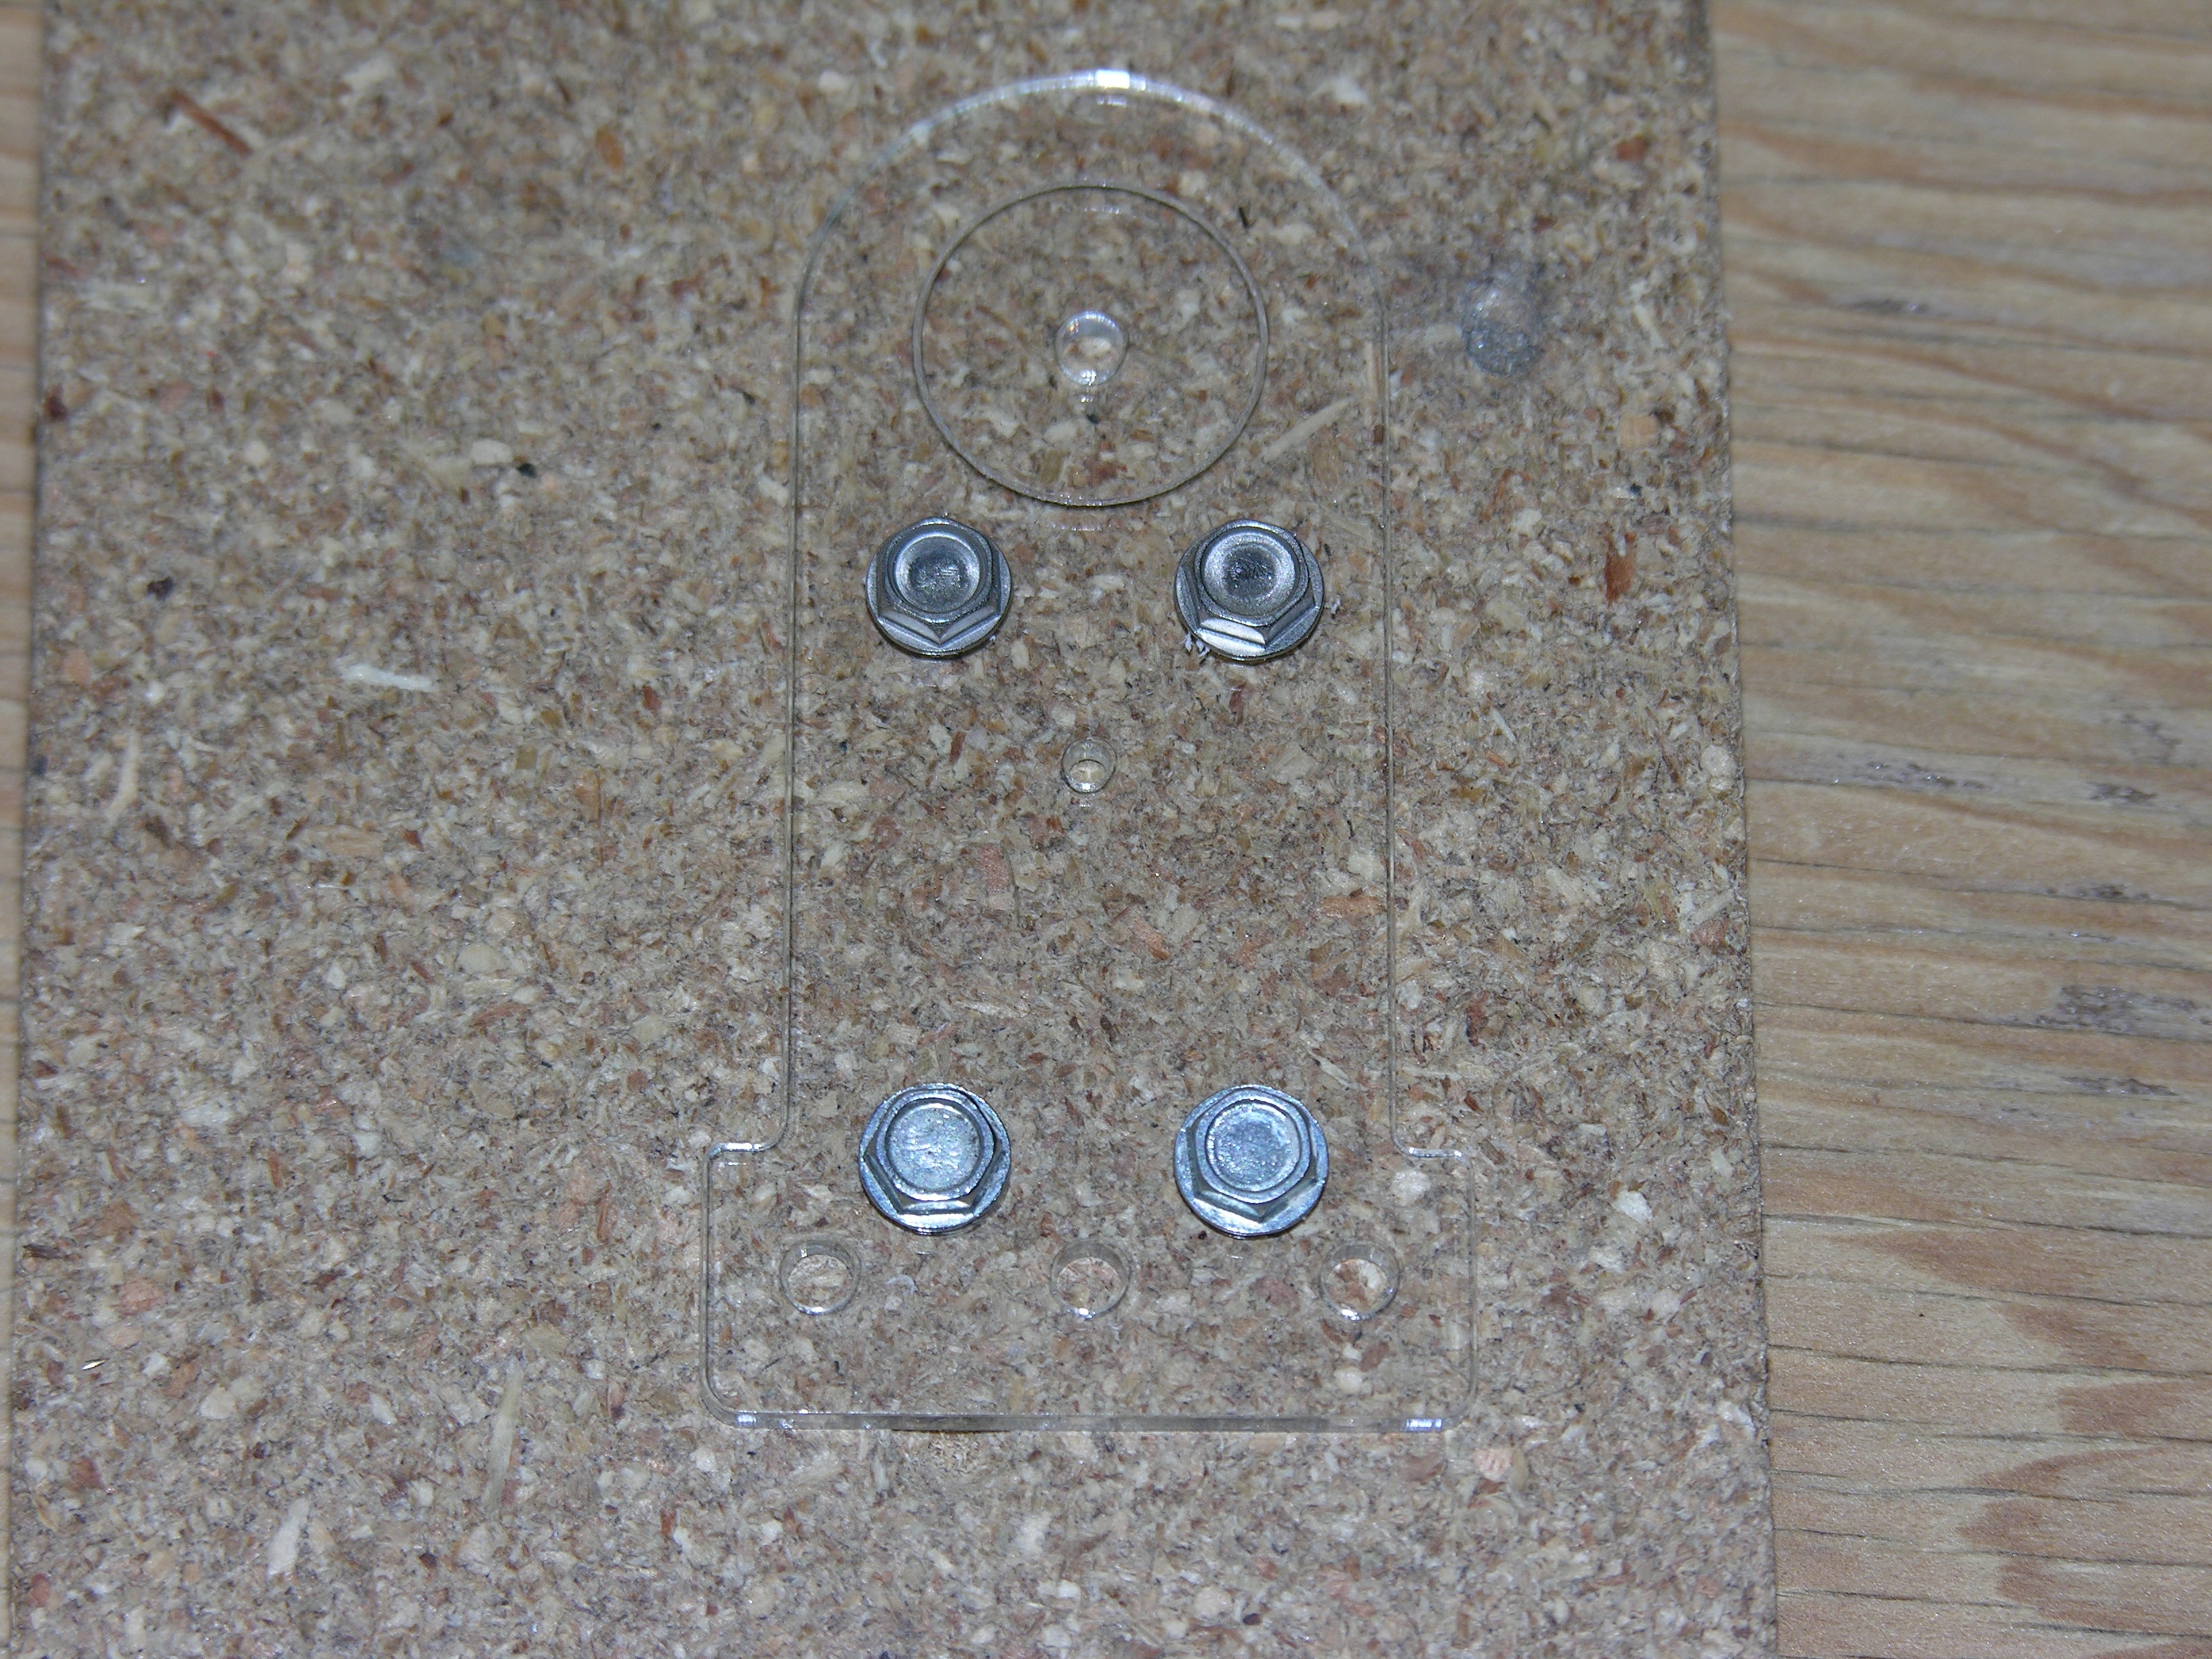
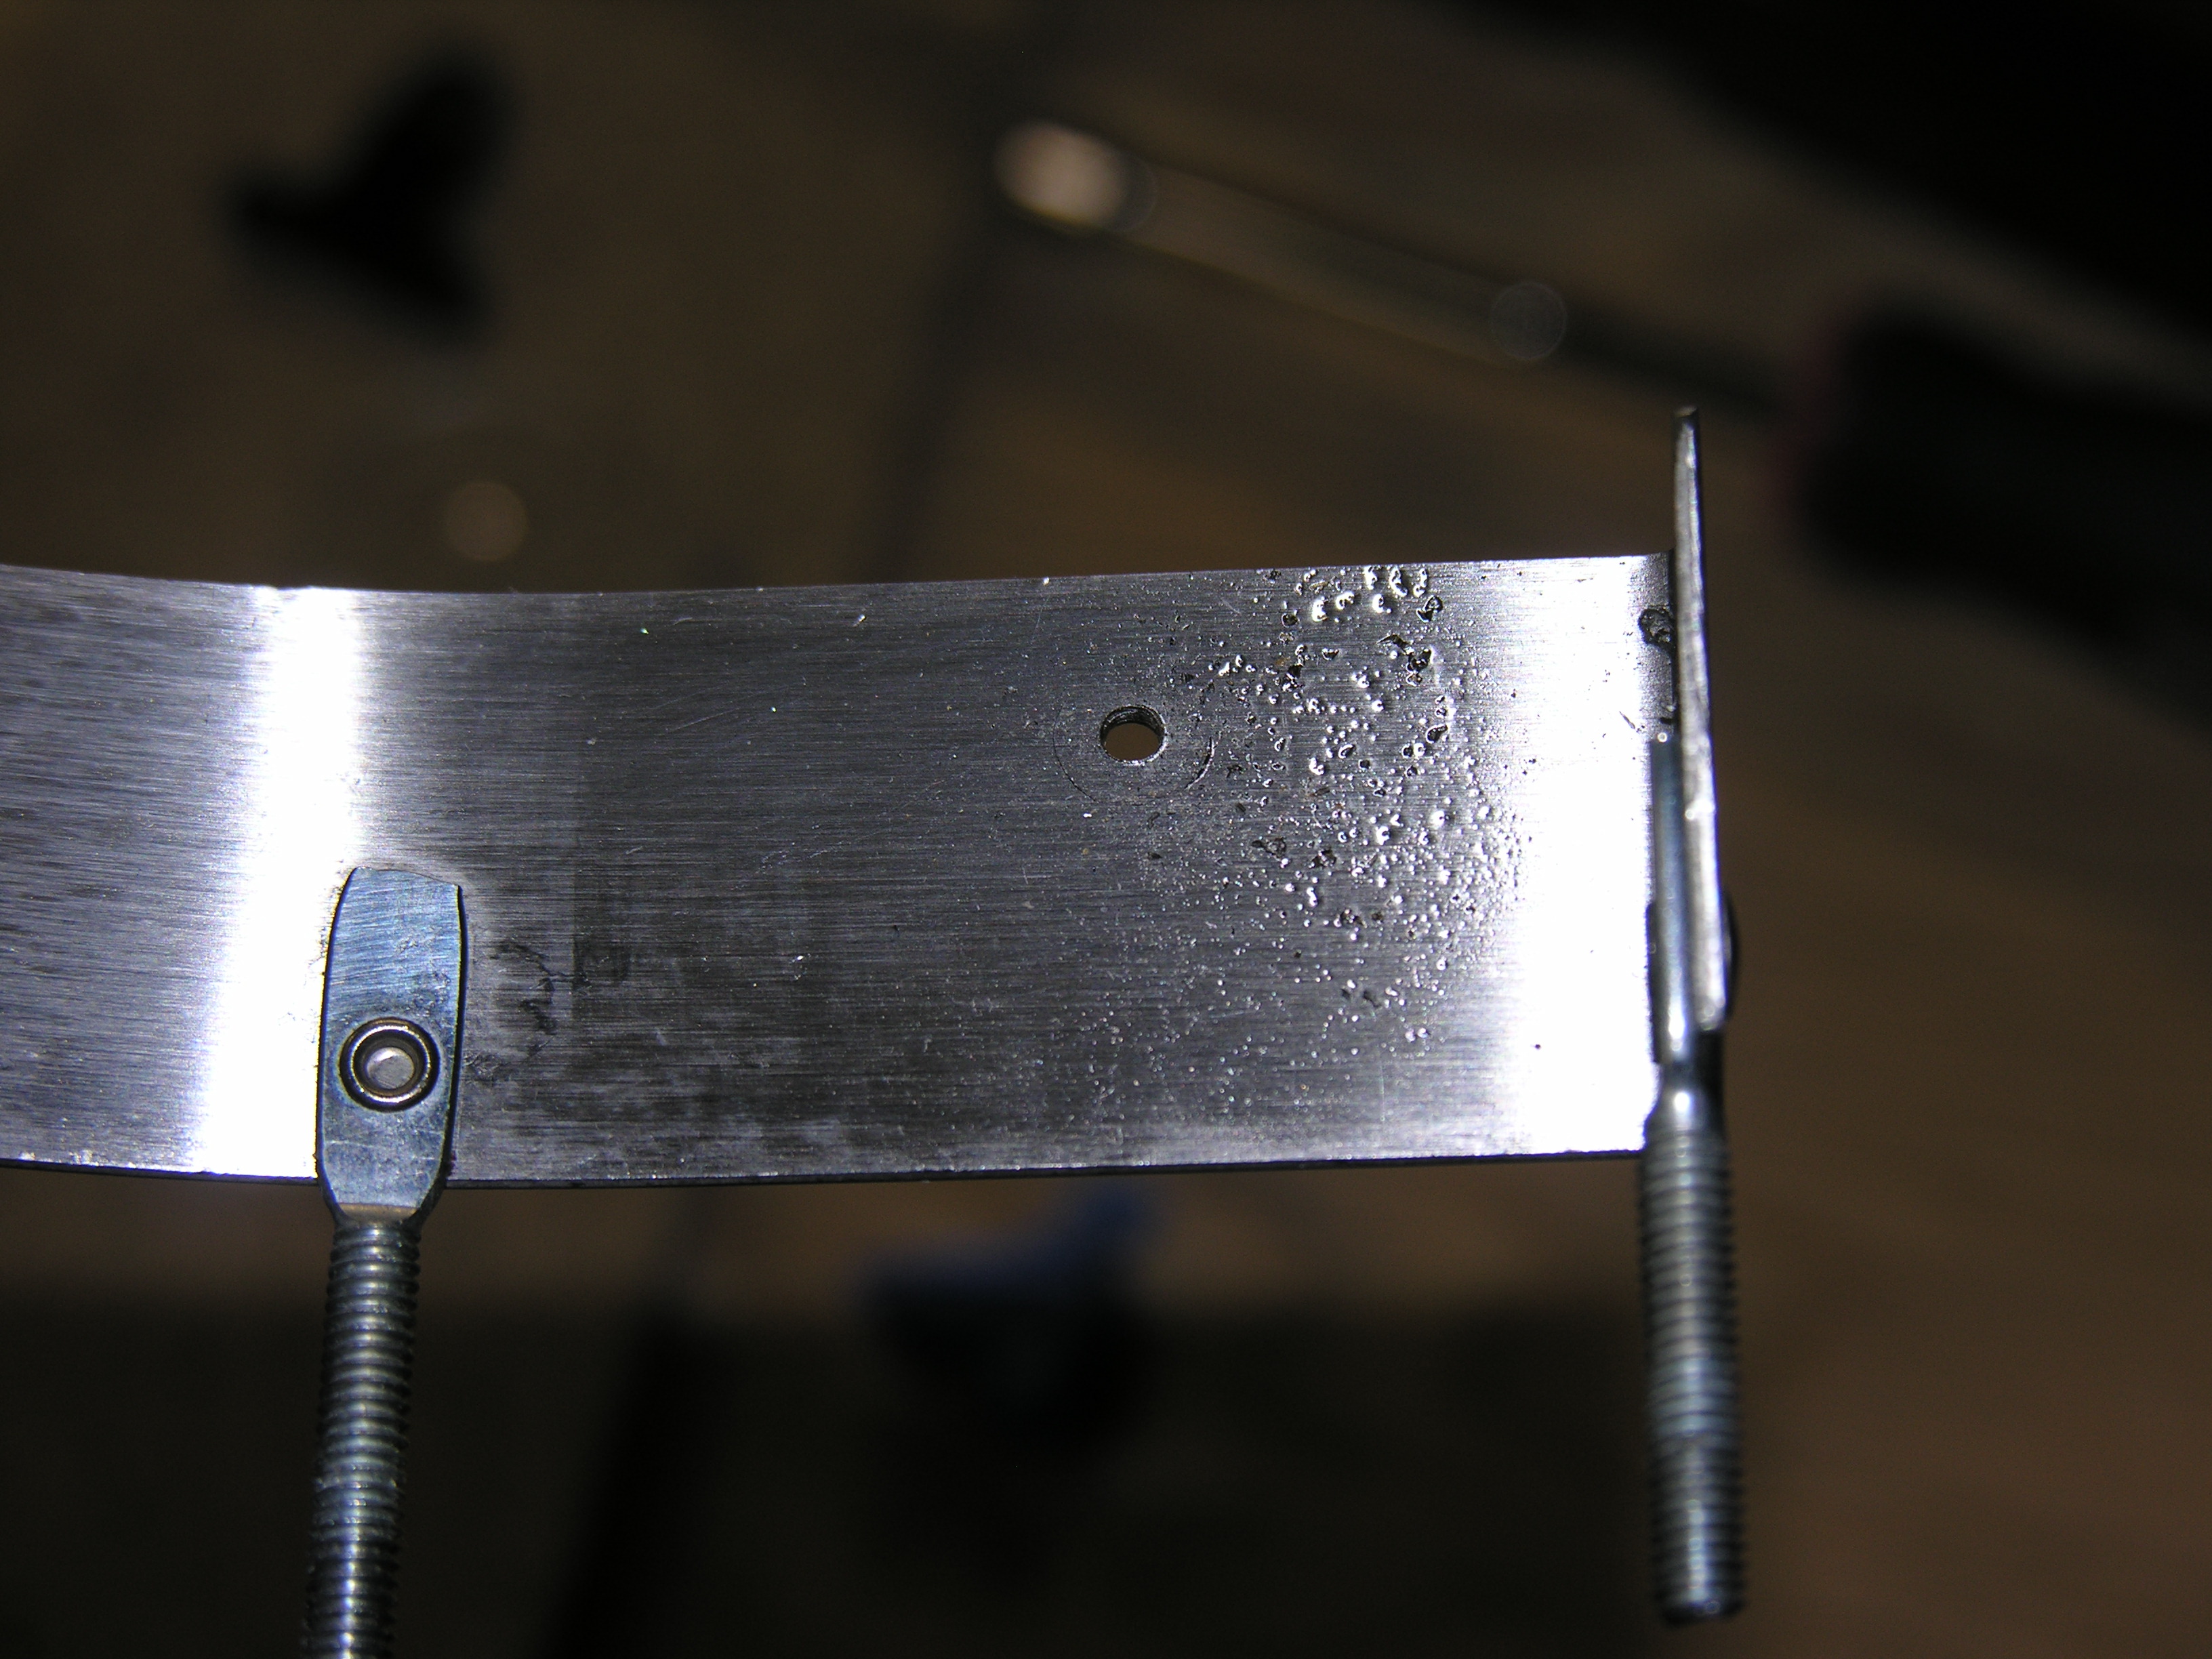
 Take
the template and screw it to a flat piece of scrap with four of the #6
sheetmetal screws from the machine. You want to keep to the right, as
you see here. Take
the template and screw it to a flat piece of scrap with four of the #6
sheetmetal screws from the machine. You want to keep to the right, as
you see here. |
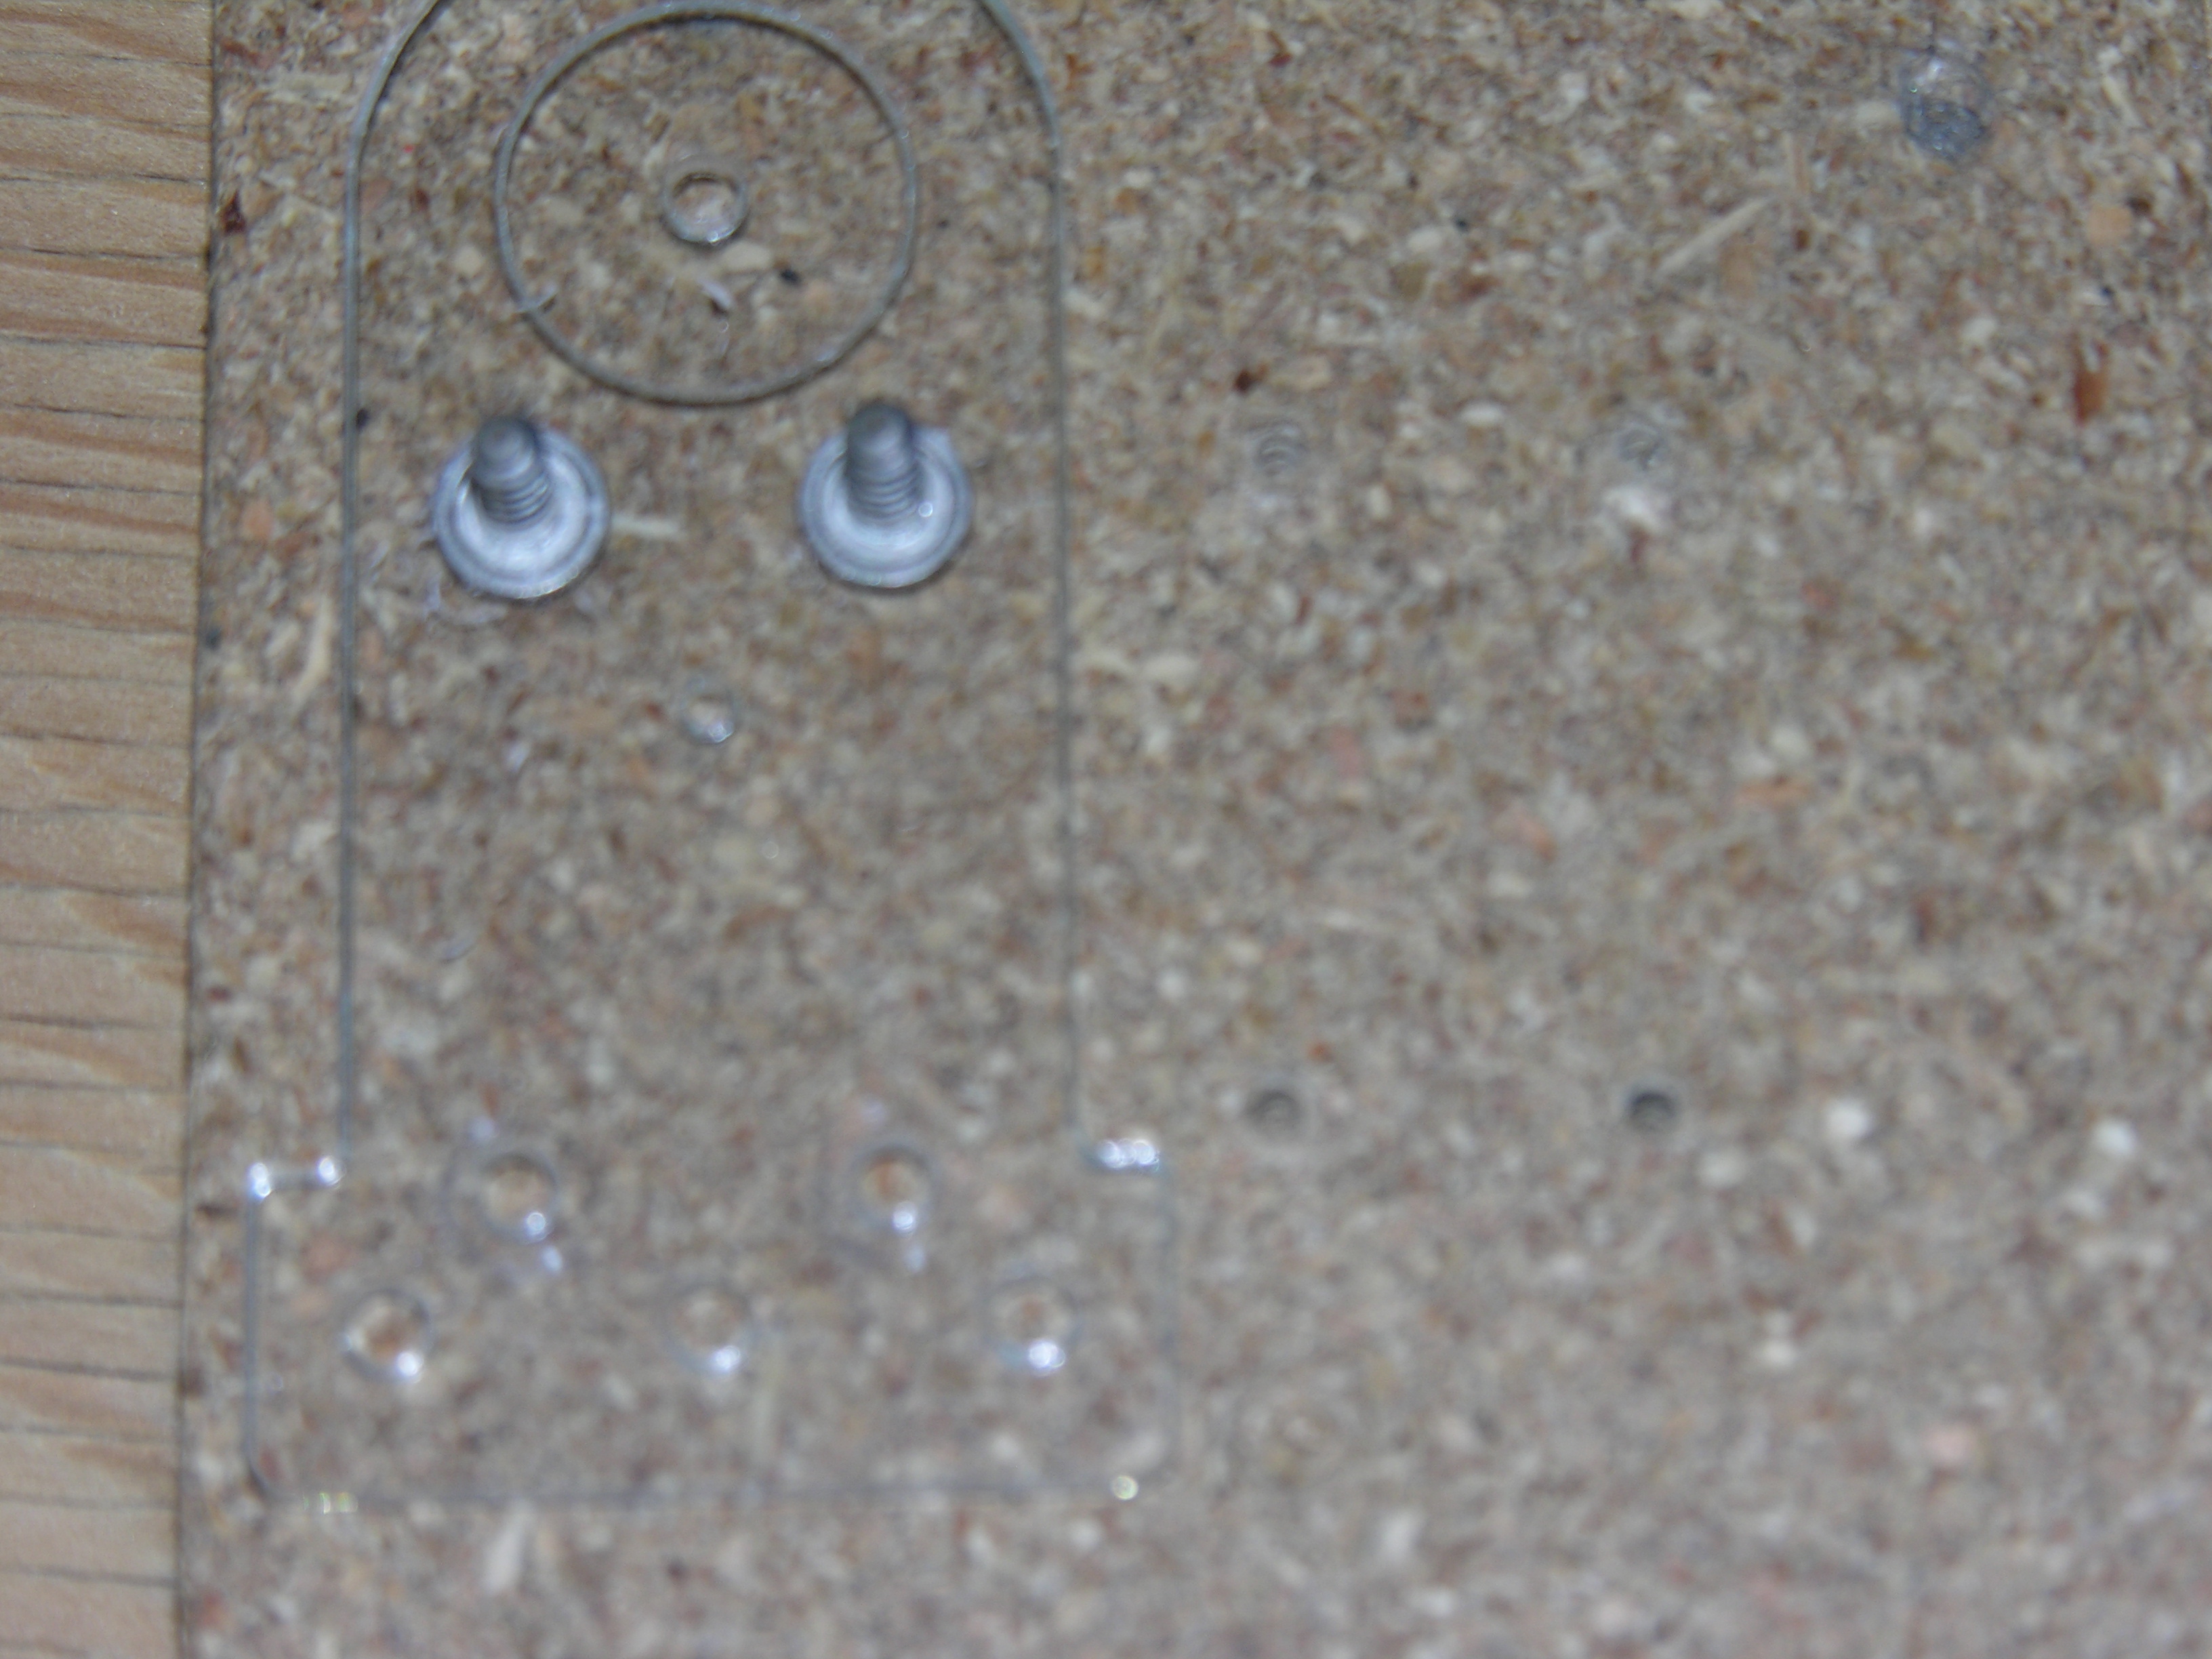
 Remove
the template and screws from the wood, and drive the top two screws
fully through the template. Remove
the template and screws from the wood, and drive the top two screws
fully through the template. |
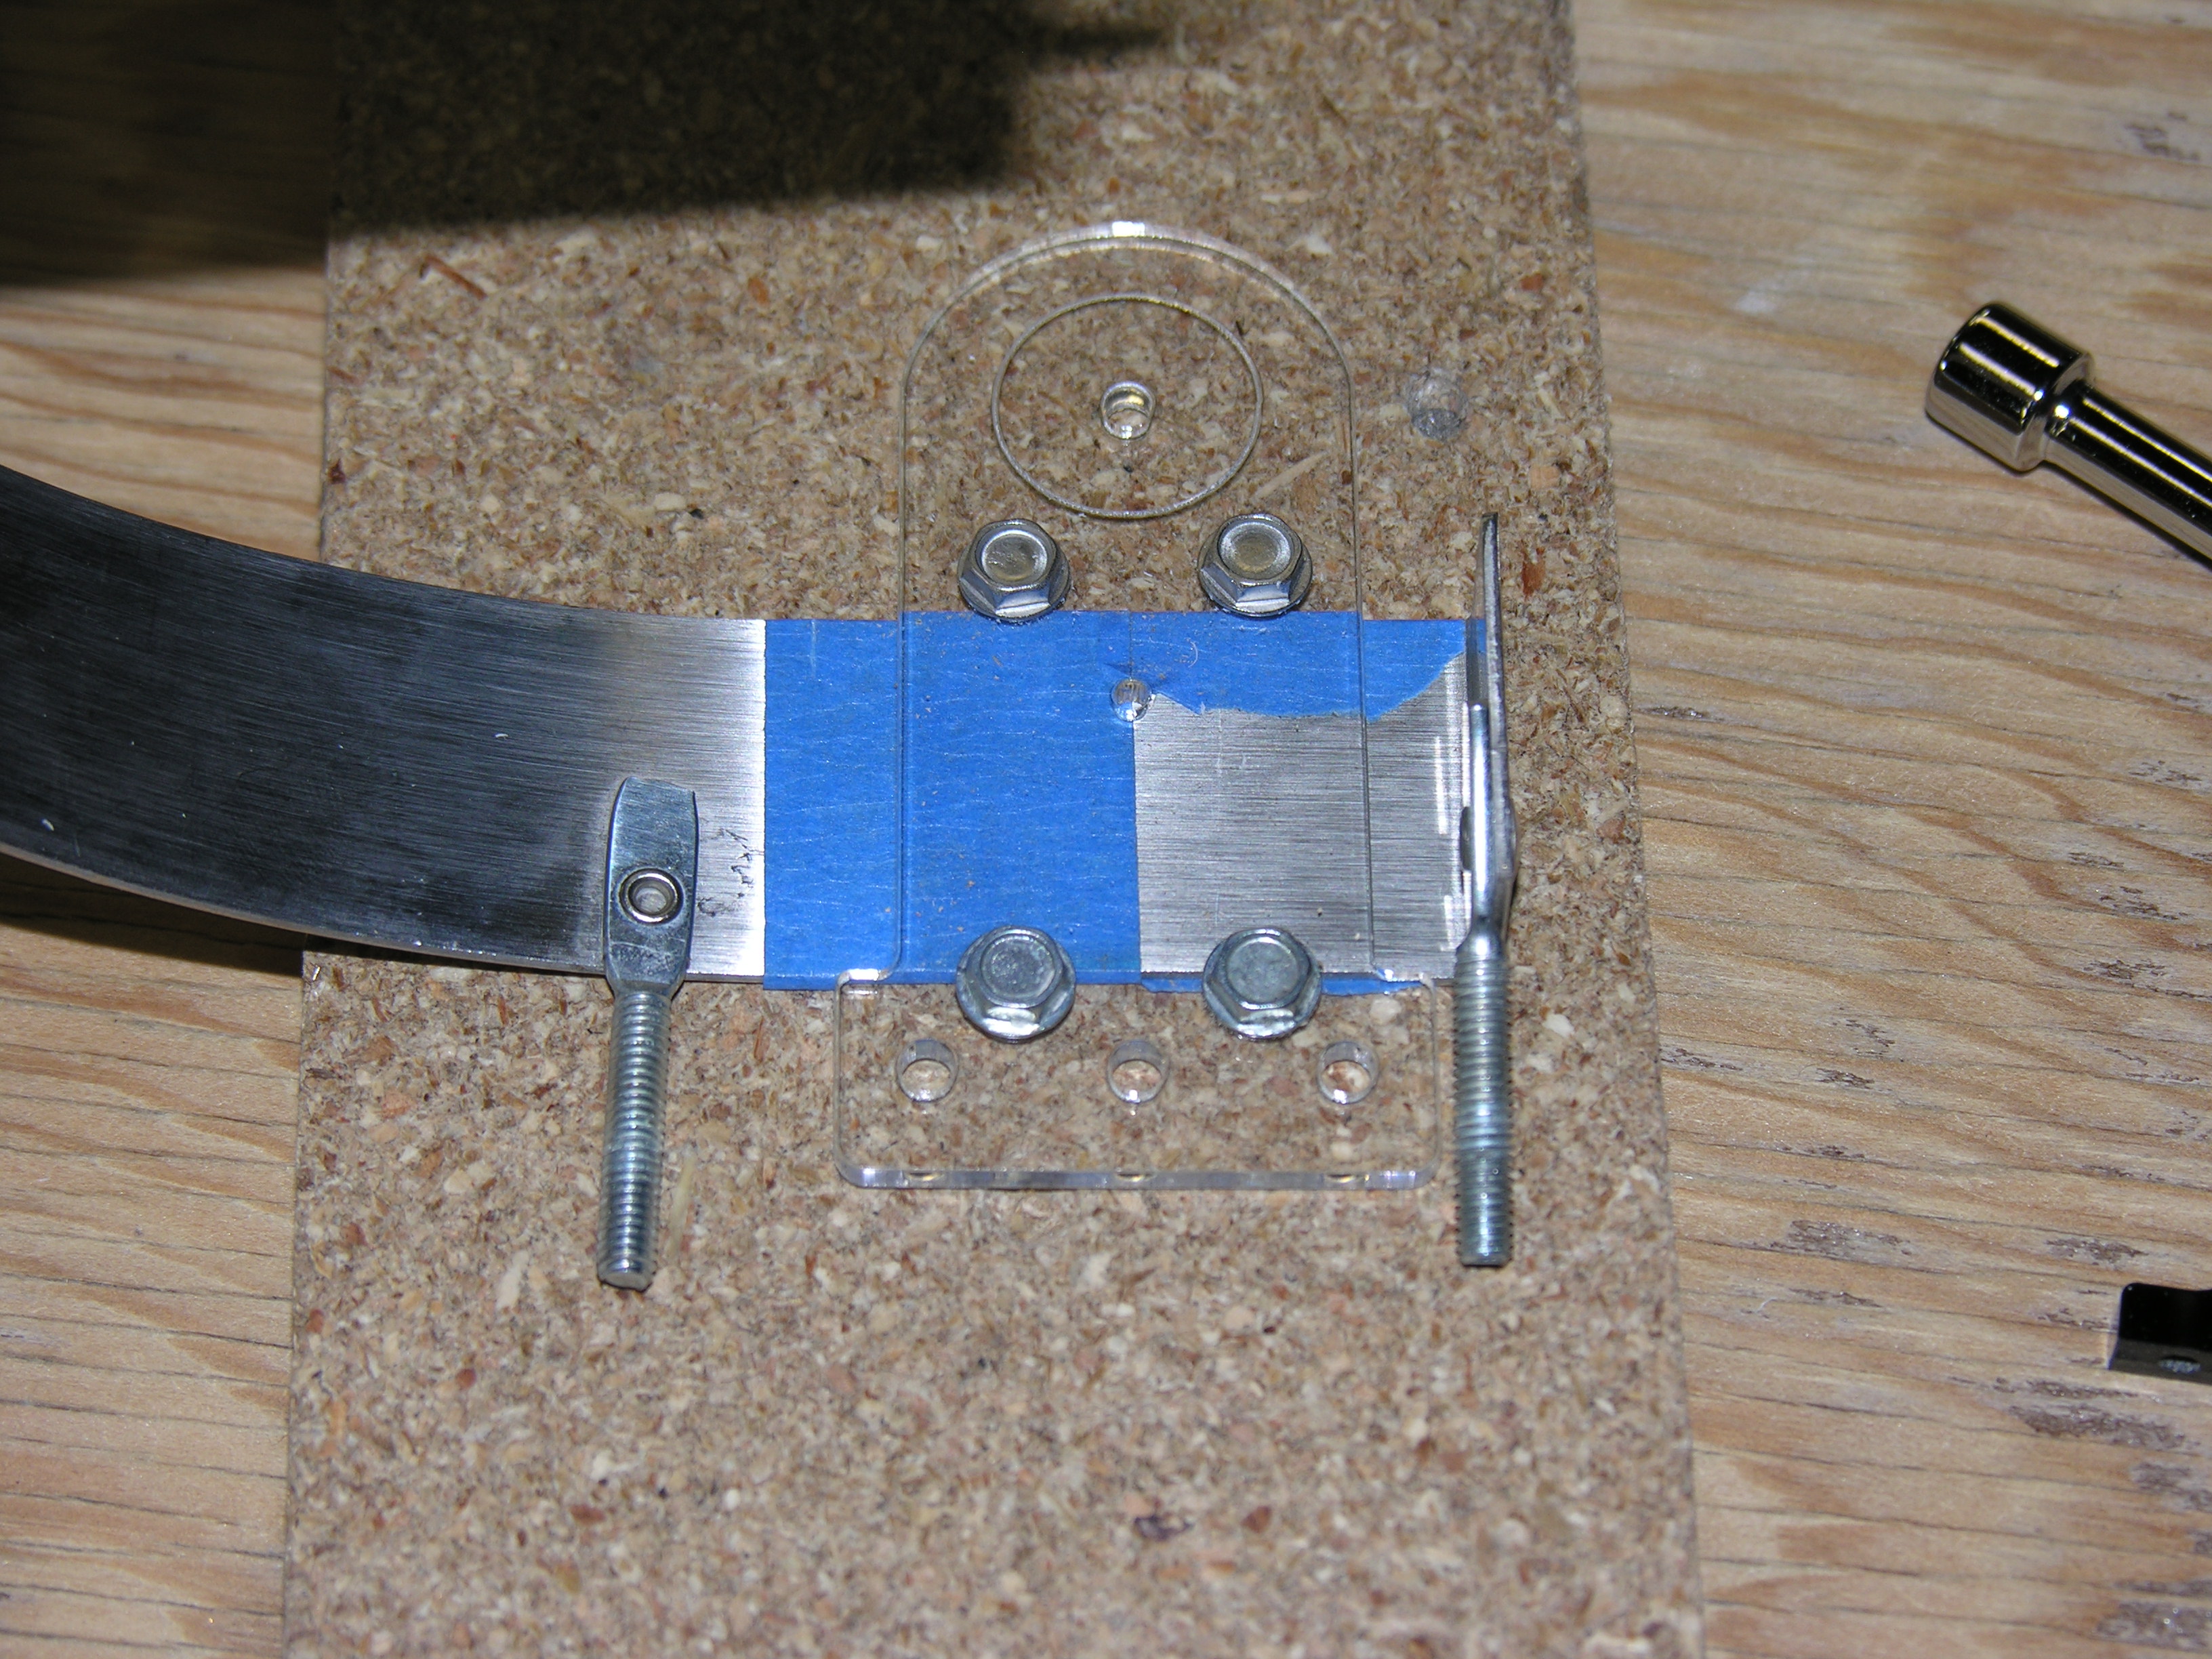
 Screw
the template back into the wood with just the top screw, most of the way
down. Insert a guide so that the edge of the tape aligns with the pilot
hole. Put the bottom screws in, and tighten it down. Make sure that
everything is aligned. Remember, you want a hole near the top and
aligned with the magnet. Screw
the template back into the wood with just the top screw, most of the way
down. Insert a guide so that the edge of the tape aligns with the pilot
hole. Put the bottom screws in, and tighten it down. Make sure that
everything is aligned. Remember, you want a hole near the top and
aligned with the magnet. |
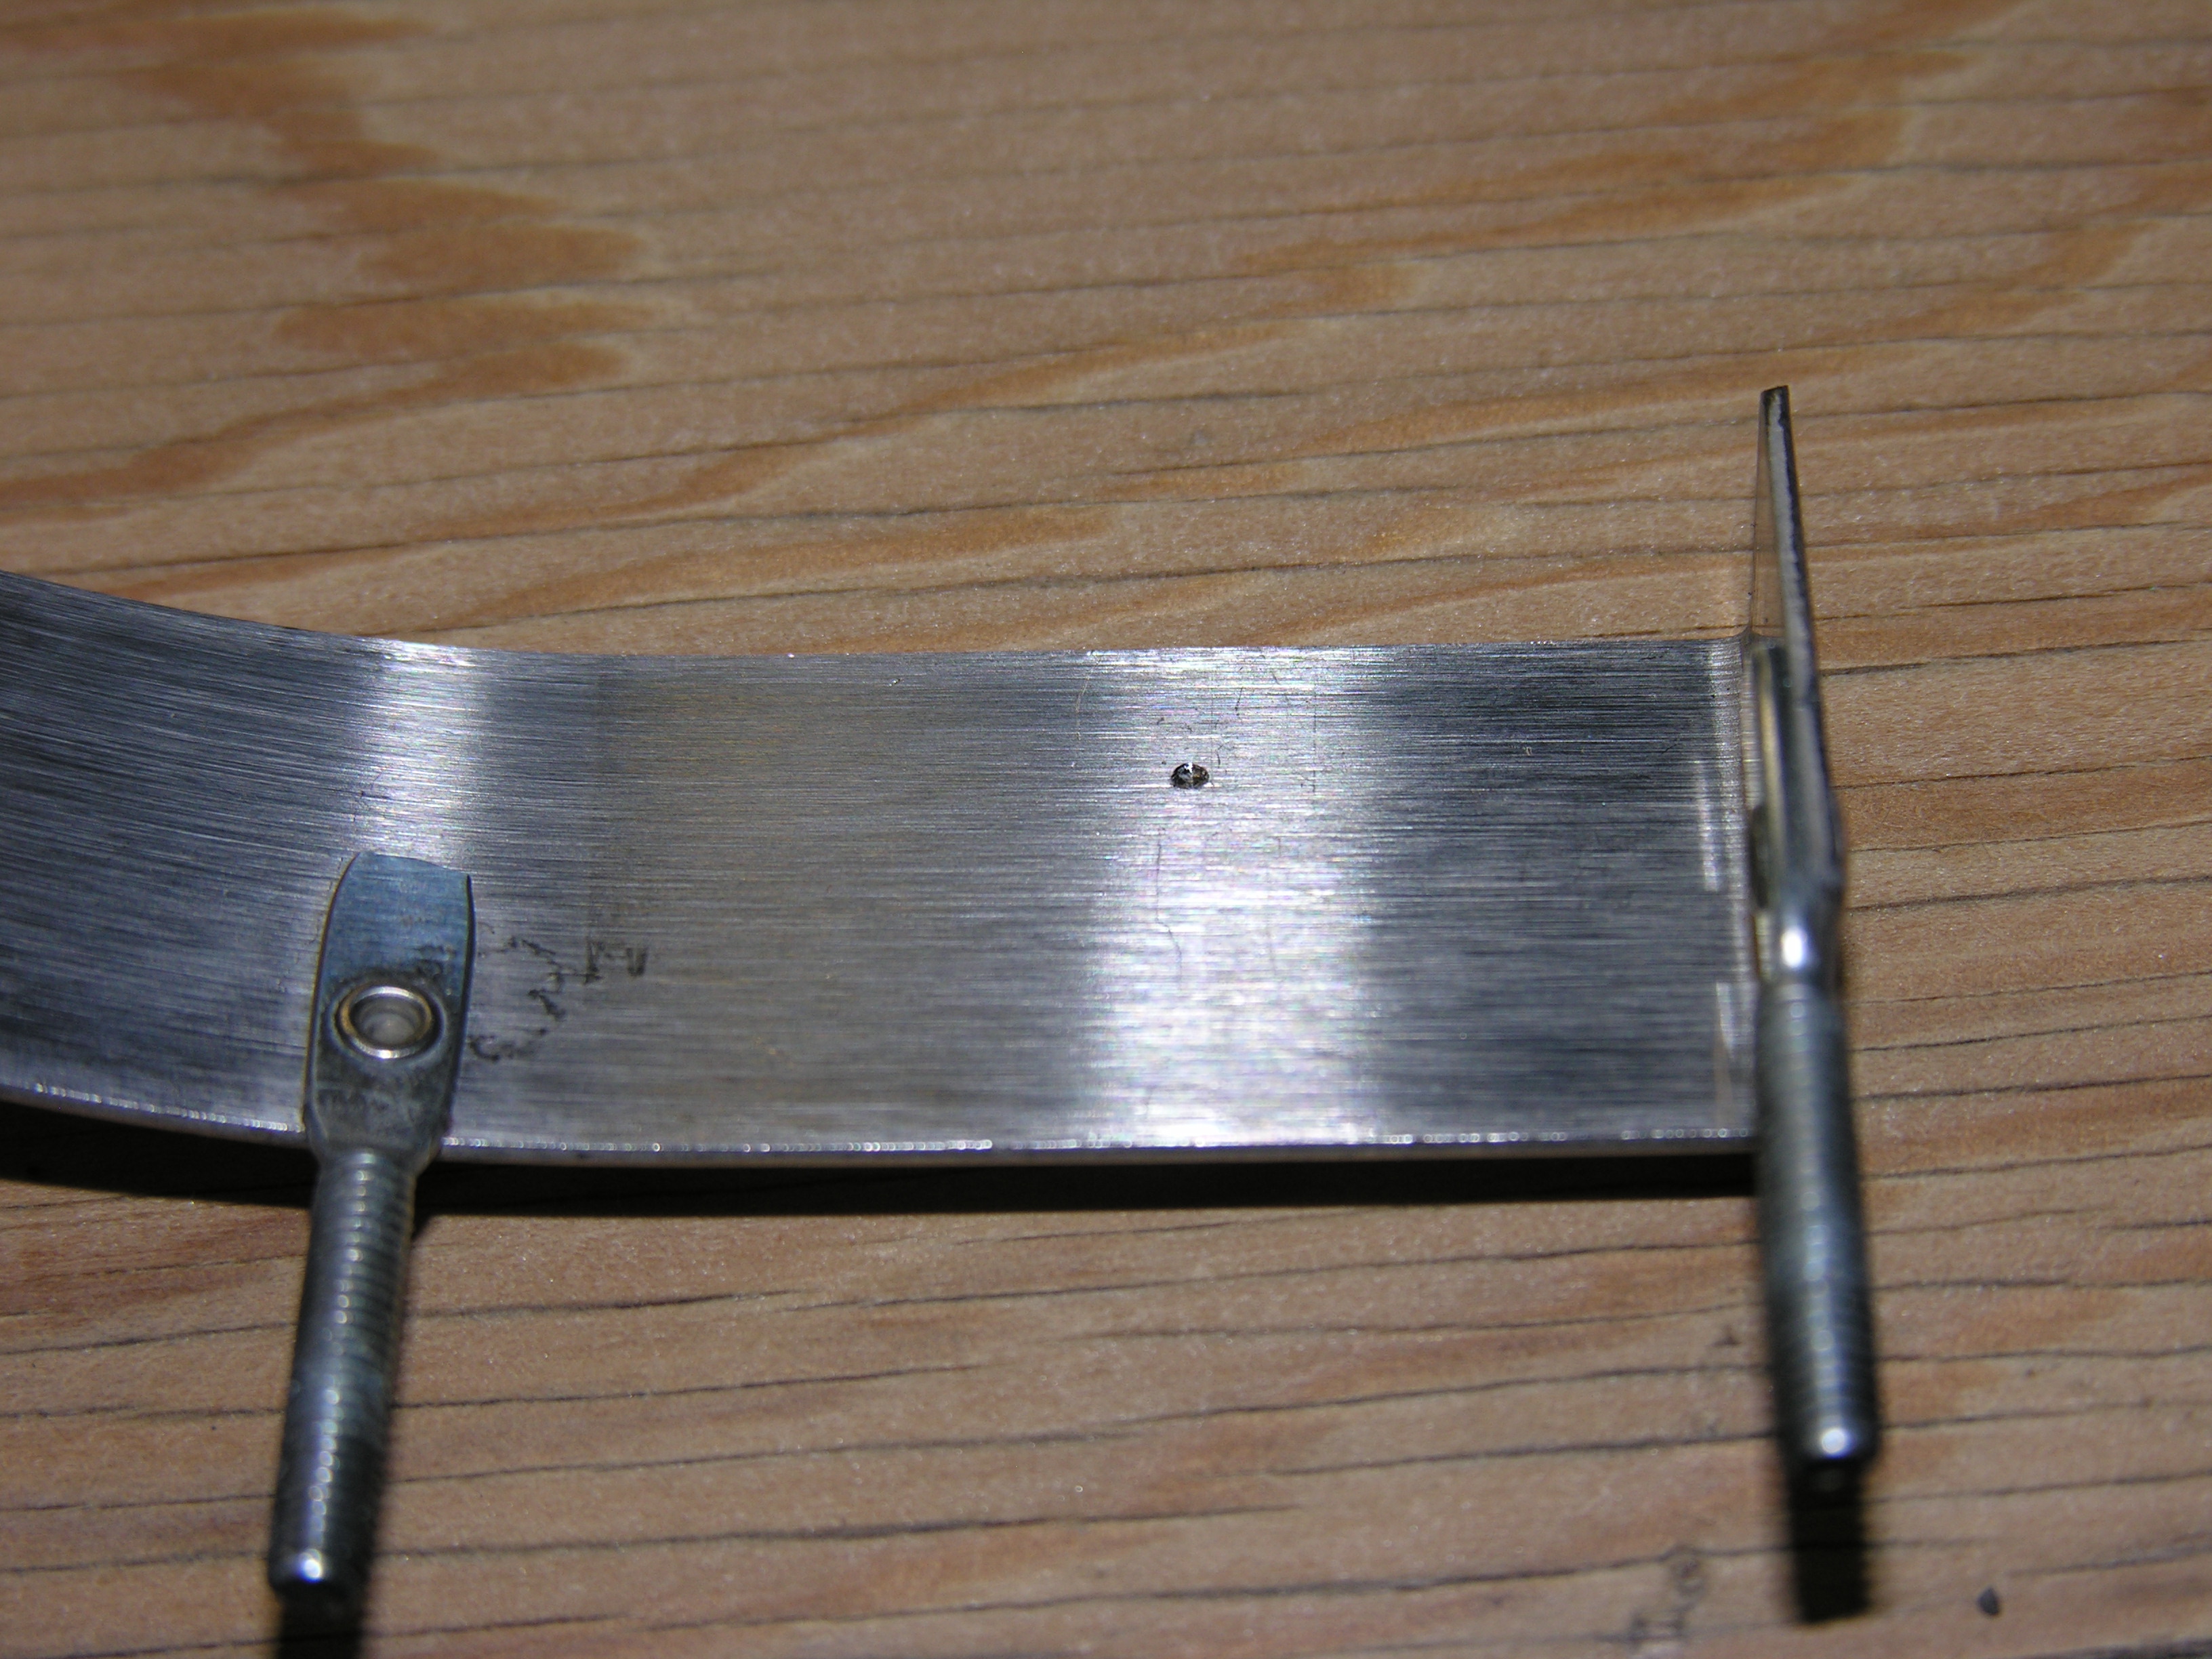
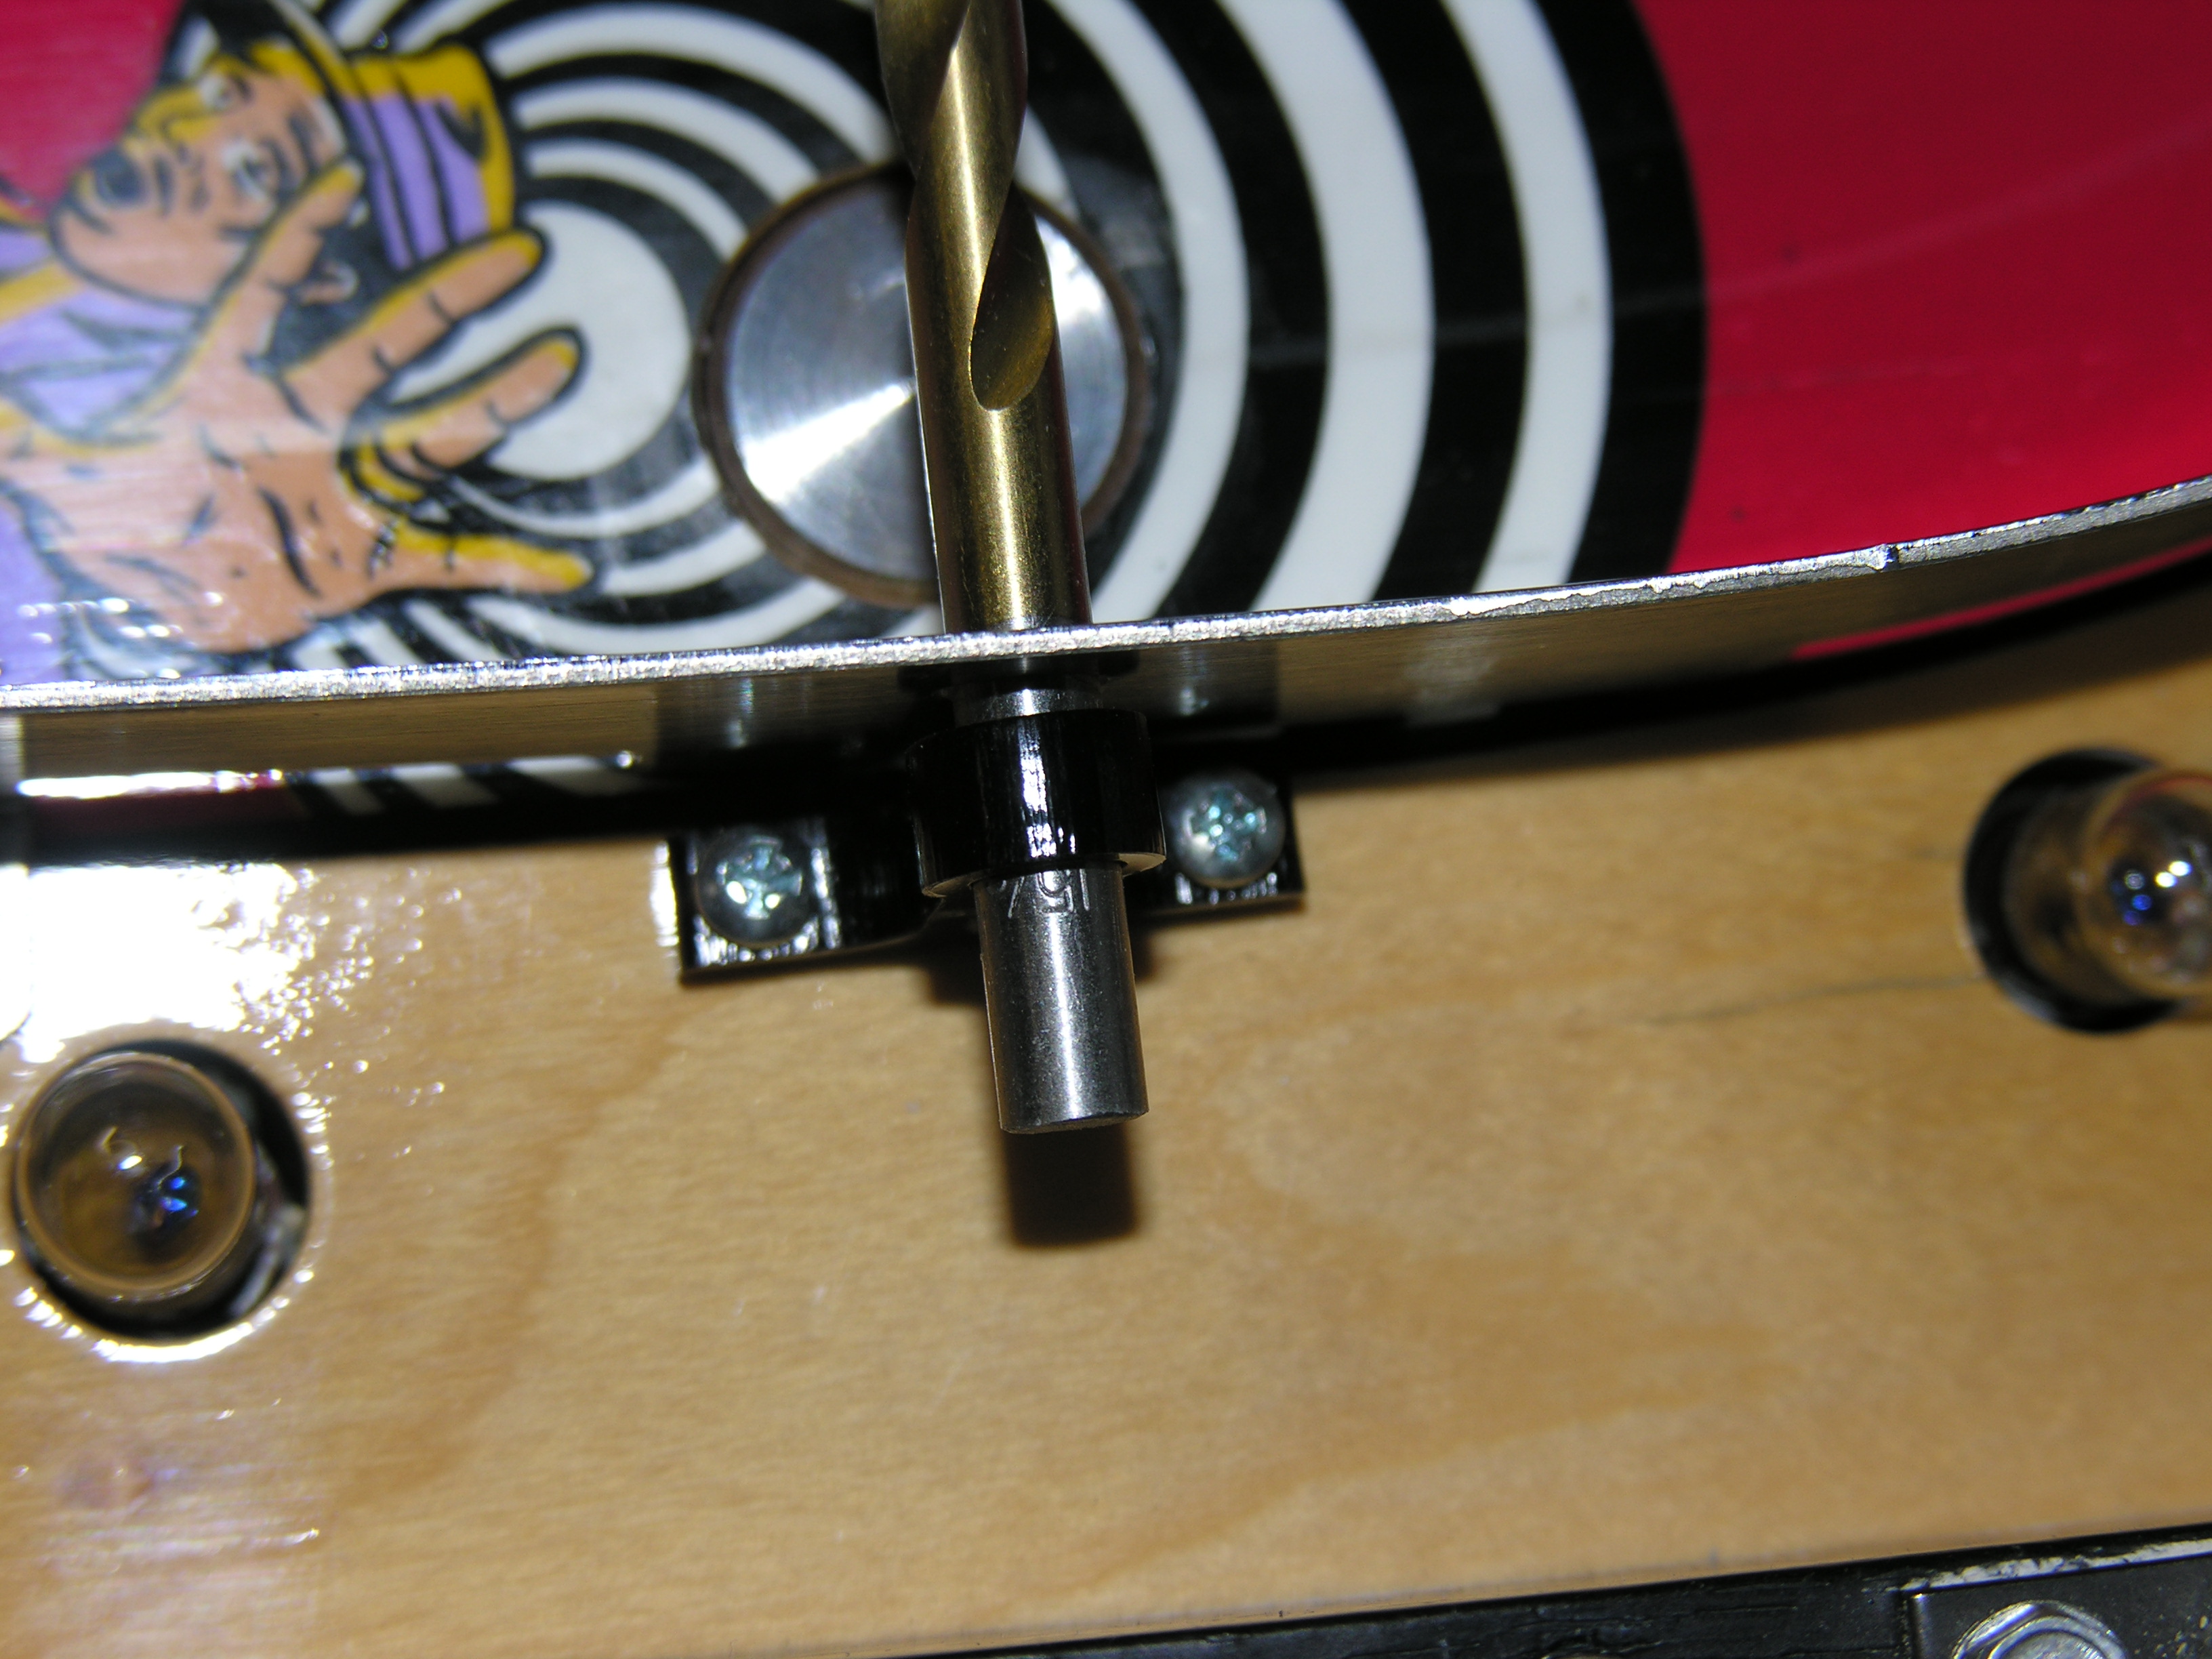
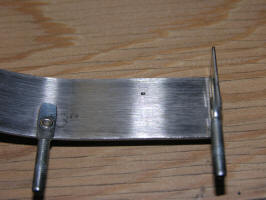
 Use
a small drill to make a pilot hole. I used 1/8" and a drop of WD-40. You
will be fighting a bit with the other end of the ball guide. Use
a small drill to make a pilot hole. I used 1/8" and a drop of WD-40. You
will be fighting a bit with the other end of the ball guide. |
 Once
you have a dimple, you can take the guide out of the template. Once
you have a dimple, you can take the guide out of the template. |
 I
drilled the first one all the way through. It turns out that a dimple is
enough. I
drilled the first one all the way through. It turns out that a dimple is
enough. |
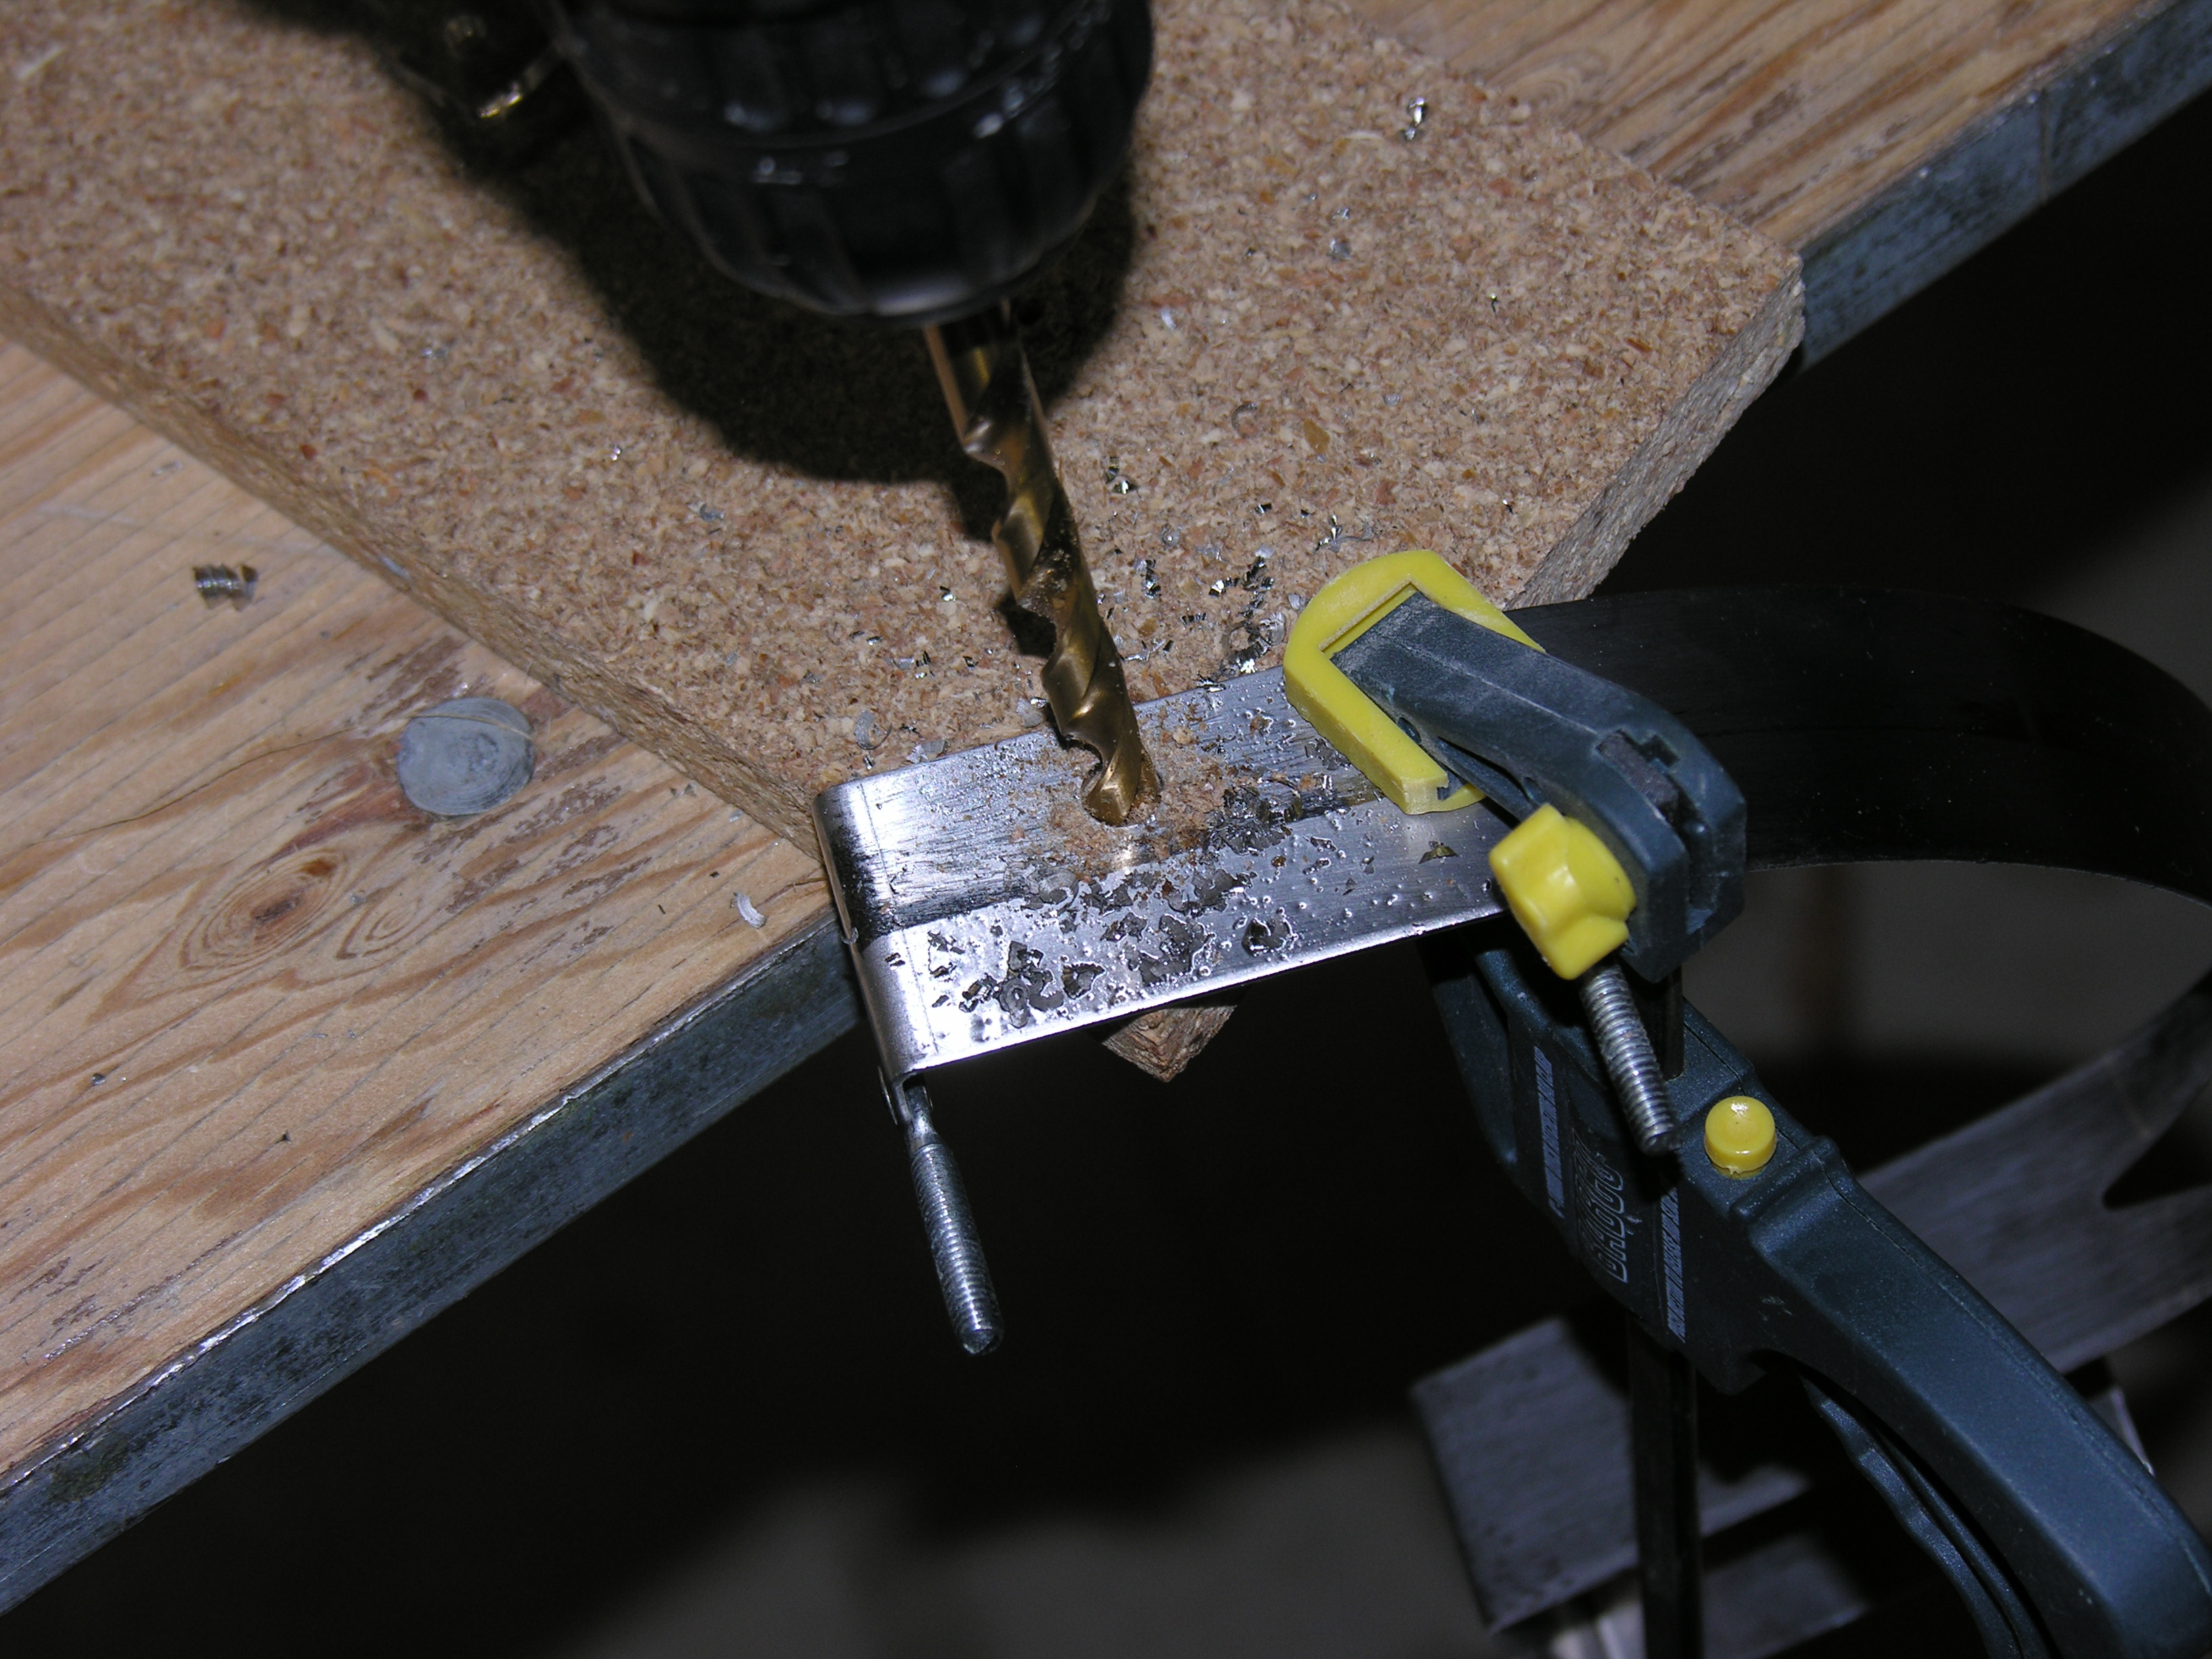
 Next,
I used a 17/64 drill to make my opto hole. I went a little bigger than
1/4" for test purposes. Again, a little WD-40 helps. Clean the rough
edges of the hole by hand with a bigger drill when you are done. Next,
I used a 17/64 drill to make my opto hole. I went a little bigger than
1/4" for test purposes. Again, a little WD-40 helps. Clean the rough
edges of the hole by hand with a bigger drill when you are done. |
 Repeat
for the other guide. Here's why you have to be towards the right.
There's a bracket that interferes with the scrap wood. Repeat
for the other guide. Here's why you have to be towards the right.
There's a bracket that interferes with the scrap wood. |
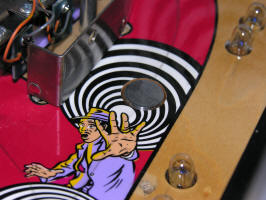 Here's
the first one installed in the machine. Here's
the first one installed in the machine. |
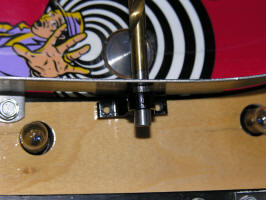
 And
the second, with a 1/4" Lucite bar through the holes. As you can see,
the template makes this very easy. And
the second, with a 1/4" Lucite bar through the holes. As you can see,
the template makes this very easy. |
 Remove
the opto brackets from the boards by unscrewing the #4 screws. Remove
the opto brackets from the boards by unscrewing the #4 screws. |
 Insert
a drill through both holes - 3/16" is good - and put the opto on it for
alignment. You want to be 1/* or ao away from the guide. Drill a
pilot, and insert the first screw. Insert
a drill through both holes - 3/16" is good - and put the opto on it for
alignment. You want to be 1/* or ao away from the guide. Drill a
pilot, and insert the first screw. |
 Check
alignment, drill the other pilot hole, and insert the second screw. No
need to go tight yet. Check
alignment, drill the other pilot hole, and insert the second screw. No
need to go tight yet.
Remove the screws and plastic when done. |
 Repeat
for the other side. The ball guides are not parallel, the drill is your
guide! Repeat
for the other side. The ball guides are not parallel, the drill is your
guide! |
 Reassemble
the opto boards to the plastic. The dimples are on the board side. They
accommodate the connector wires. Tighten the screws to snug, don't
overdo it. You could put a drop of CA adhesive in the threads first,
these won't need to be disassembled again. Reassemble
the opto boards to the plastic. The dimples are on the board side. They
accommodate the connector wires. Tighten the screws to snug, don't
overdo it. You could put a drop of CA adhesive in the threads first,
these won't need to be disassembled again. |
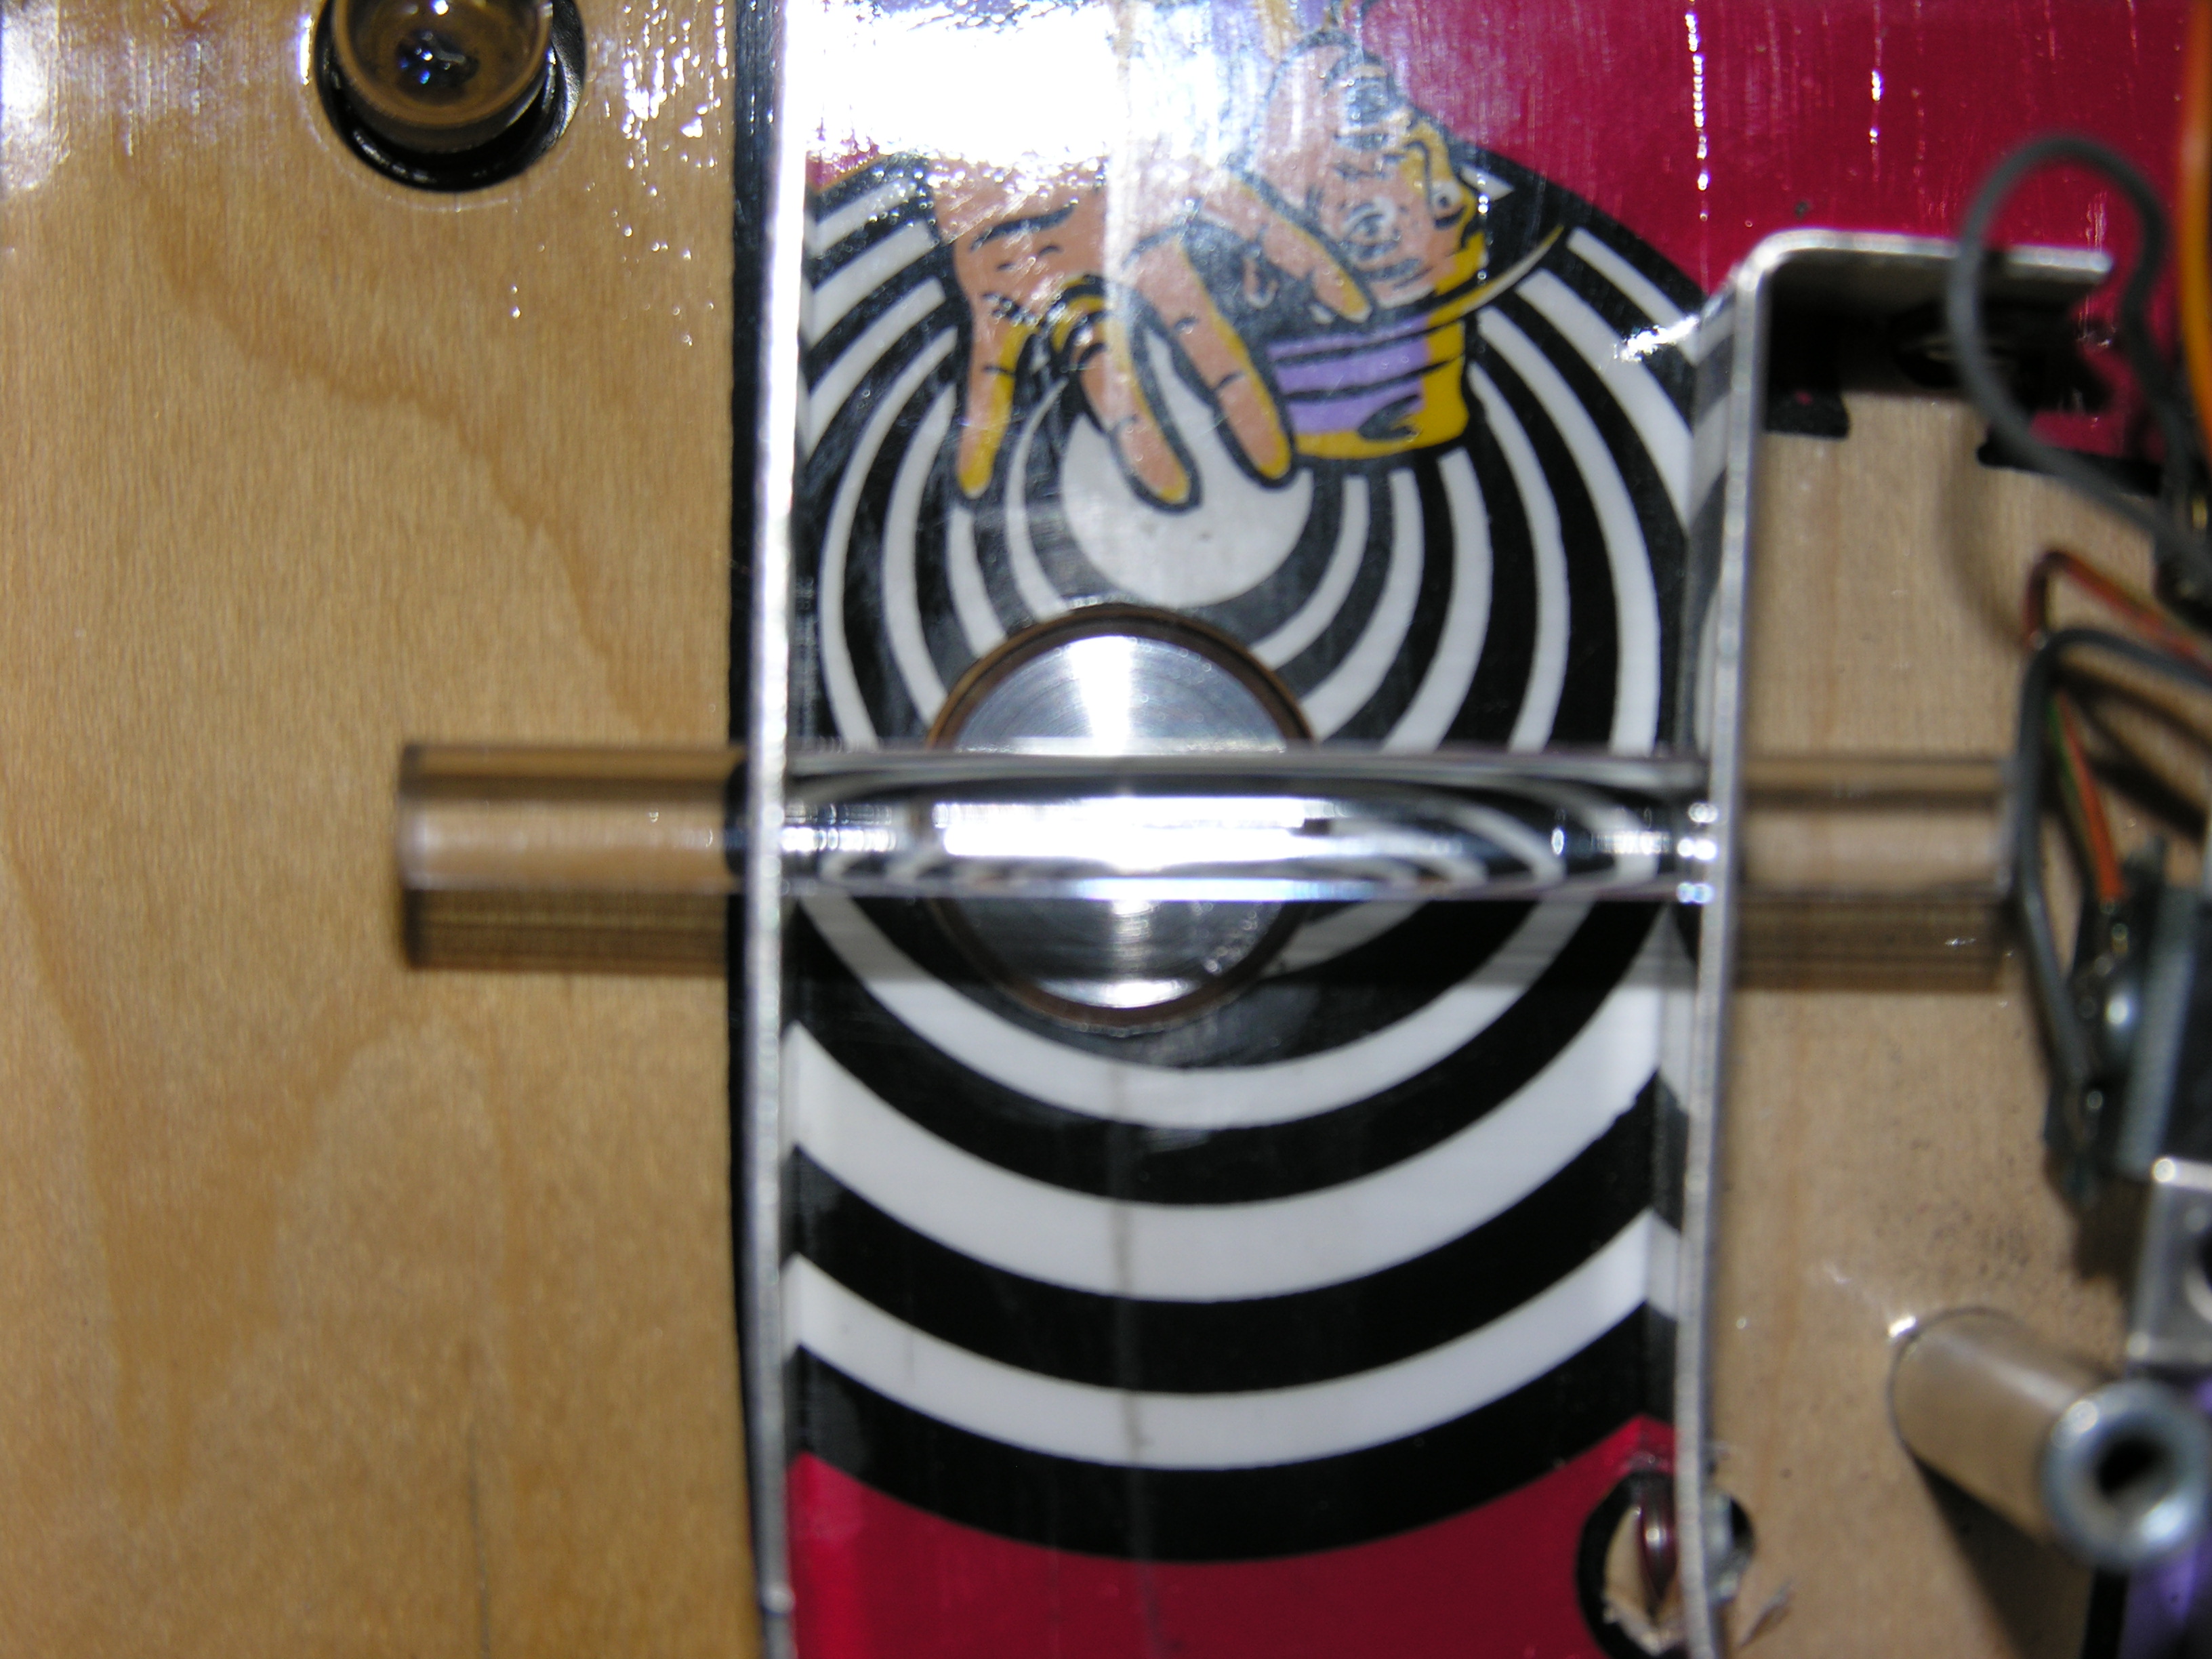
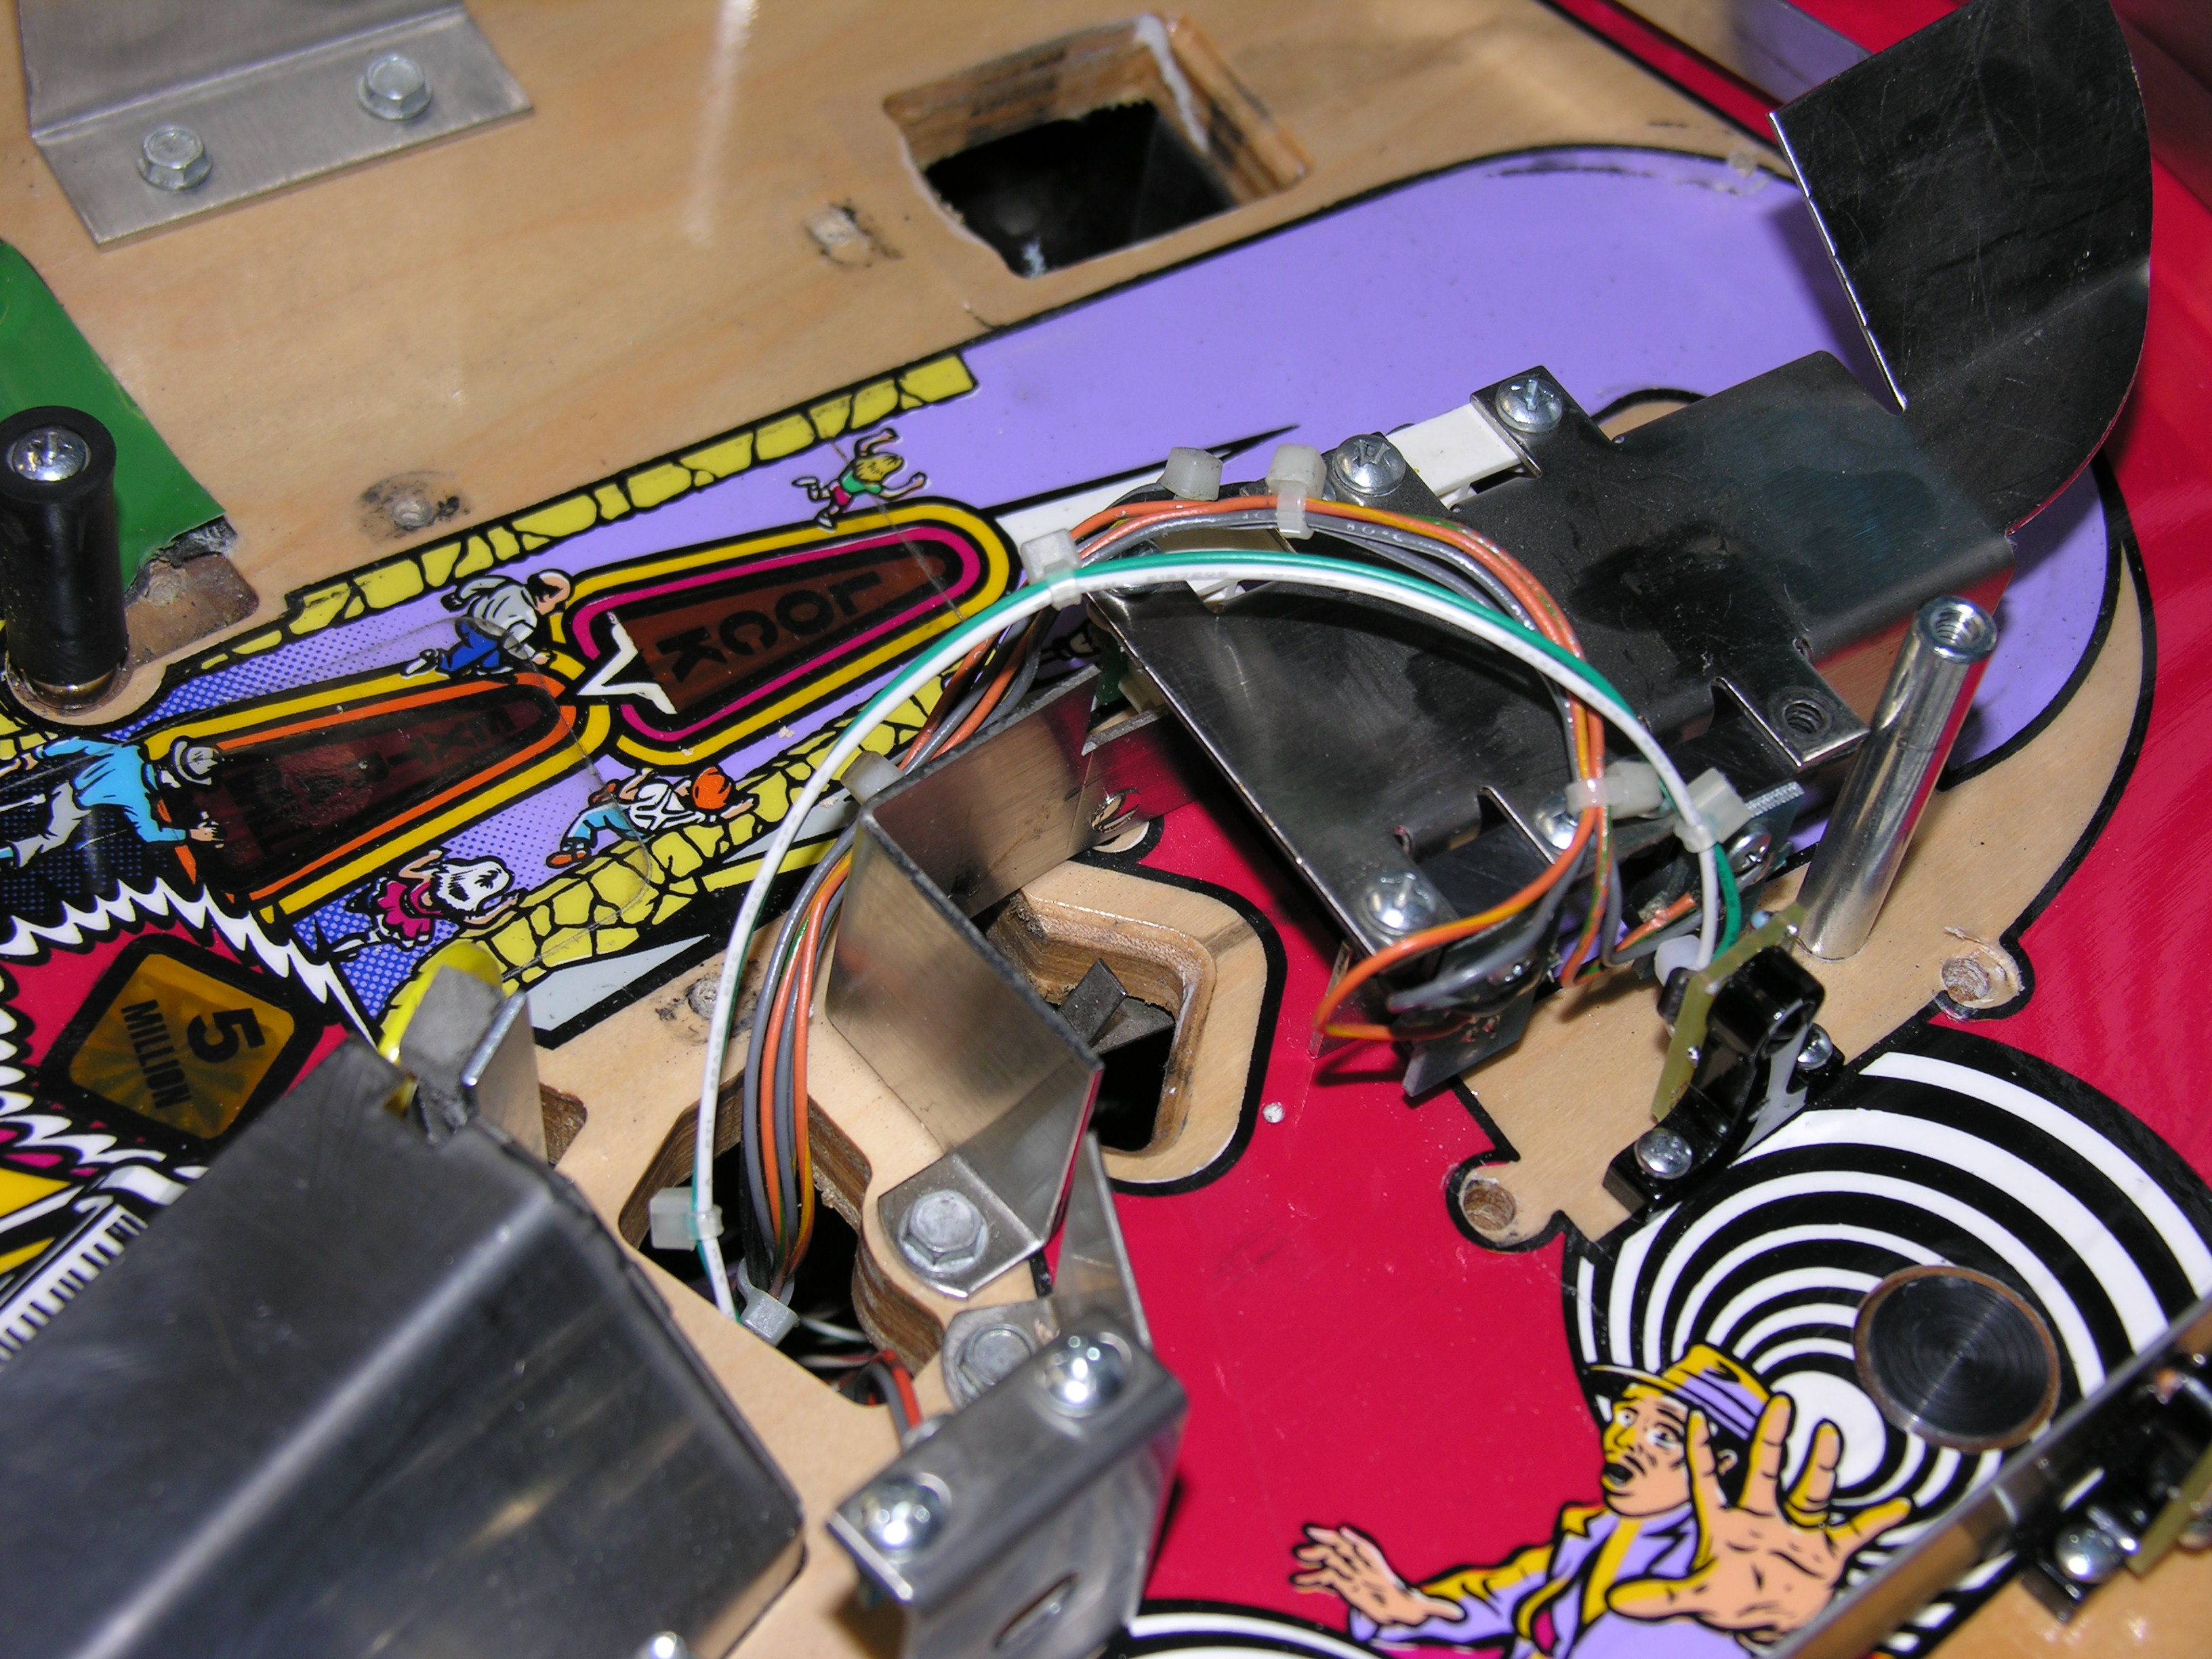
 Put
the optos in the machine. Don't tighten them down to much. Acrylic is
strong but brute force will crack it. Put
the optos in the machine. Don't tighten them down to much. Acrylic is
strong but brute force will crack it.Dress the wires as you like. The
receiver wires run as shown. |
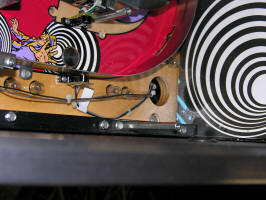 And
here are the transmitter opto and wires. And
here are the transmitter opto and wires.
That's it for wiring, connect them up under the playfield and
re-assemble the machine. |
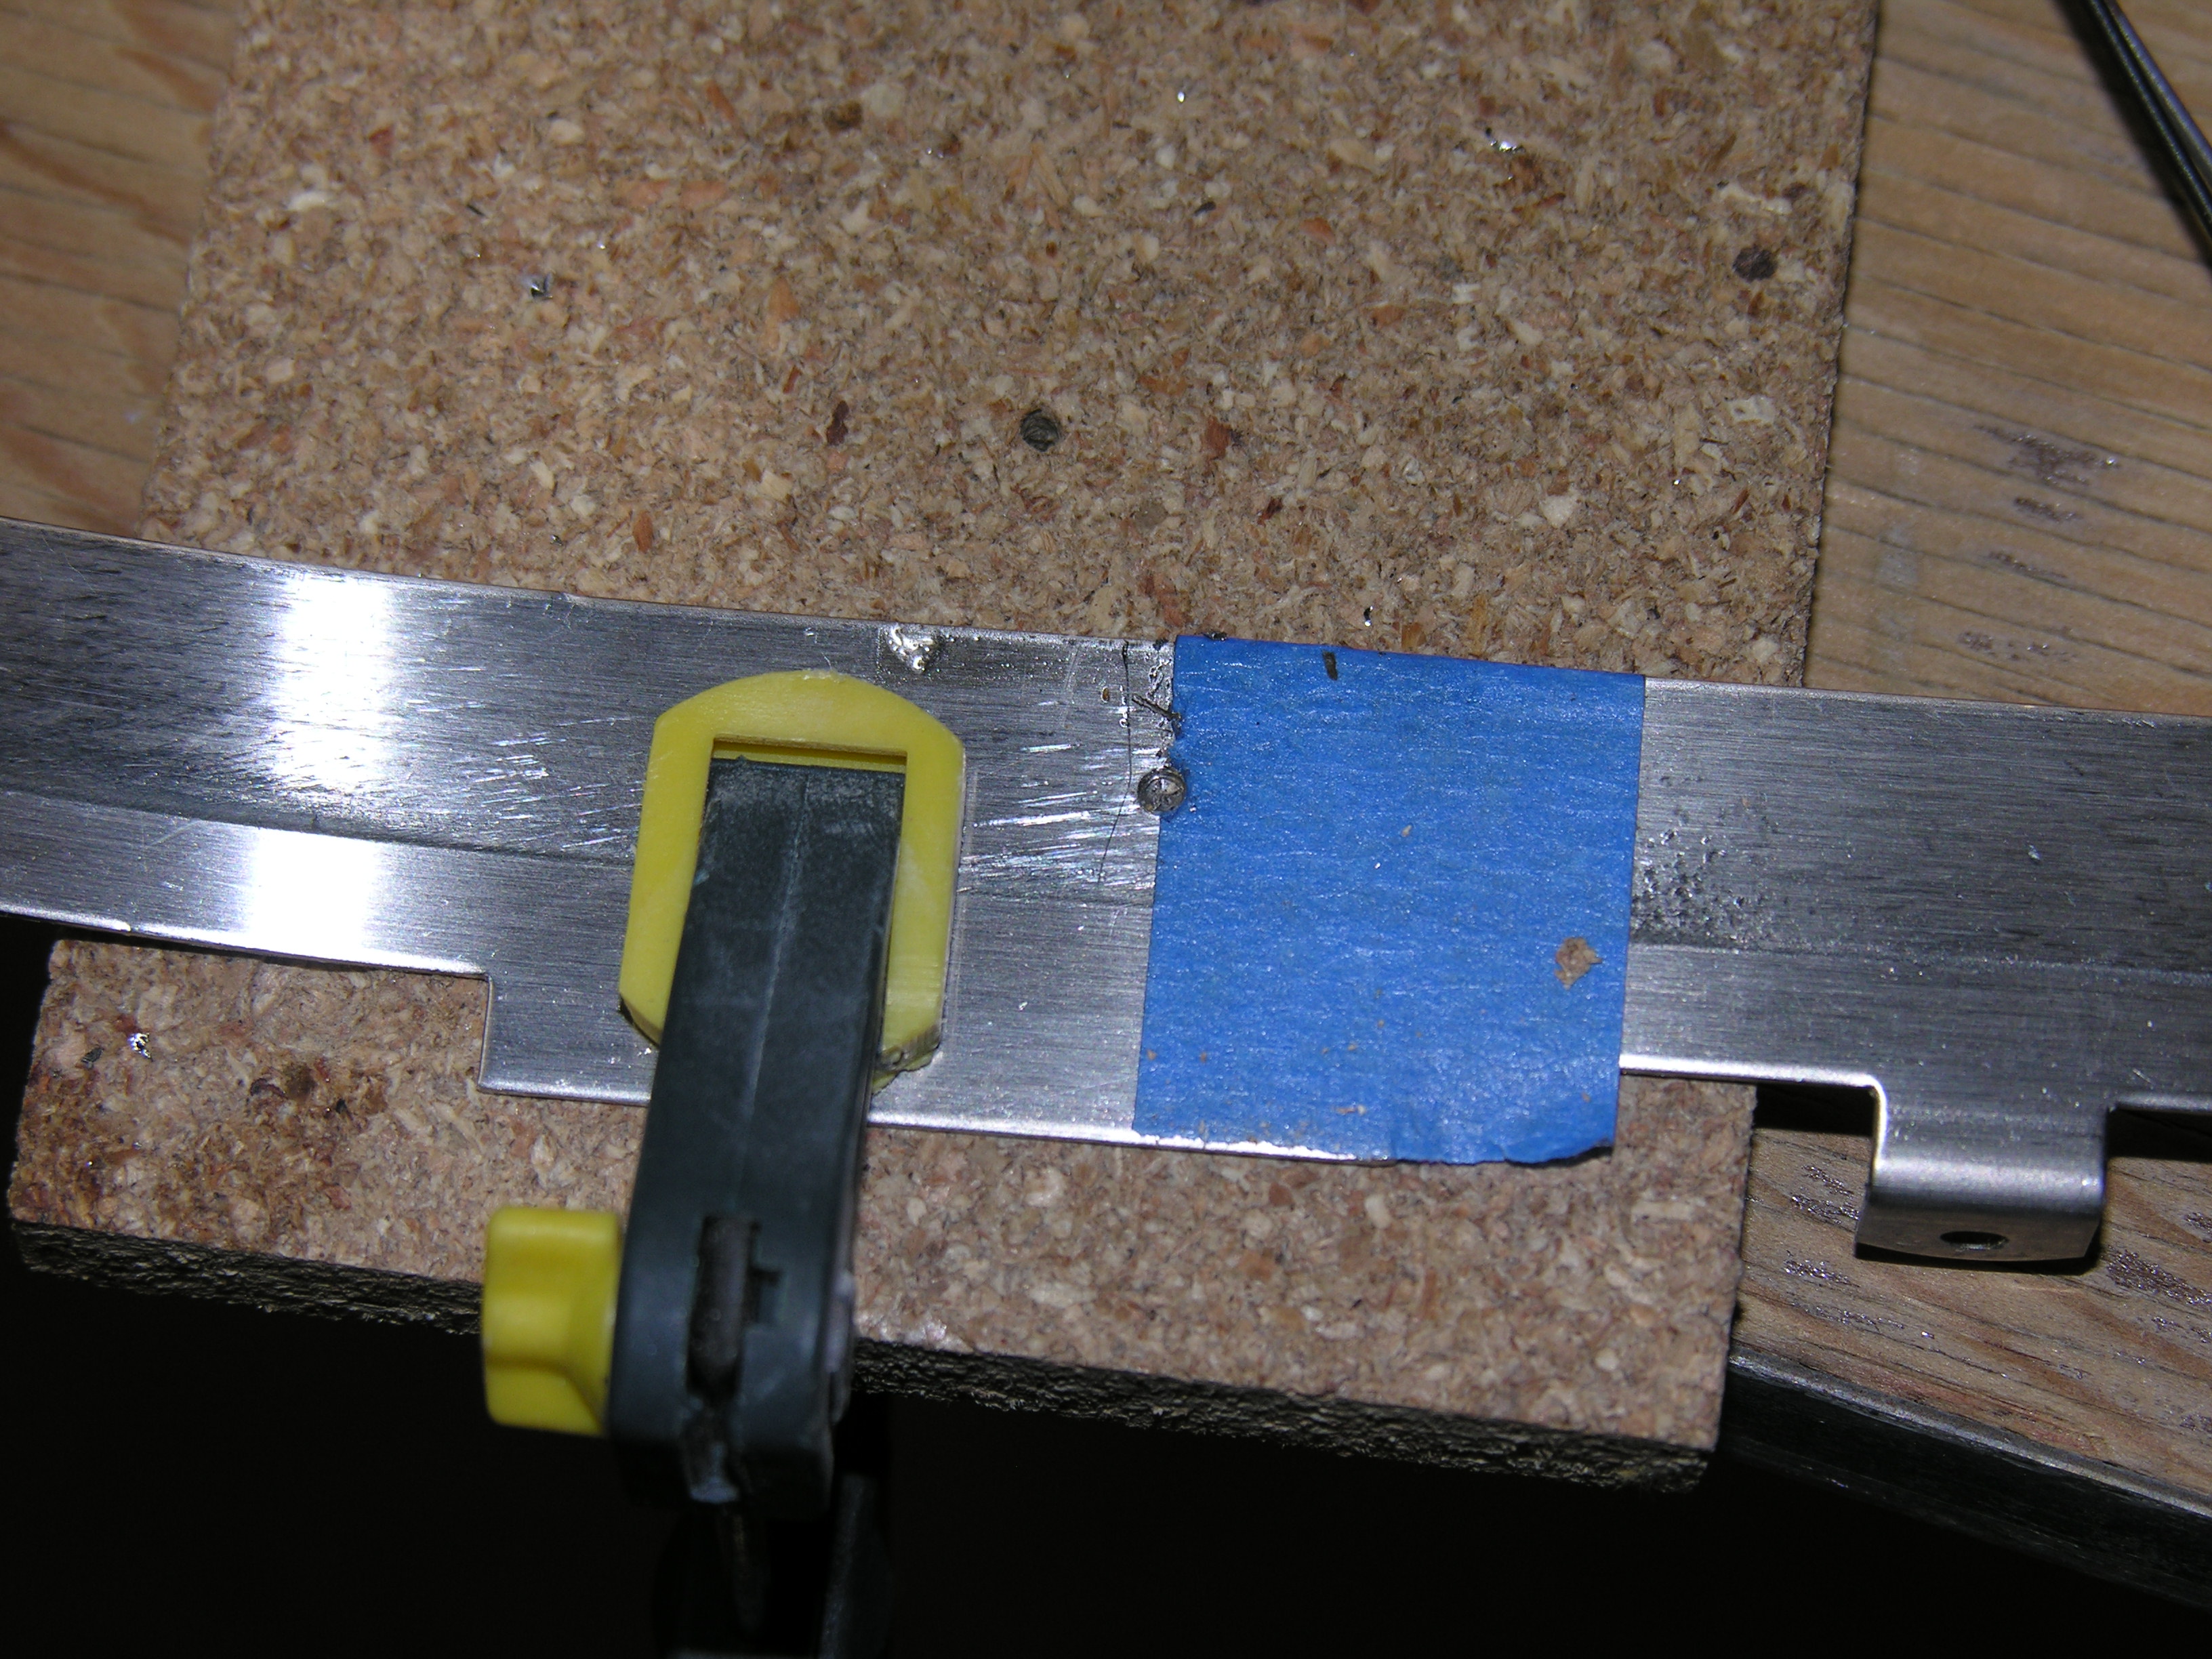
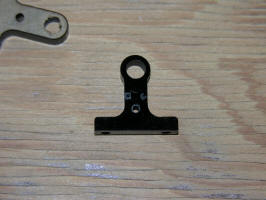
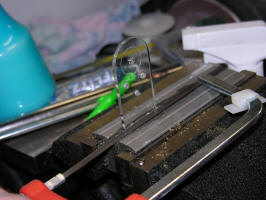 Last
step. We're almost done with the template. Put it in a vise, score it
with a saw and then whack it with your hand. It will break into to
parts. the top part is scrap, we want the piece left in the vise, which
is part of the magnet spacer. Last
step. We're almost done with the template. Put it in a vise, score it
with a saw and then whack it with your hand. It will break into to
parts. the top part is scrap, we want the piece left in the vise, which
is part of the magnet spacer. |
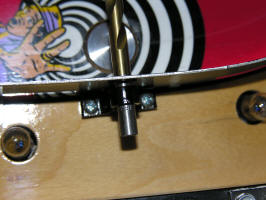
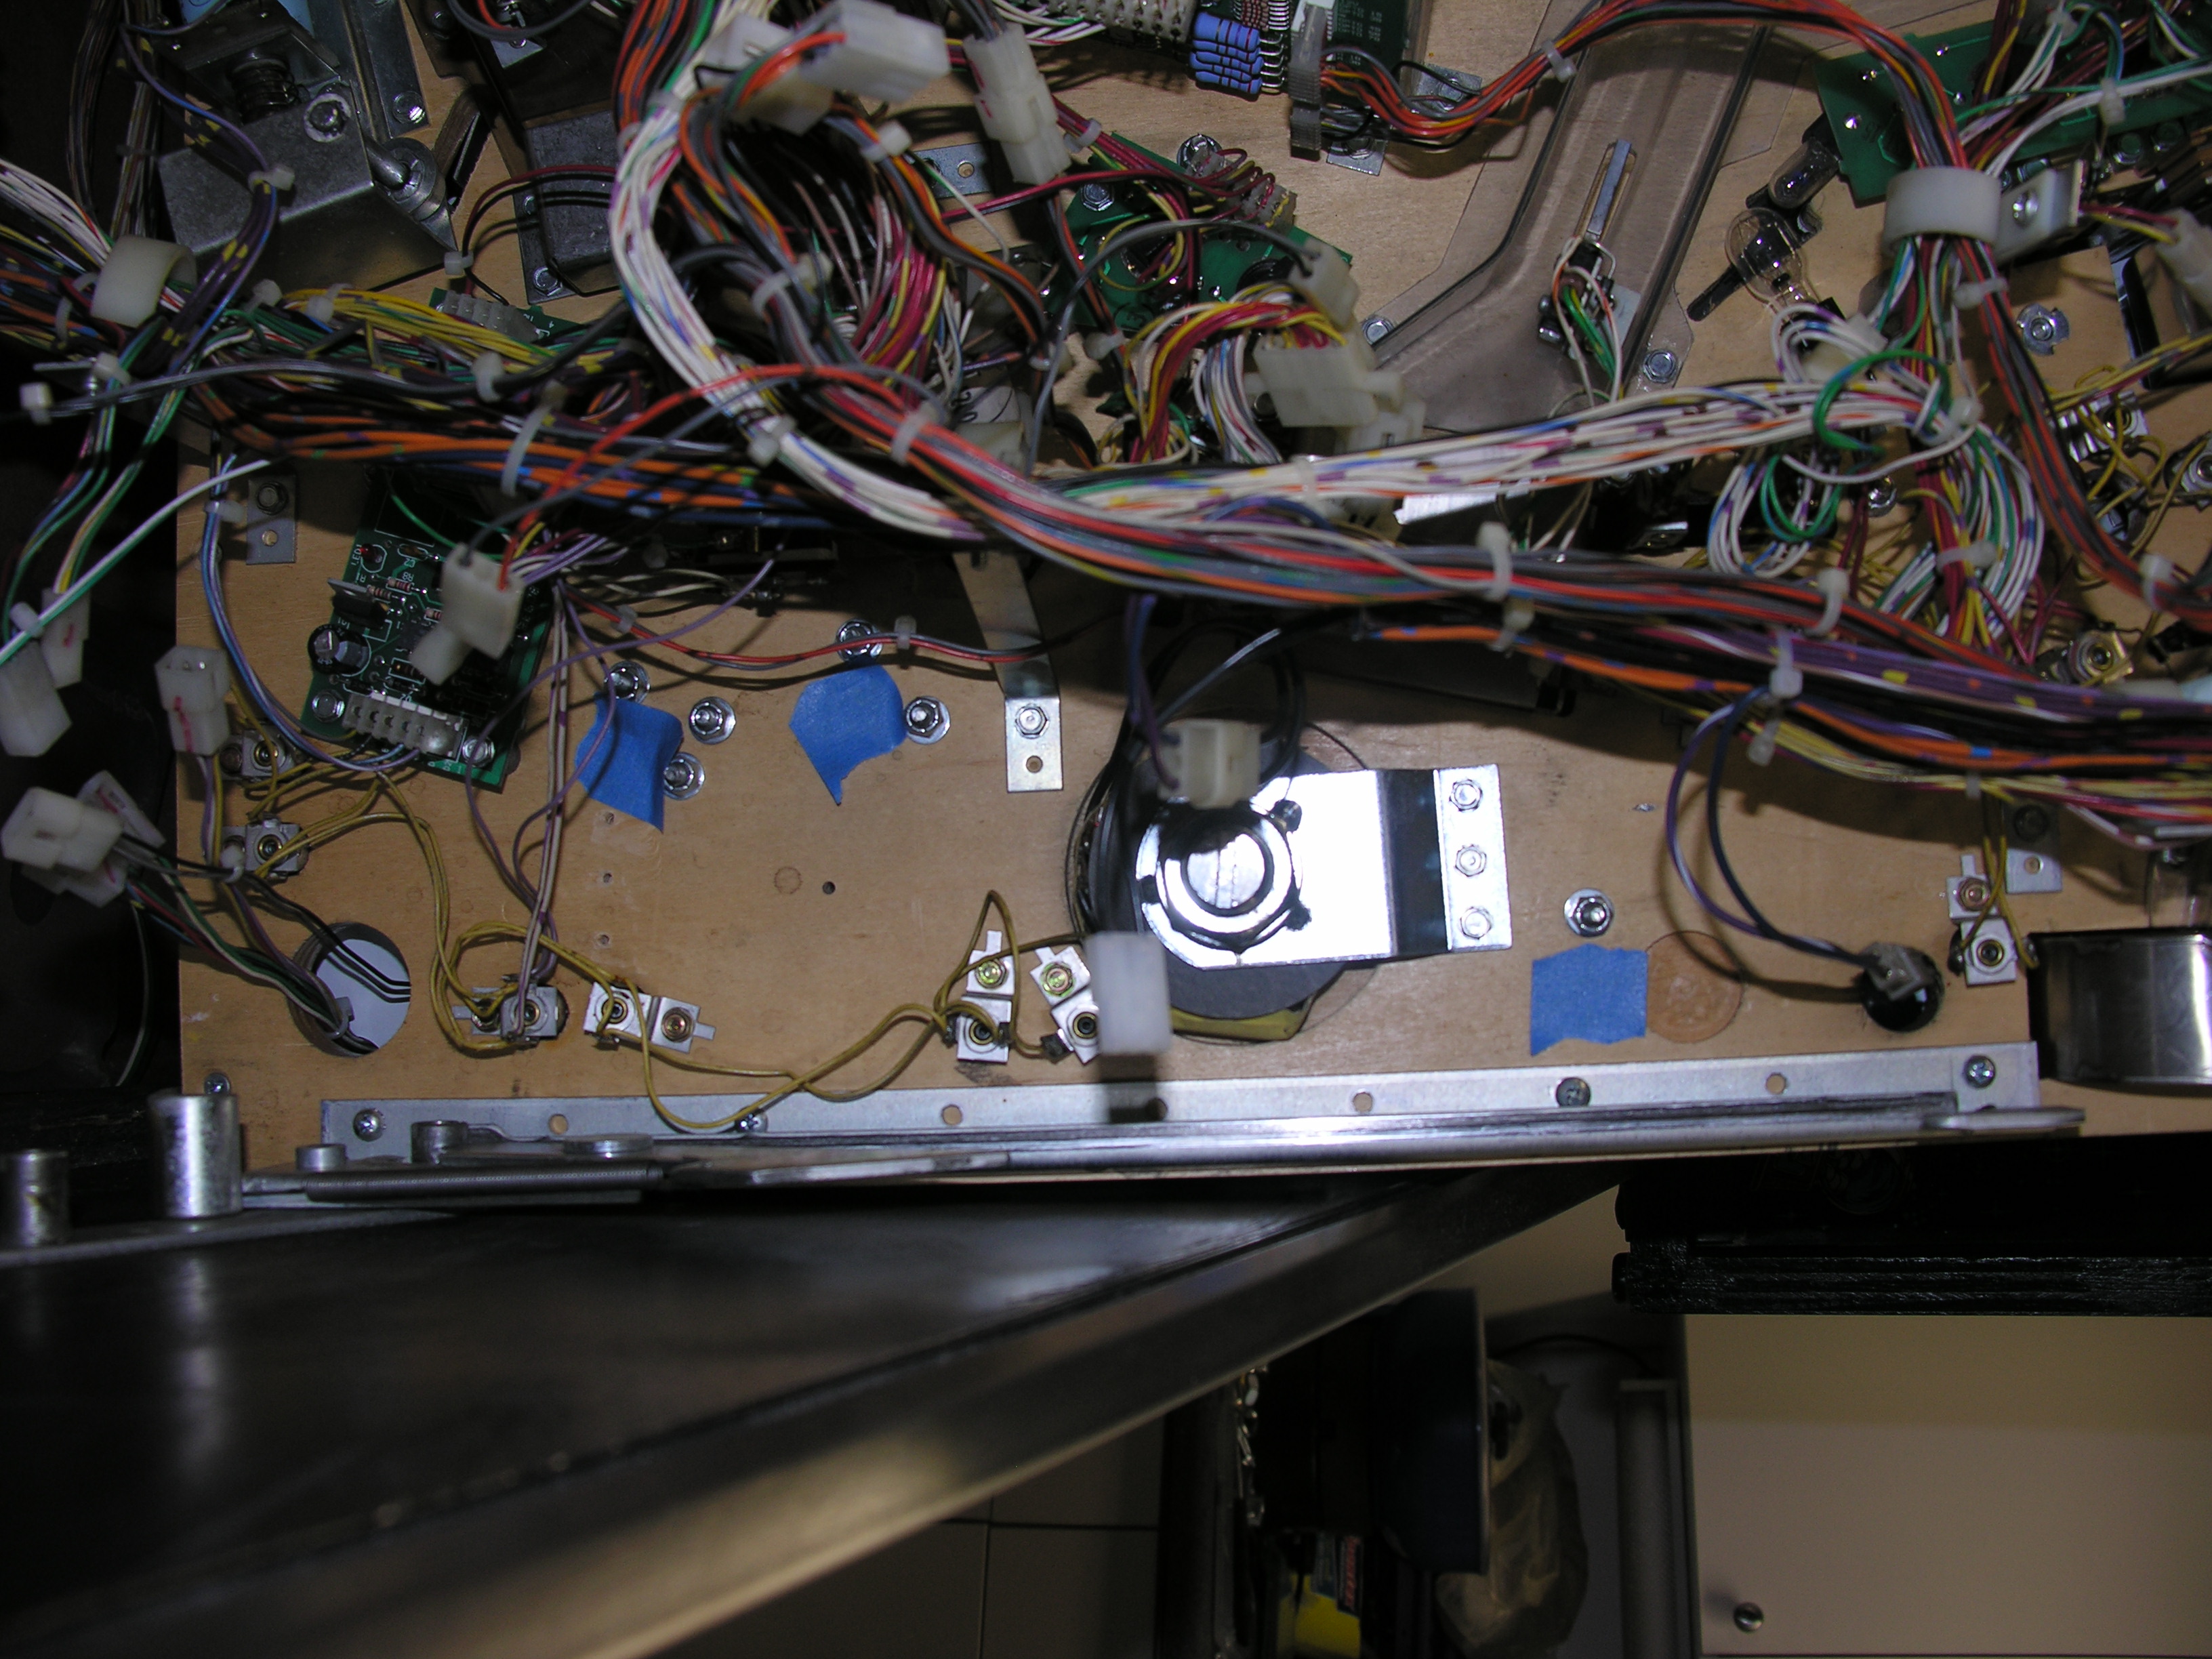 remove under the playfield to do this.
 There
are two nuts under the clock motor control board as well. You have to
remove the board, a great chance to clean it.
There
are two nuts under the clock motor control board as well. You have to
remove the board, a great chance to clean it. You'll
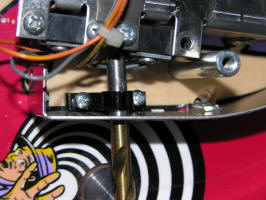
also have to undo all of the connections that go though the top right
hole.
You'll
also have to undo all of the connections that go though the top right
hole. Plus
all of the connections that go through the clock hole.
Plus
all of the connections that go through the clock hole.

 Tear
the tape so that each guide has its own piece. Remove the guides for
drilling.
Tear
the tape so that each guide has its own piece. Remove the guides for
drilling.