 Here's
step 0. Check your Forstner bit against the circle marked on the
template. If it isn't really close to the same size - it is not a 3/4"
bit. You might be using a 20mm, in which case it will be close. A 20mm
bit will give you a little more clearance than the 3/4" bit, which is a
nice tight fit.
Here's
step 0. Check your Forstner bit against the circle marked on the
template. If it isn't really close to the same size - it is not a 3/4"
bit. You might be using a 20mm, in which case it will be close. A 20mm
bit will give you a little more clearance than the 3/4" bit, which is a
nice tight fit. 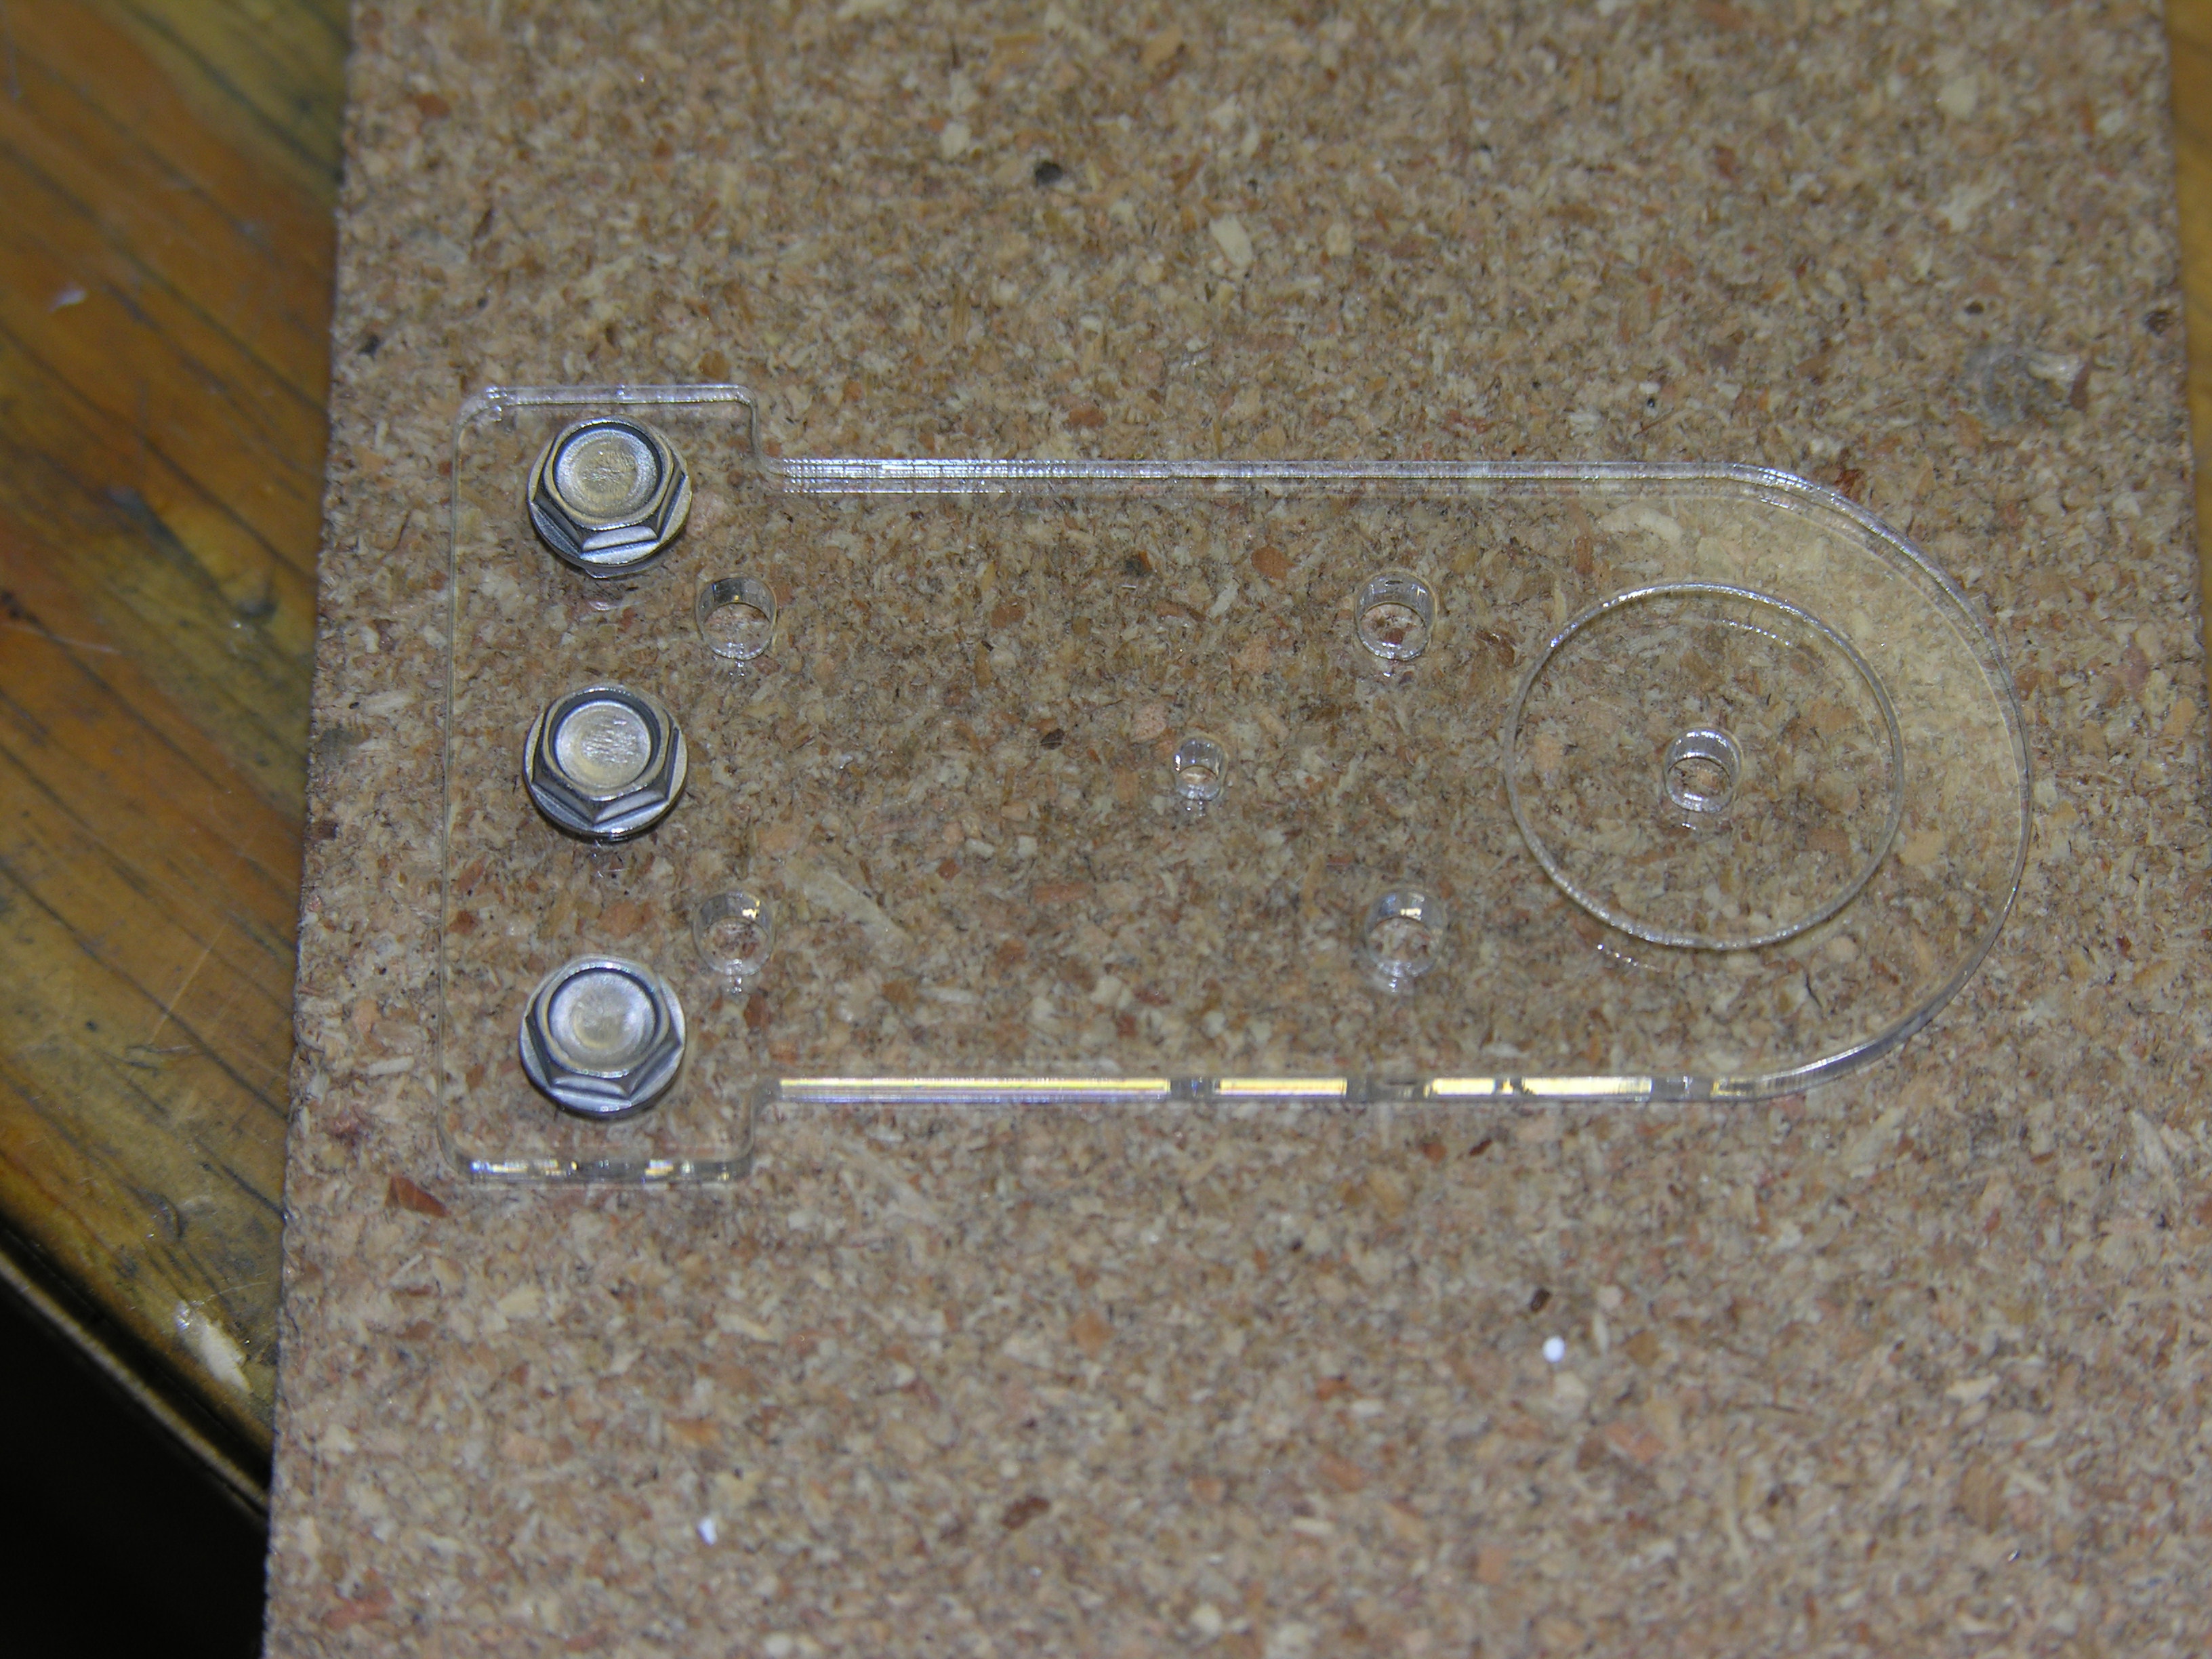
Let's start with a practice run. Screw the template to a piece of scrap wood using 3 #6x1/2 screws..
 Drill
a 1/8" hole through the template and the wood. Drill fast and push only
lightly. this will minimize splintering as you pass through the other
surface.
Drill
a 1/8" hole through the template and the wood. Drill fast and push only
lightly. this will minimize splintering as you pass through the other
surface.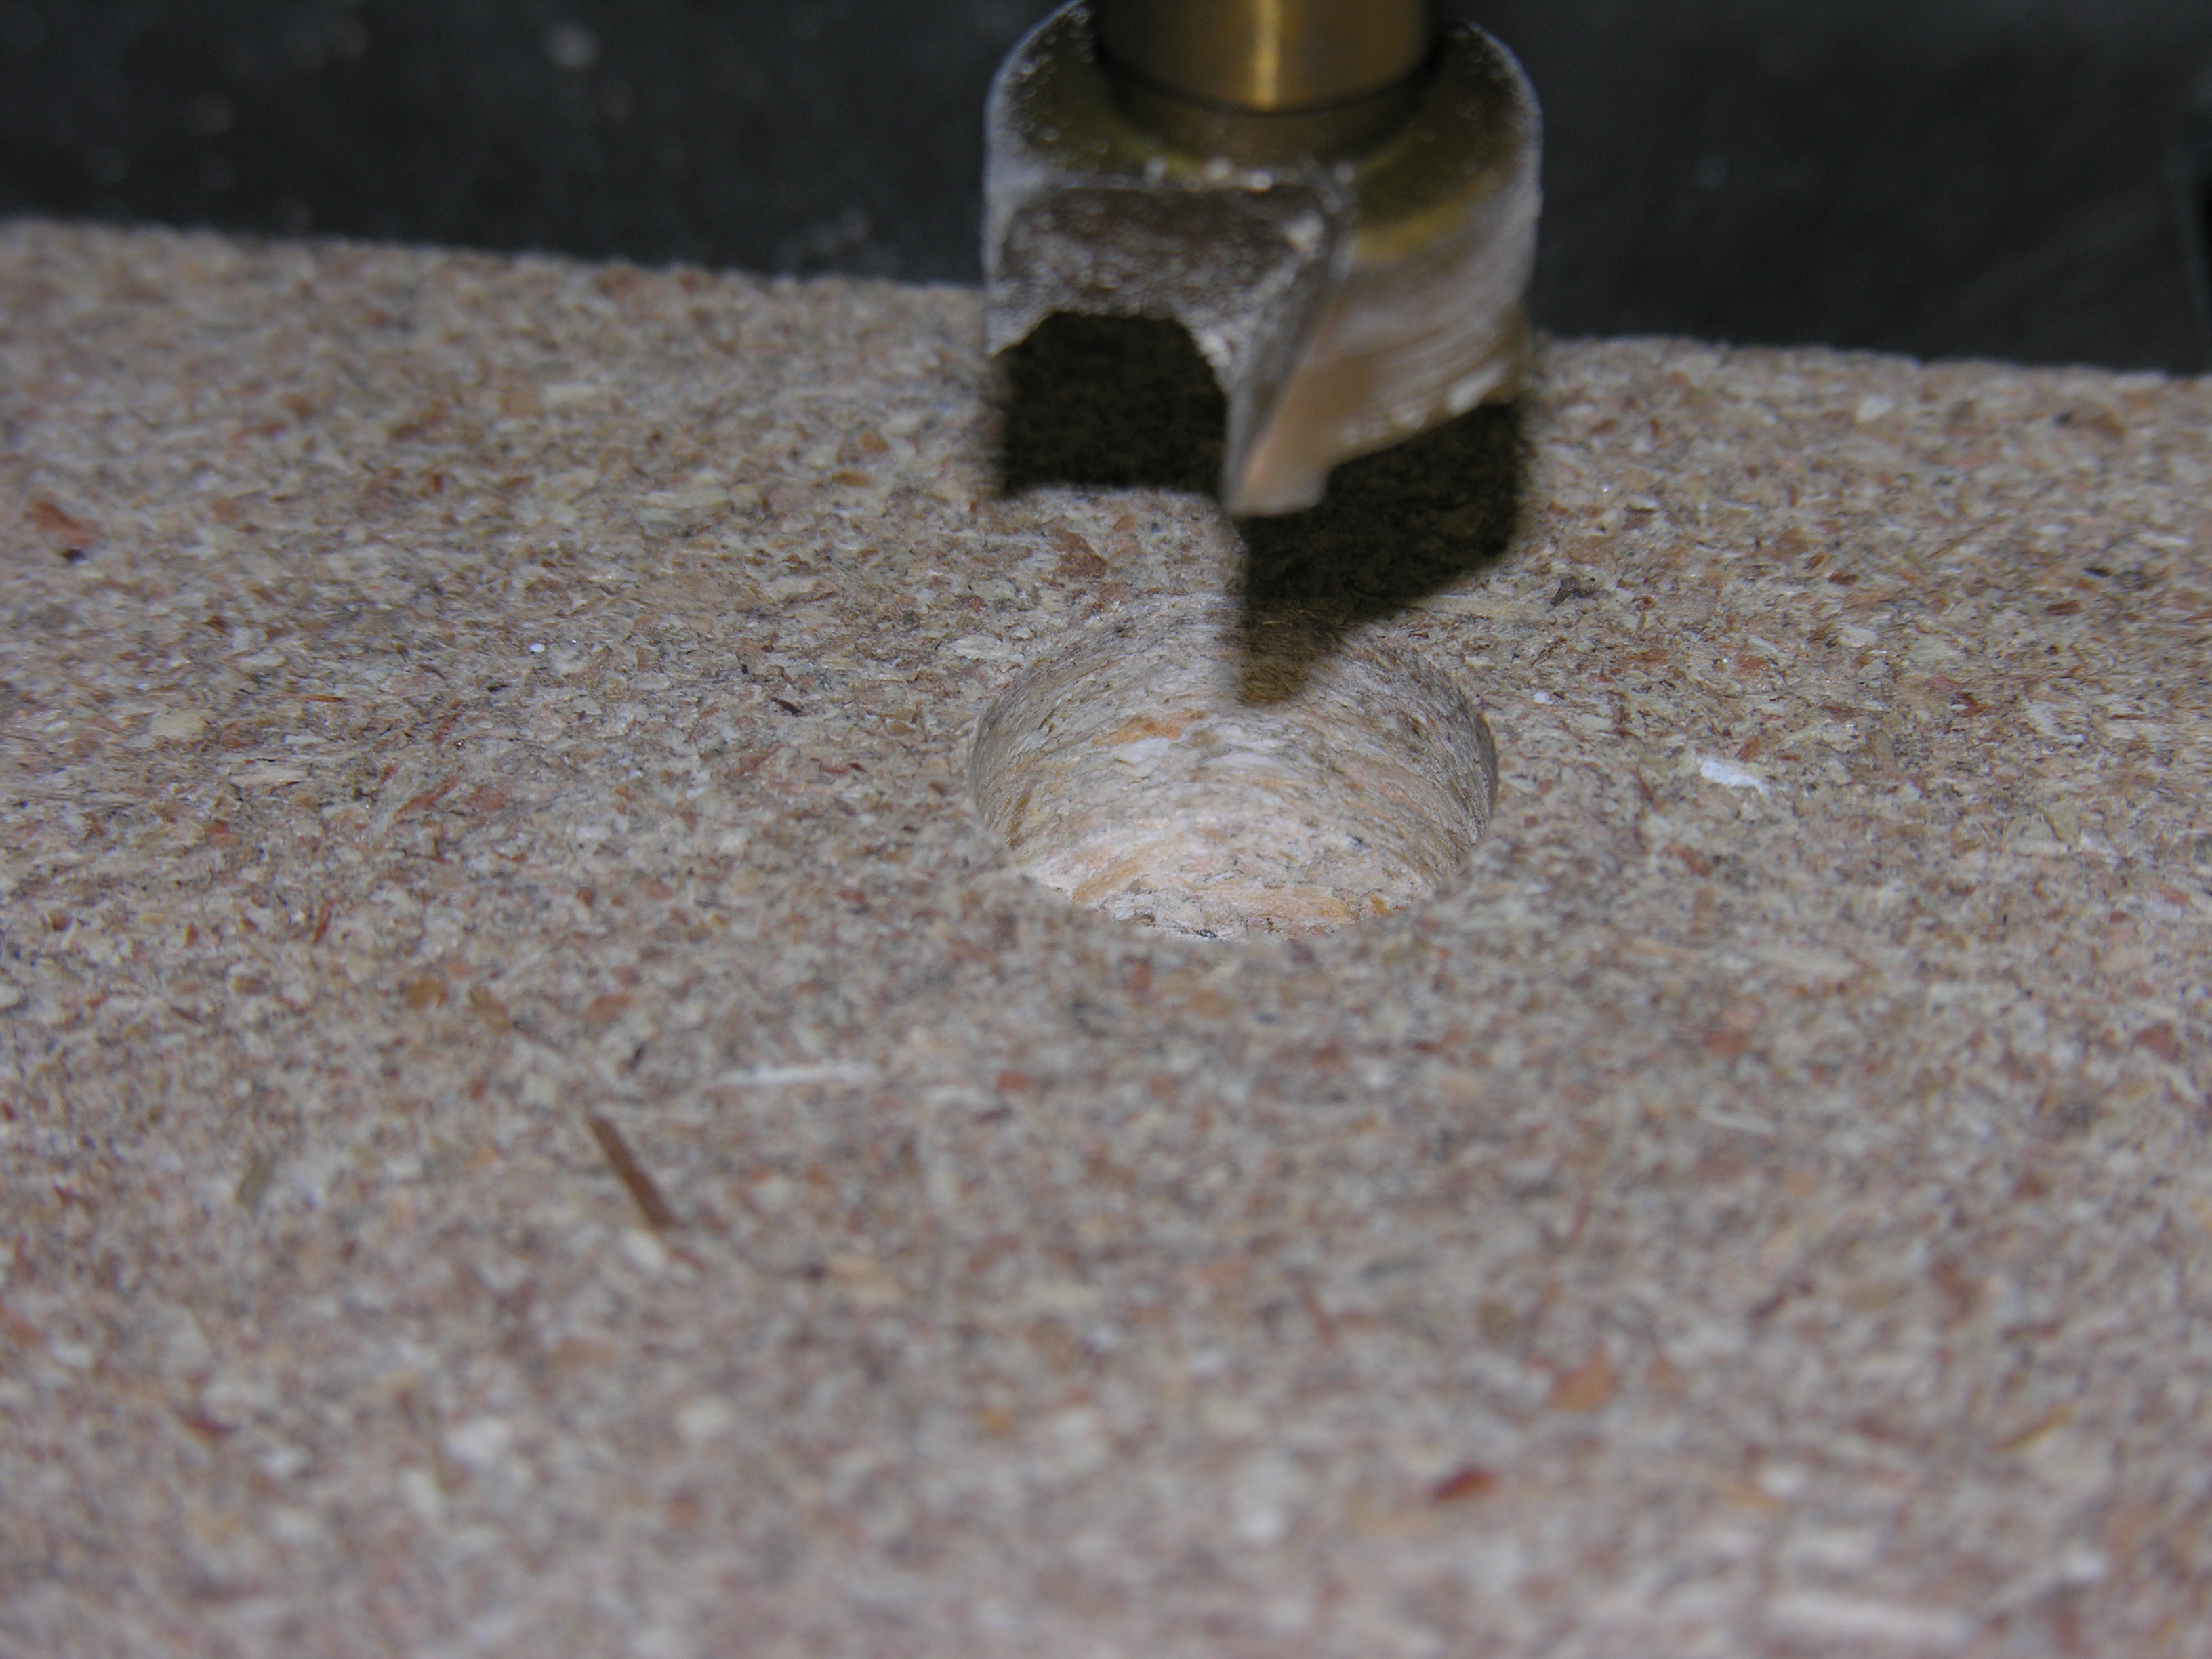 Remove
the template, and drill most of the way through with the Forstner bit.
Don't go all the way through, stop anytime after half way, don't go more
than 3/4 of the way.
Remove
the template, and drill most of the way through with the Forstner bit.
Don't go all the way through, stop anytime after half way, don't go more
than 3/4 of the way. 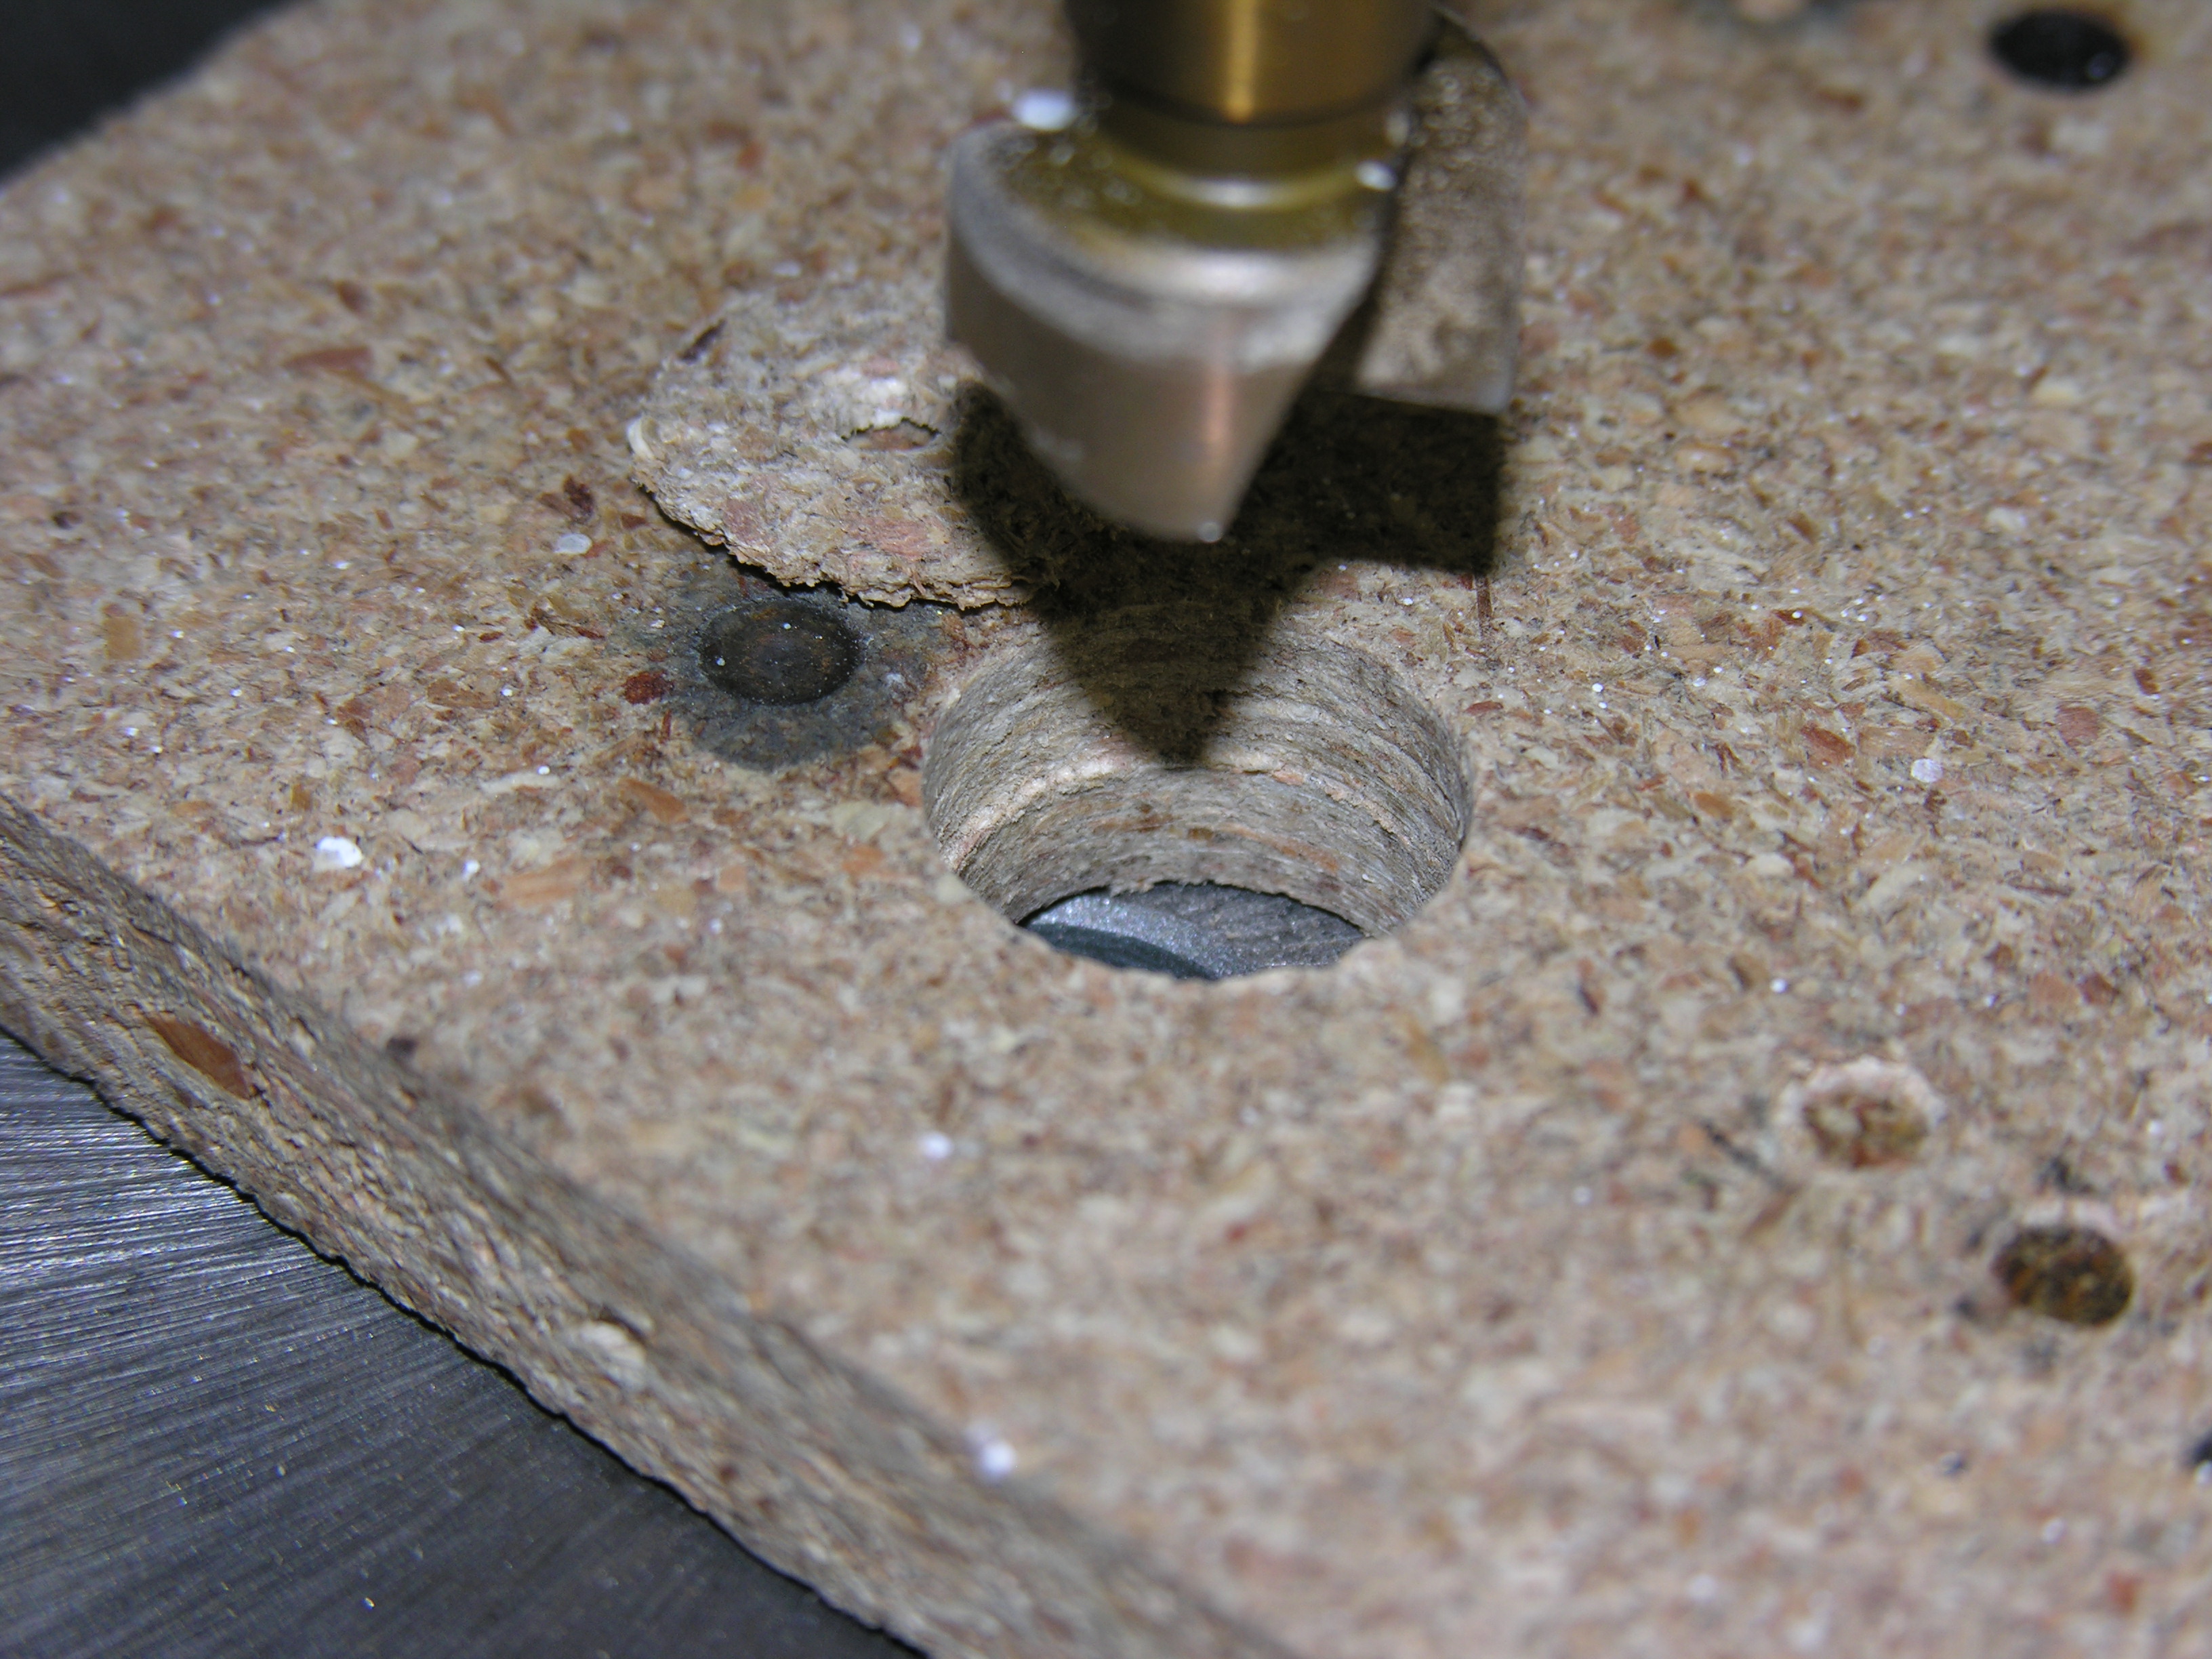 Flip
the wood, and drill from the other side. Be careful to align with the
hole. You will not be dead on, and you will get a little ridge where the
holes meet. This does not matter. Once the hole is joined, take the bit
lightly through to the other side to straighten the sides of the hole.
Flip
the wood, and drill from the other side. Be careful to align with the
hole. You will not be dead on, and you will get a little ridge where the
holes meet. This does not matter. Once the hole is joined, take the bit
lightly through to the other side to straighten the sides of the hole.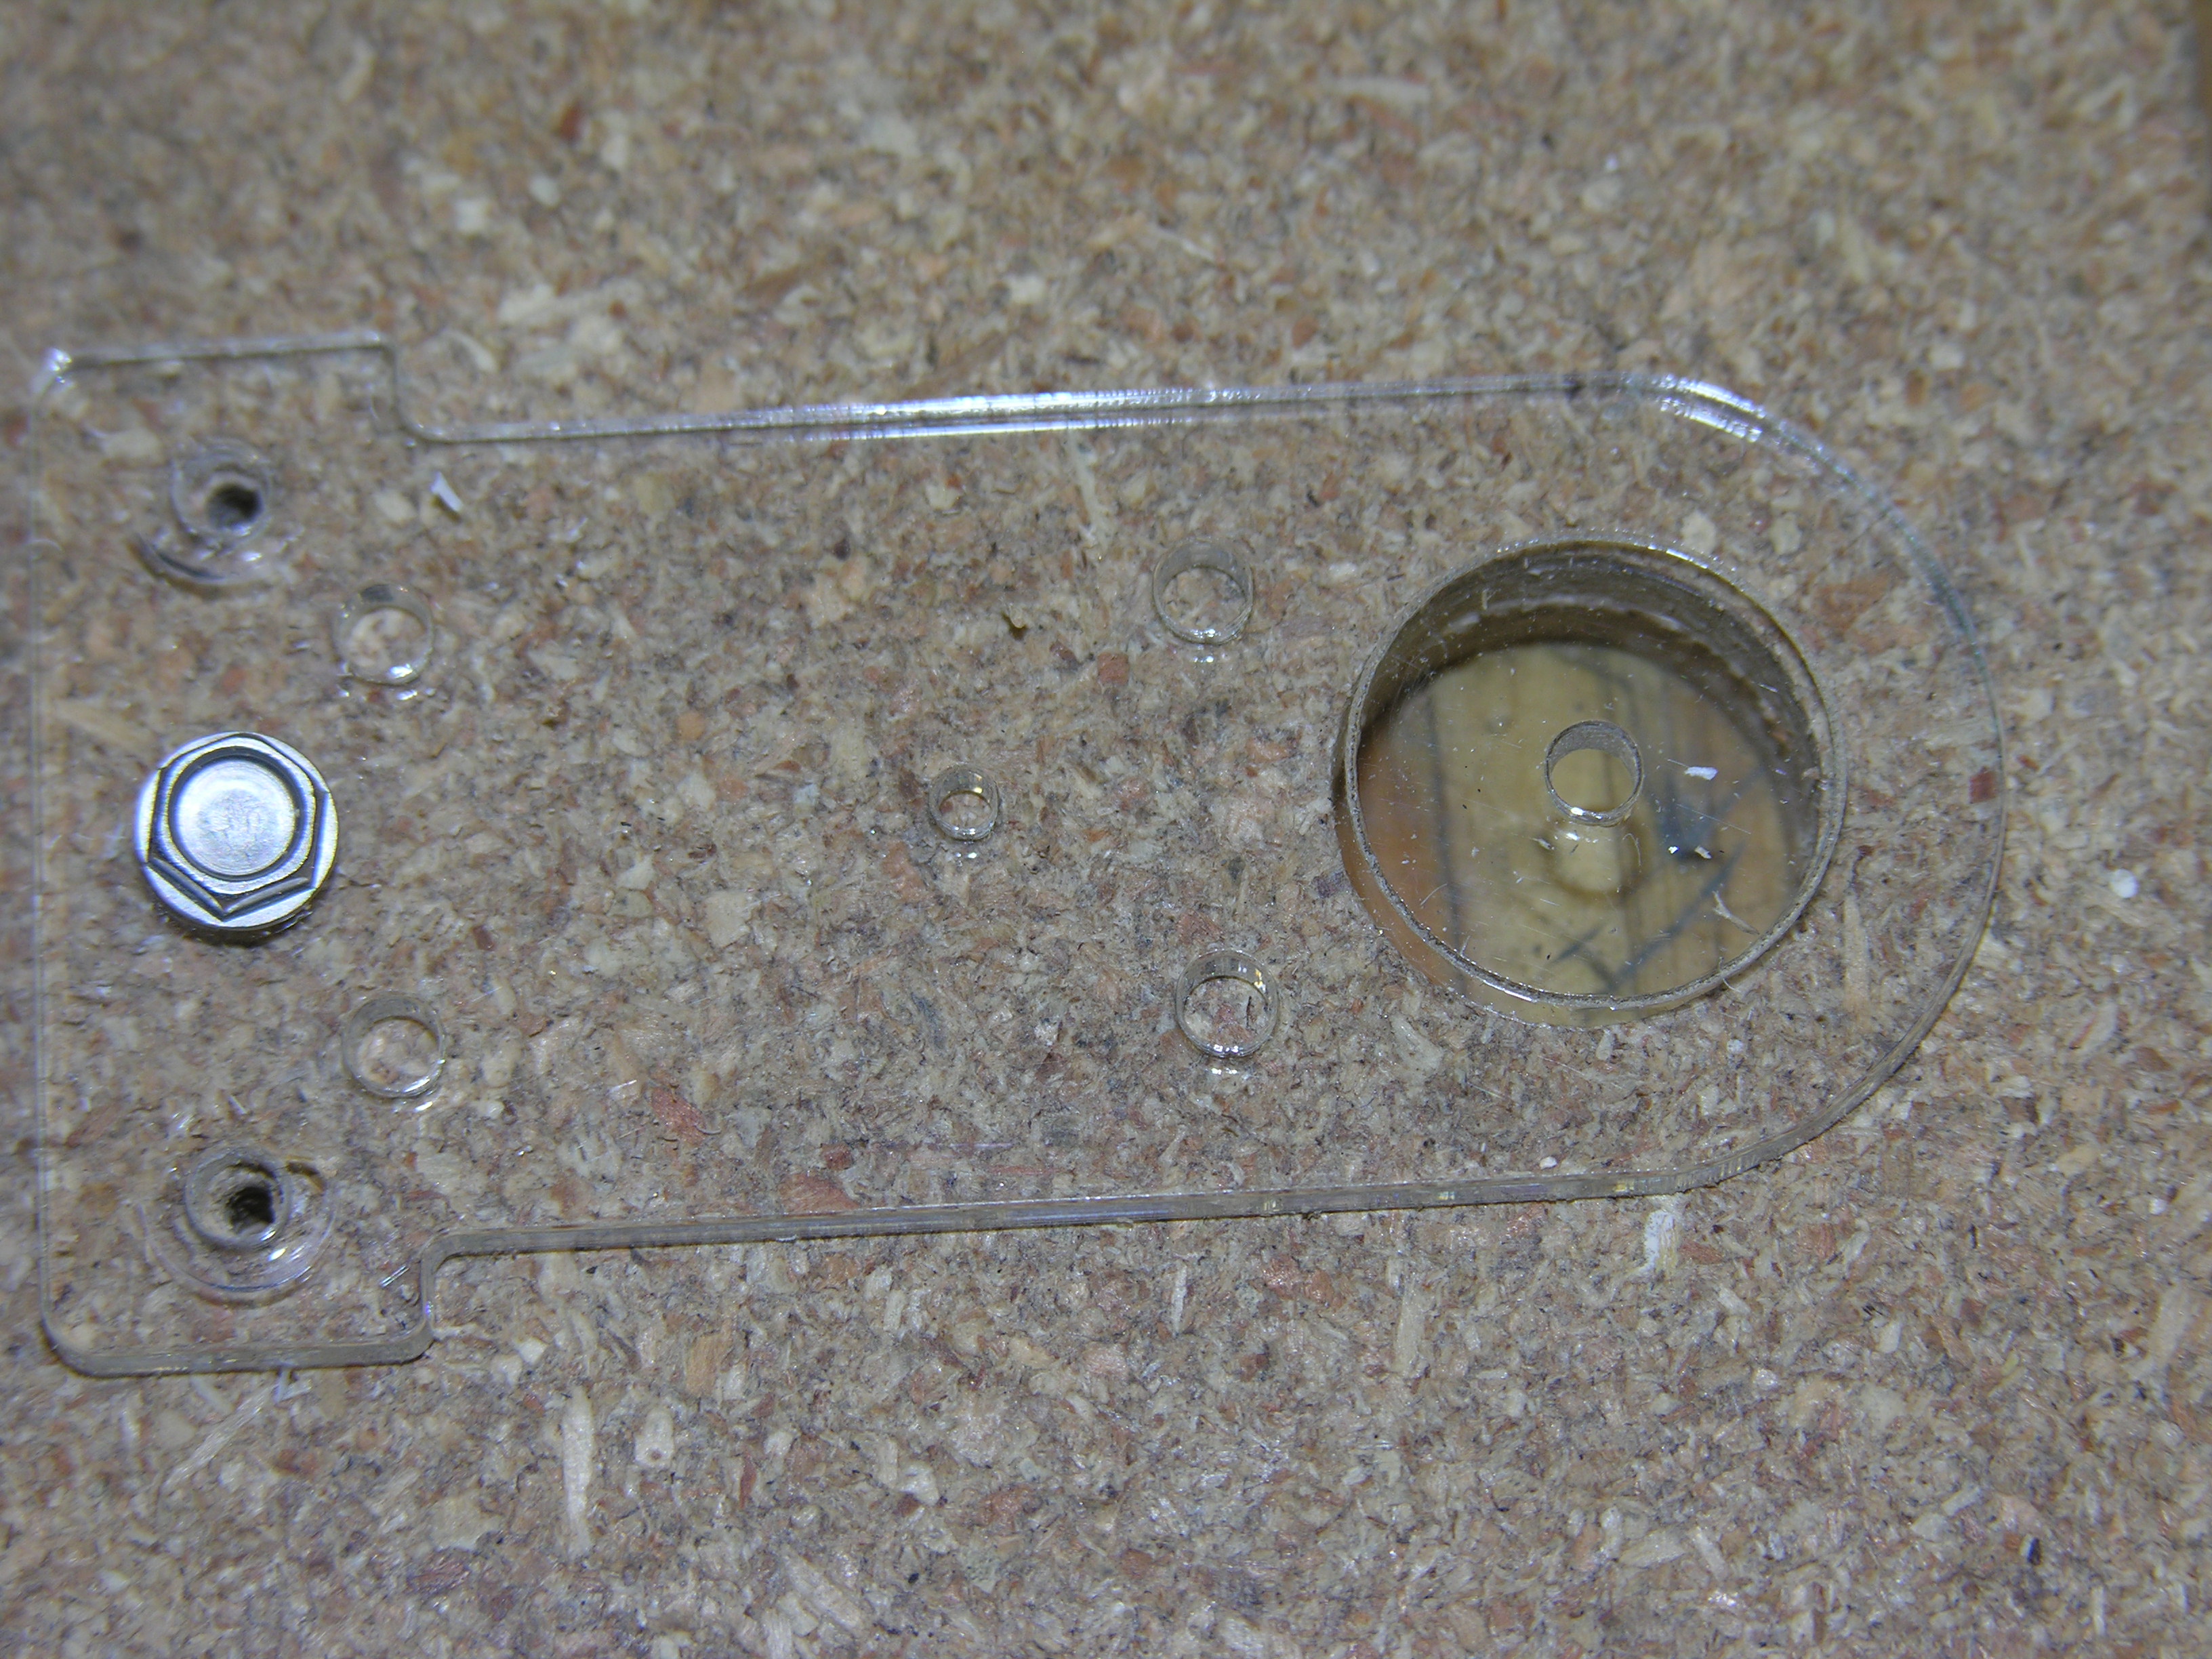 Put
the template back on, and compare the alignment. My hole ended about
0.03" low. The magnet mounting holes will accommodate this.
Put
the template back on, and compare the alignment. My hole ended about
0.03" low. The magnet mounting holes will accommodate this. 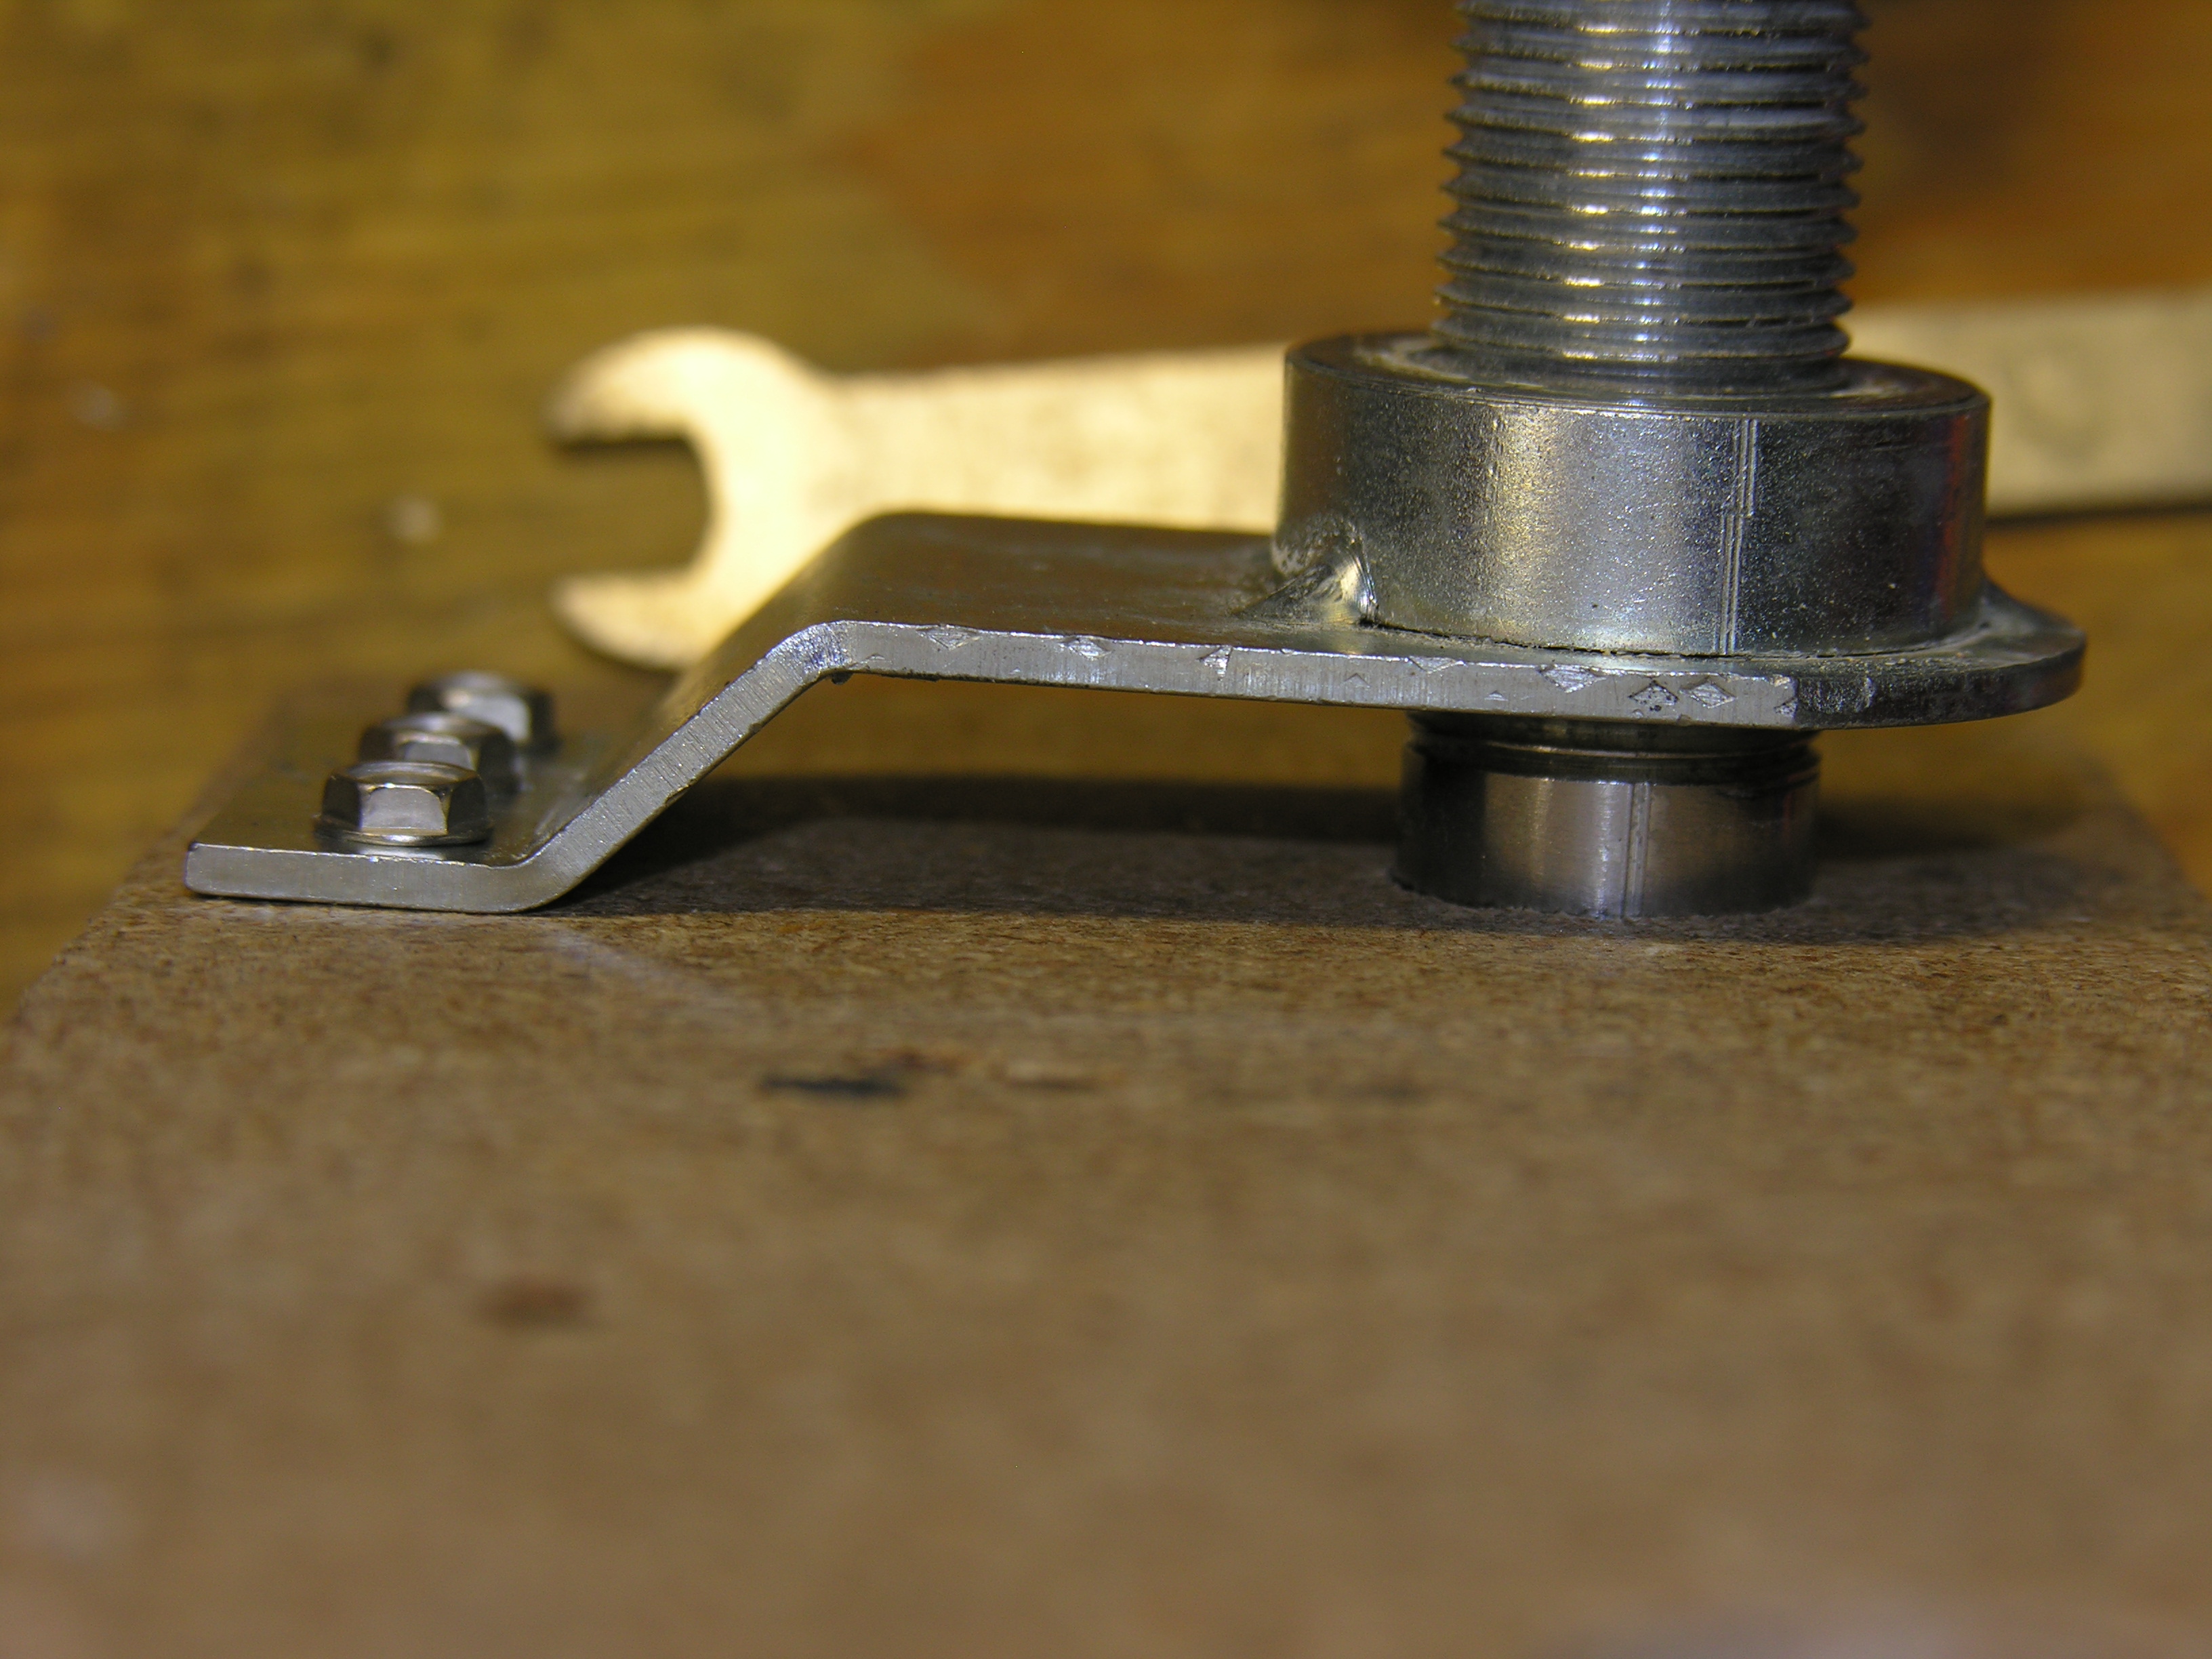 Screw
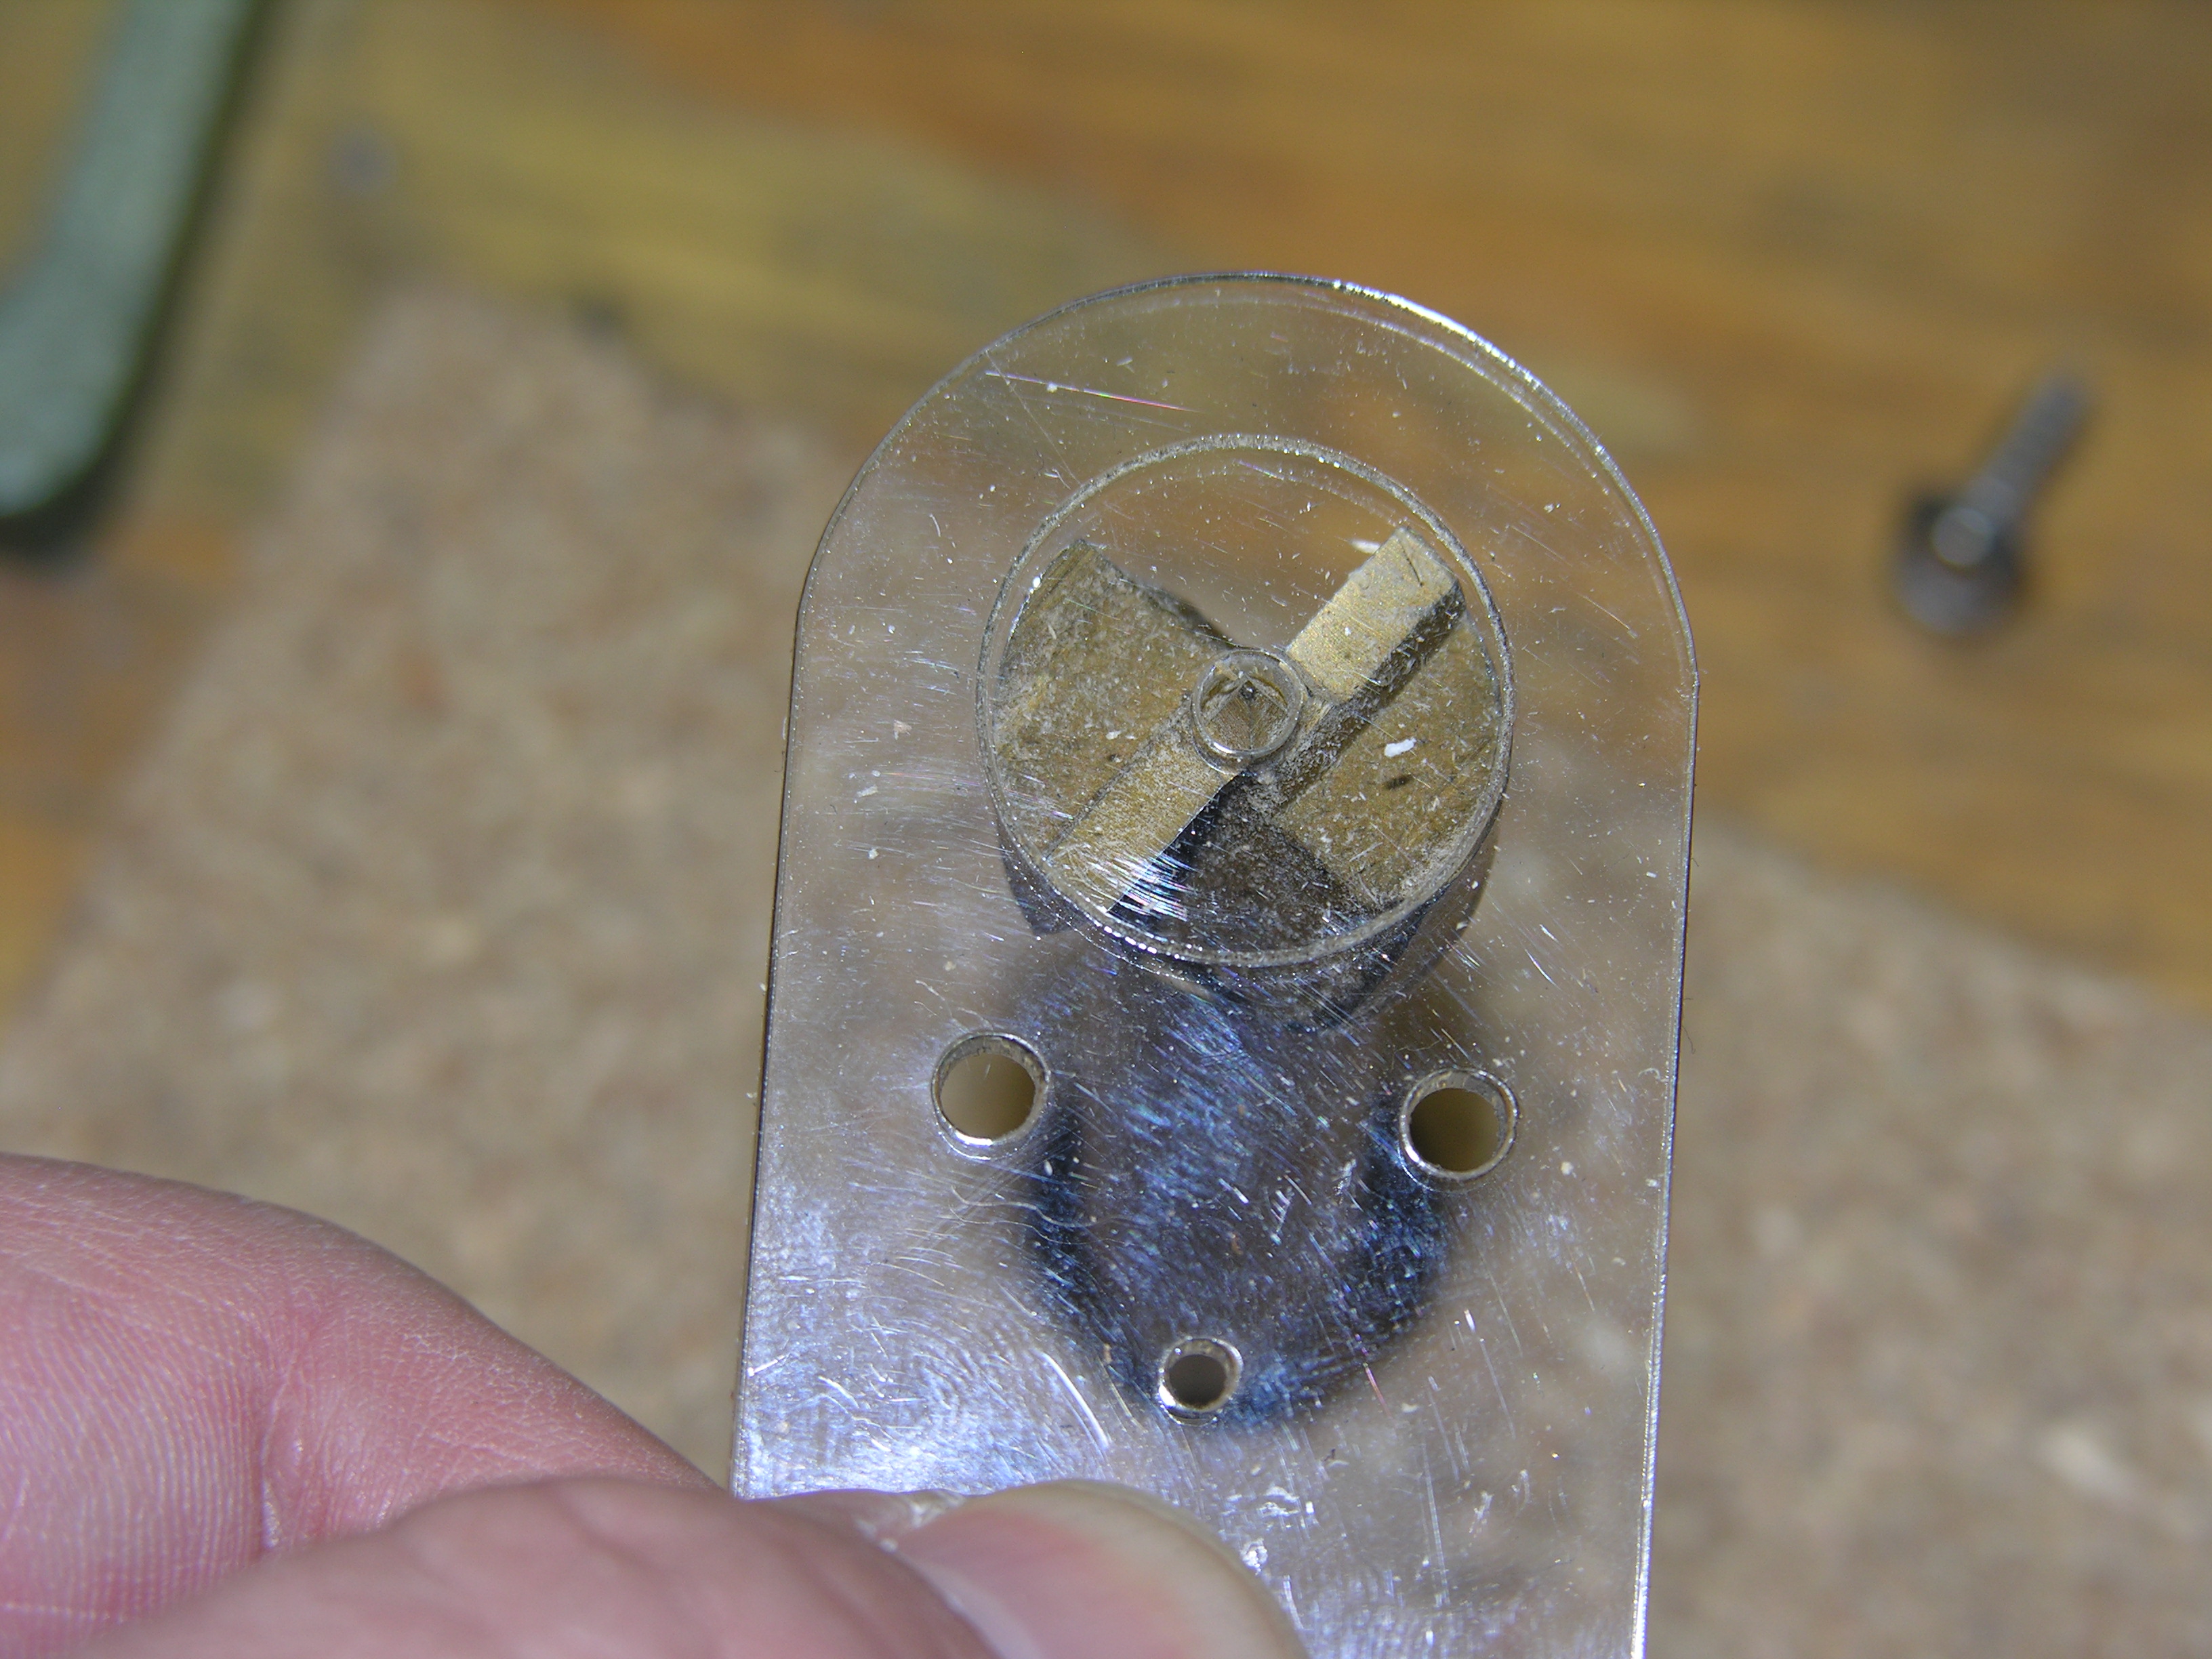
the magnet bracket on and insert the pole piece.
Screw
the magnet bracket on and insert the pole piece. Here's
the pole in the wood. Nice and flush all around. this is how we want the
playfield to look.
Here's
the pole in the wood. Nice and flush all around. this is how we want the
playfield to look.
If yours looks like this... carry on. If not, practice or find a wood-handy friend who can help.
 Now,
we get serious. Attach the template to the playfield at the dimples. I
used three screws, but you could use fewer.
Now,
we get serious. Attach the template to the playfield at the dimples. I
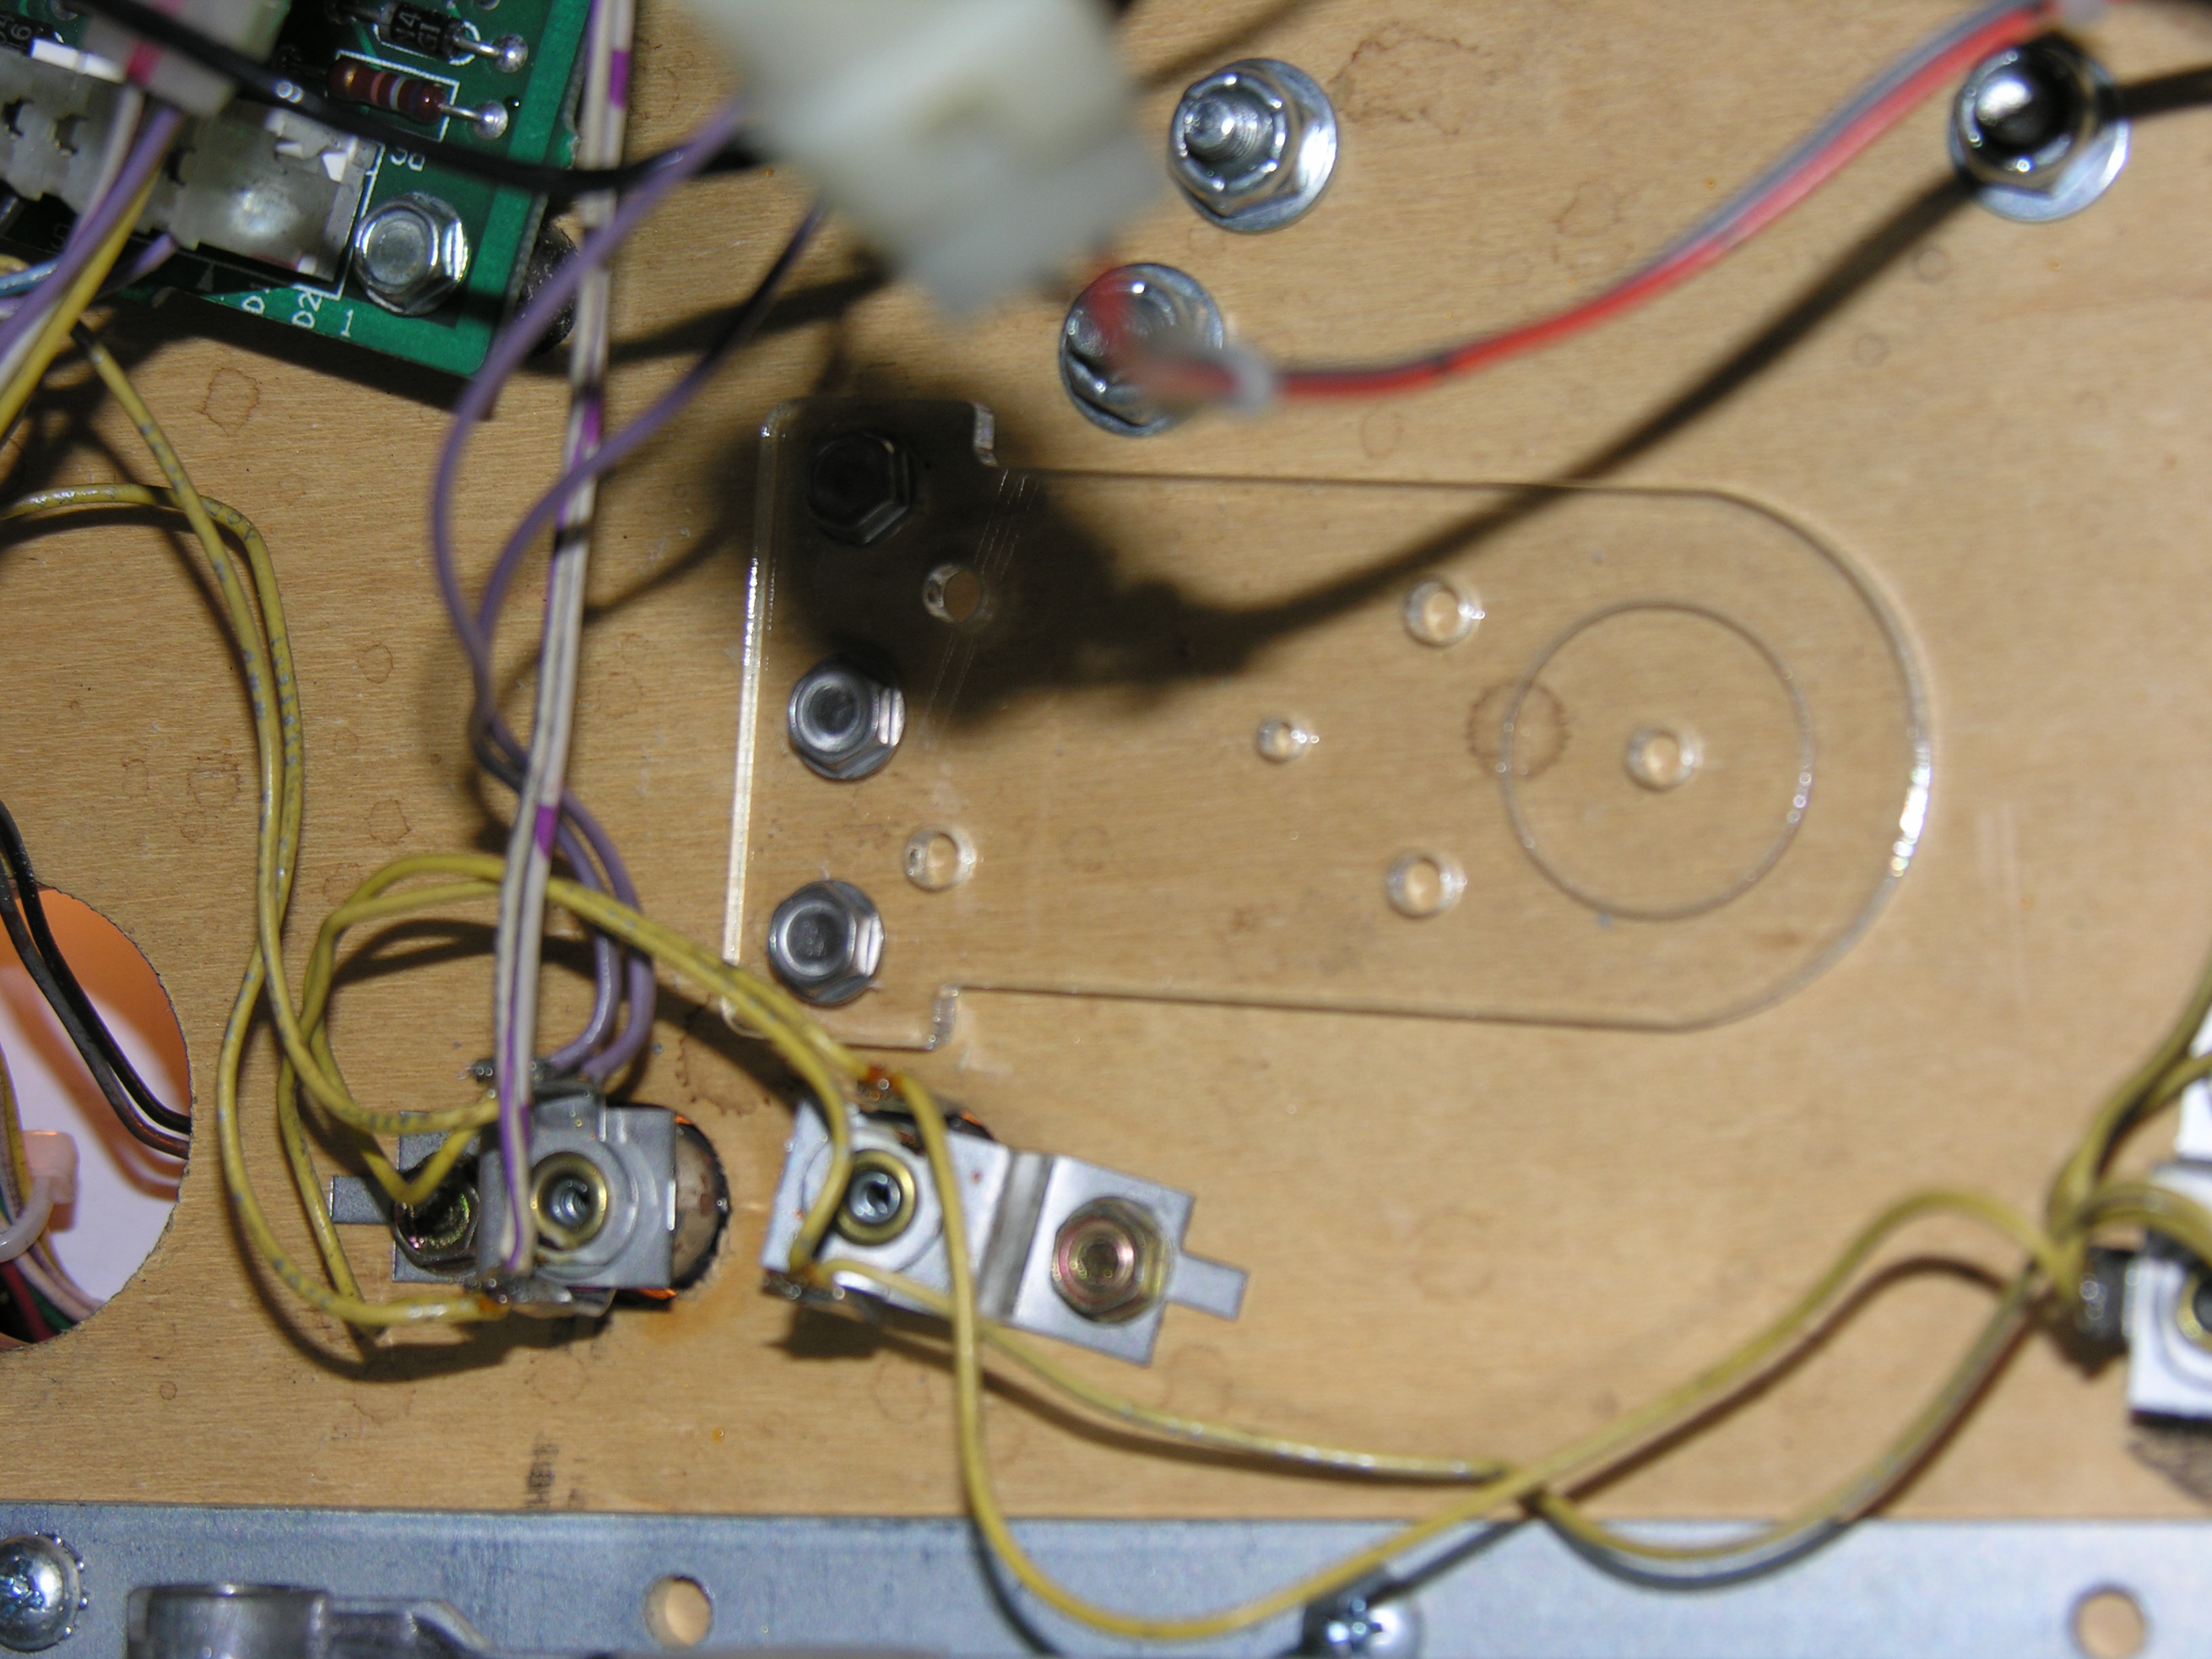
used three screws, but you could use fewer. 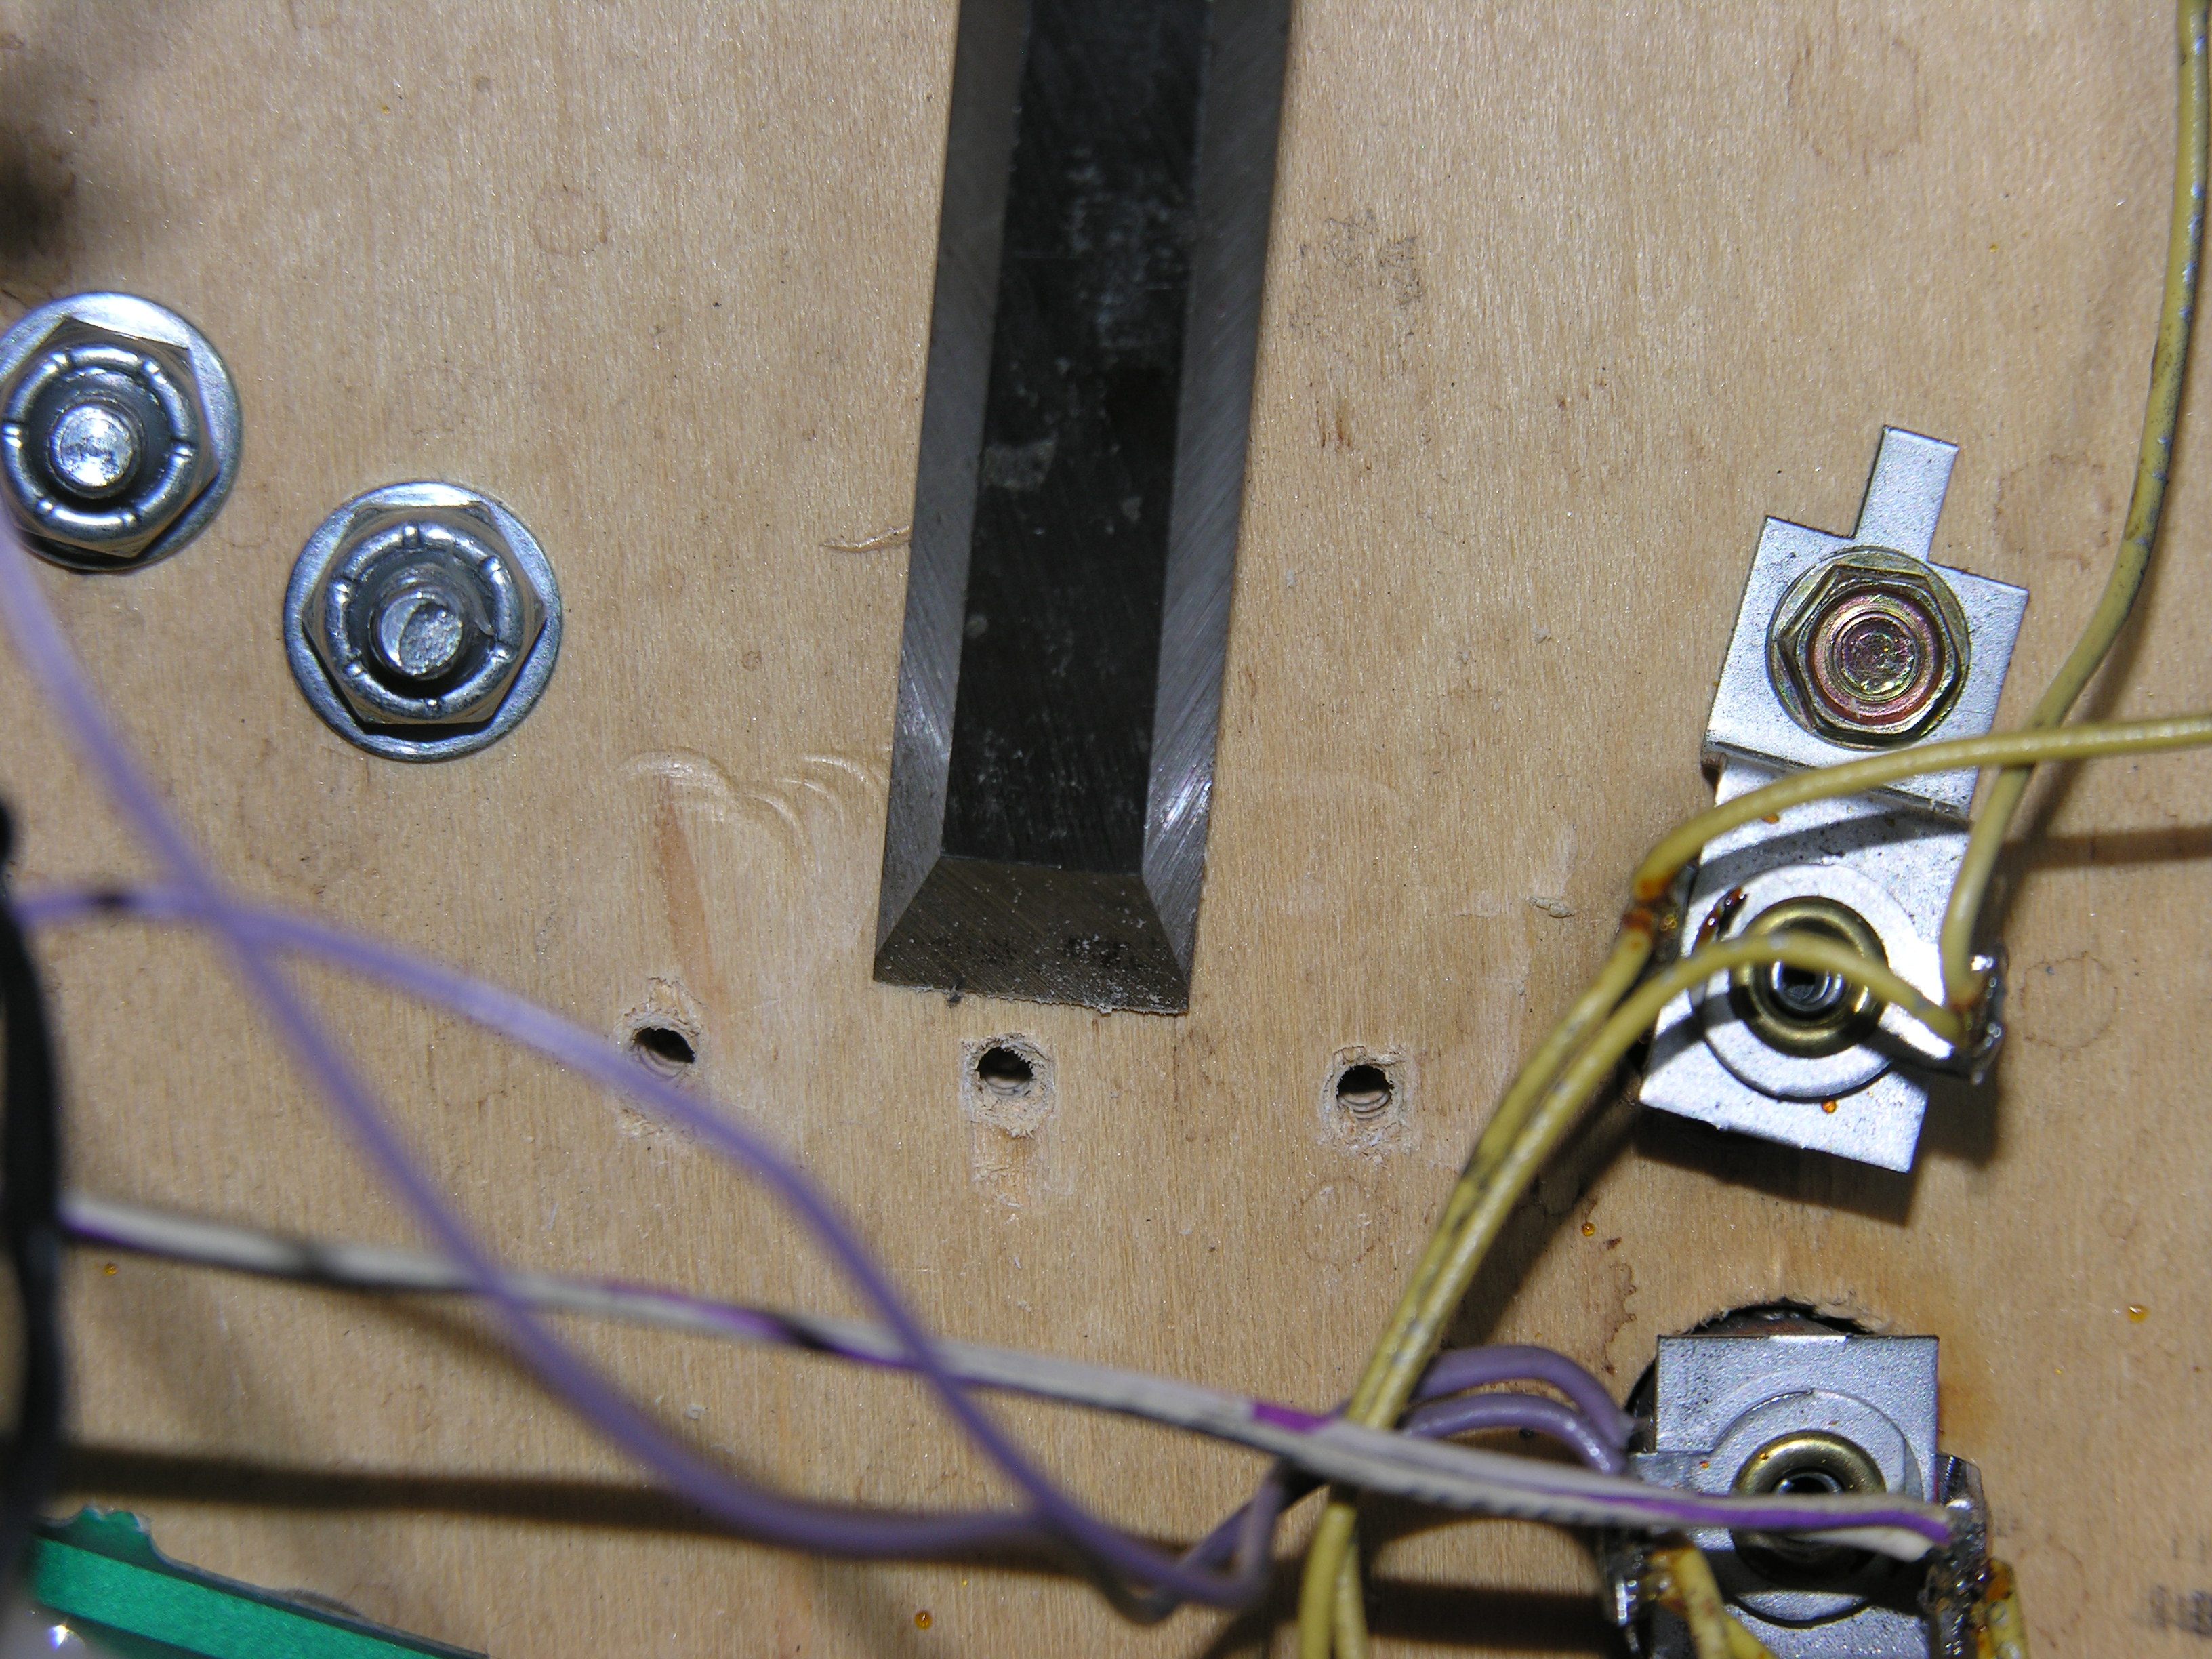 Next remove the template and screws, and flatten out the
expelled wood with a chisel.
Next remove the template and screws, and flatten out the
expelled wood with a chisel.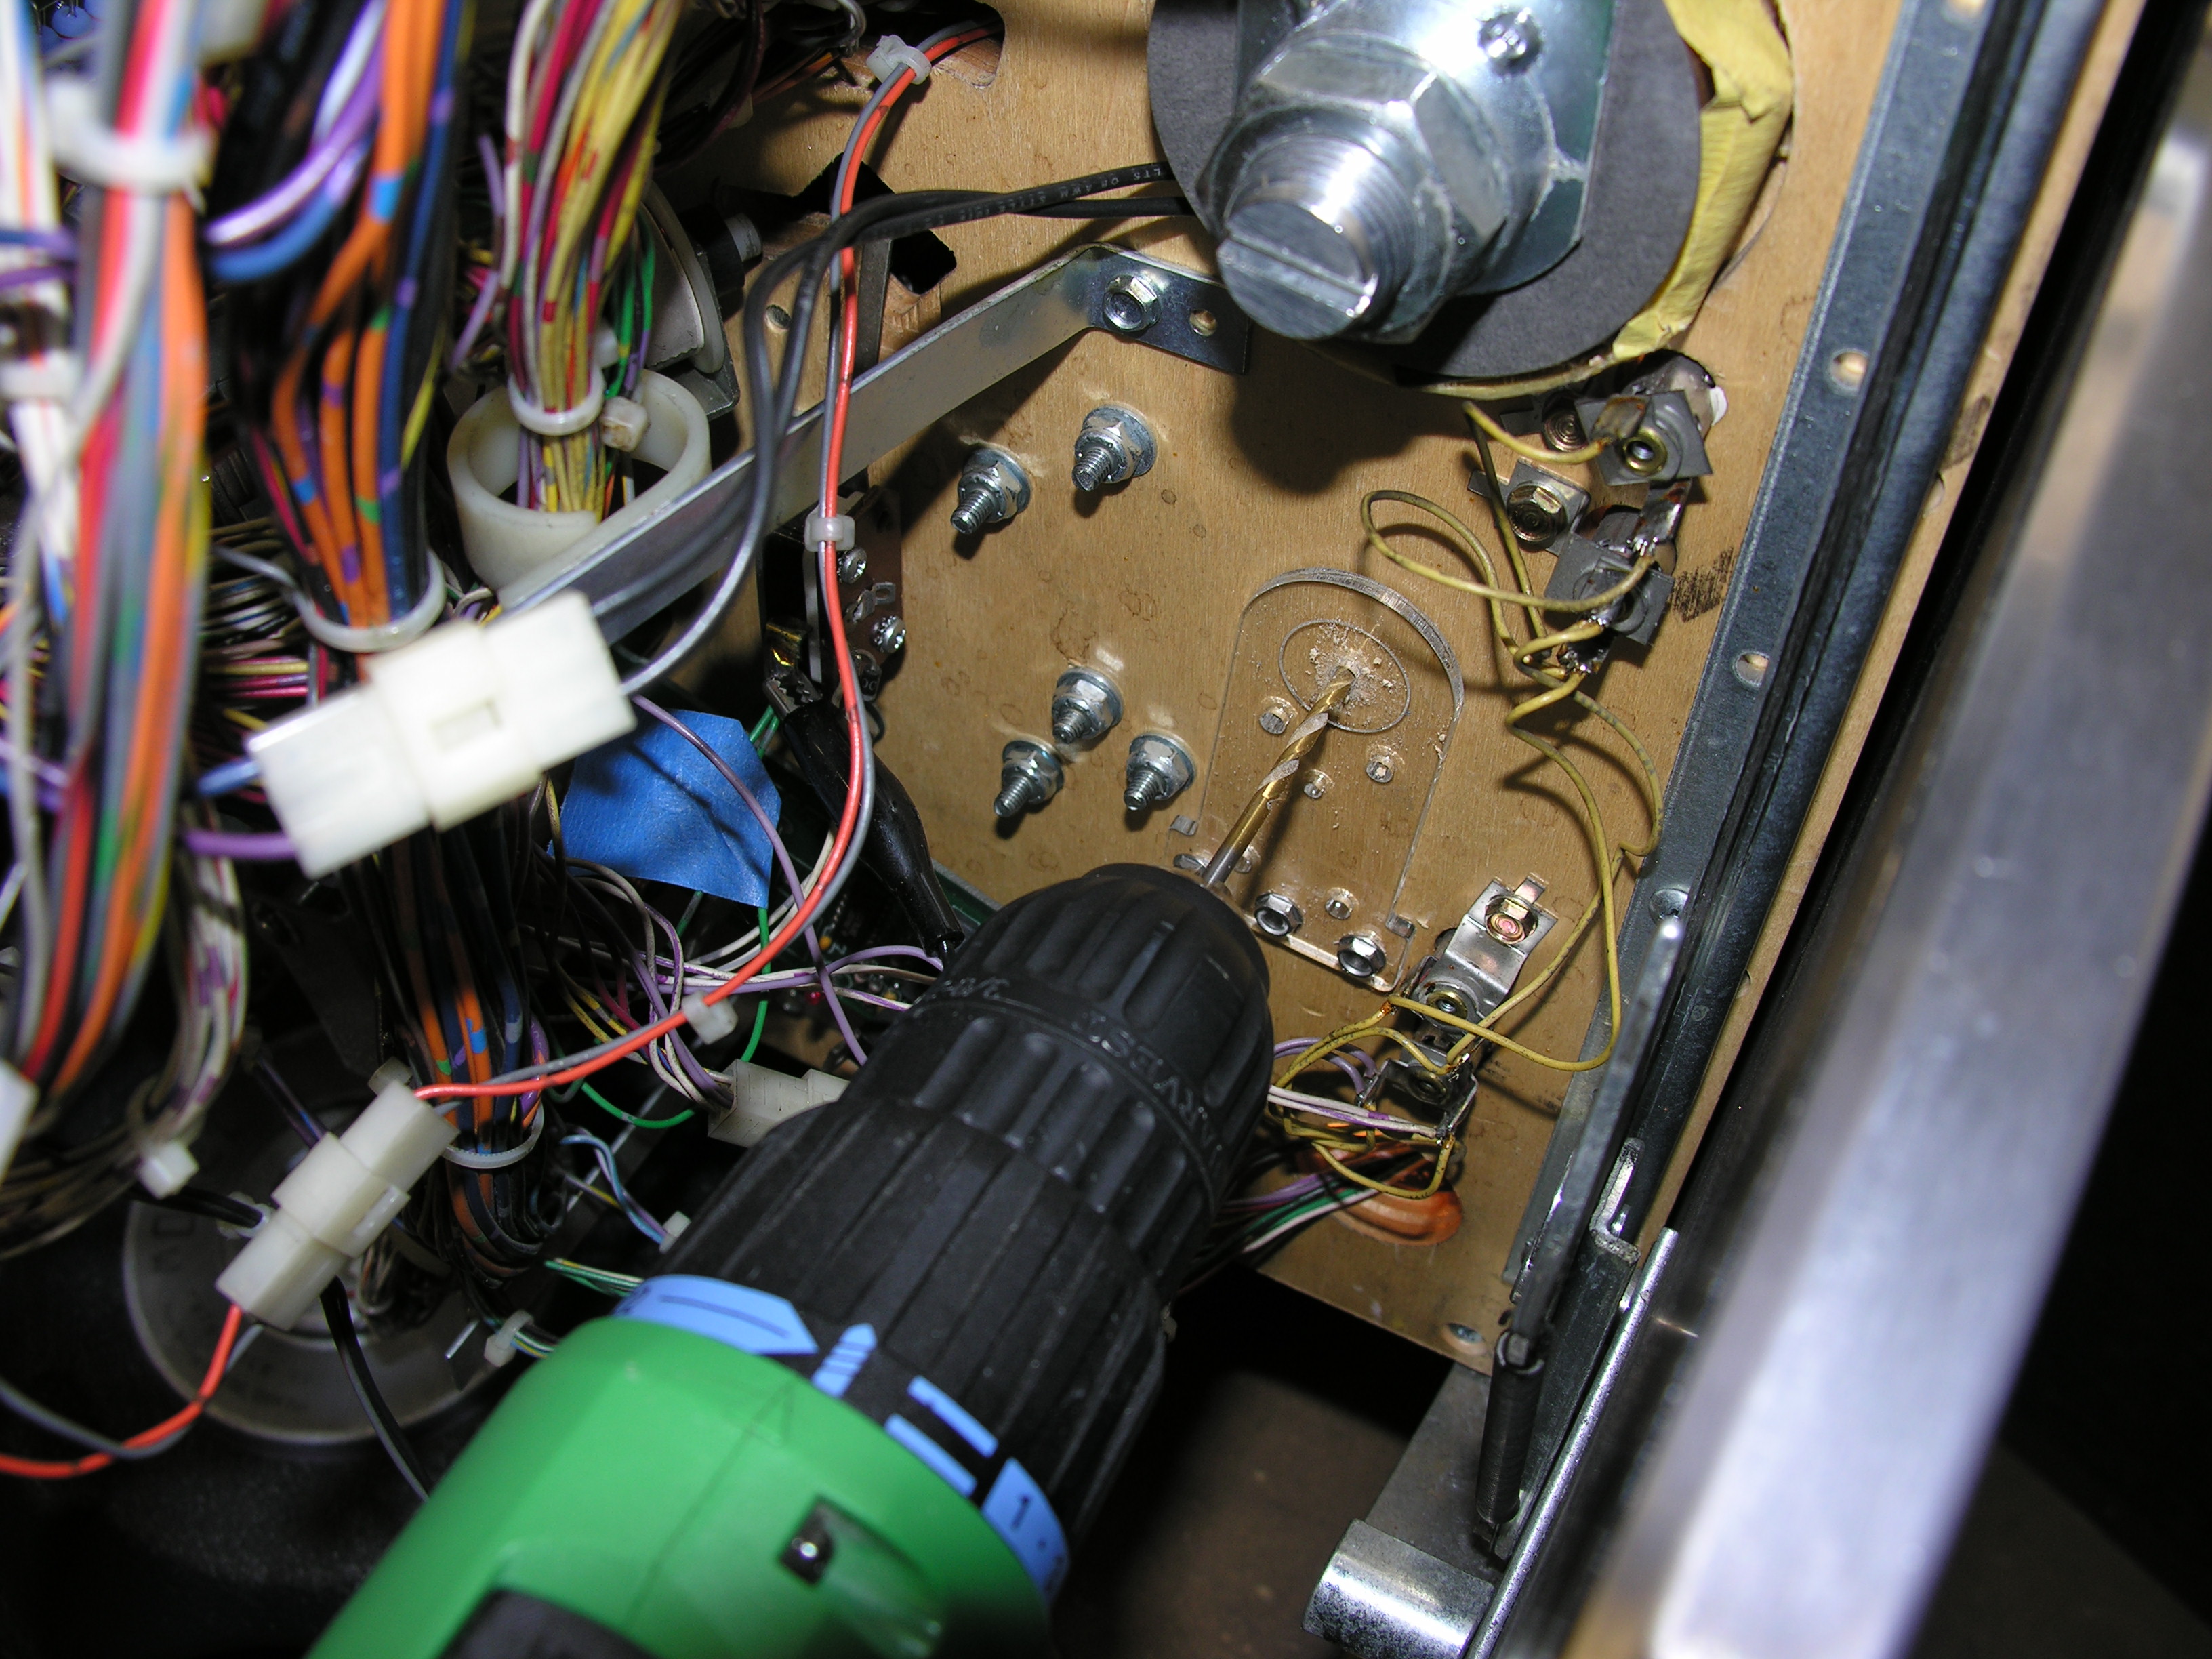 Now
the tricky part. Drill a 1/8" hole through the wood at the circle. This
hole must be perpendicular to the playfield. Have a friend watch you
from the side, and use a small square object to help. Drill about half
way through.
Now
the tricky part. Drill a 1/8" hole through the wood at the circle. This
hole must be perpendicular to the playfield. Have a friend watch you
from the side, and use a small square object to help. Drill about half
way through.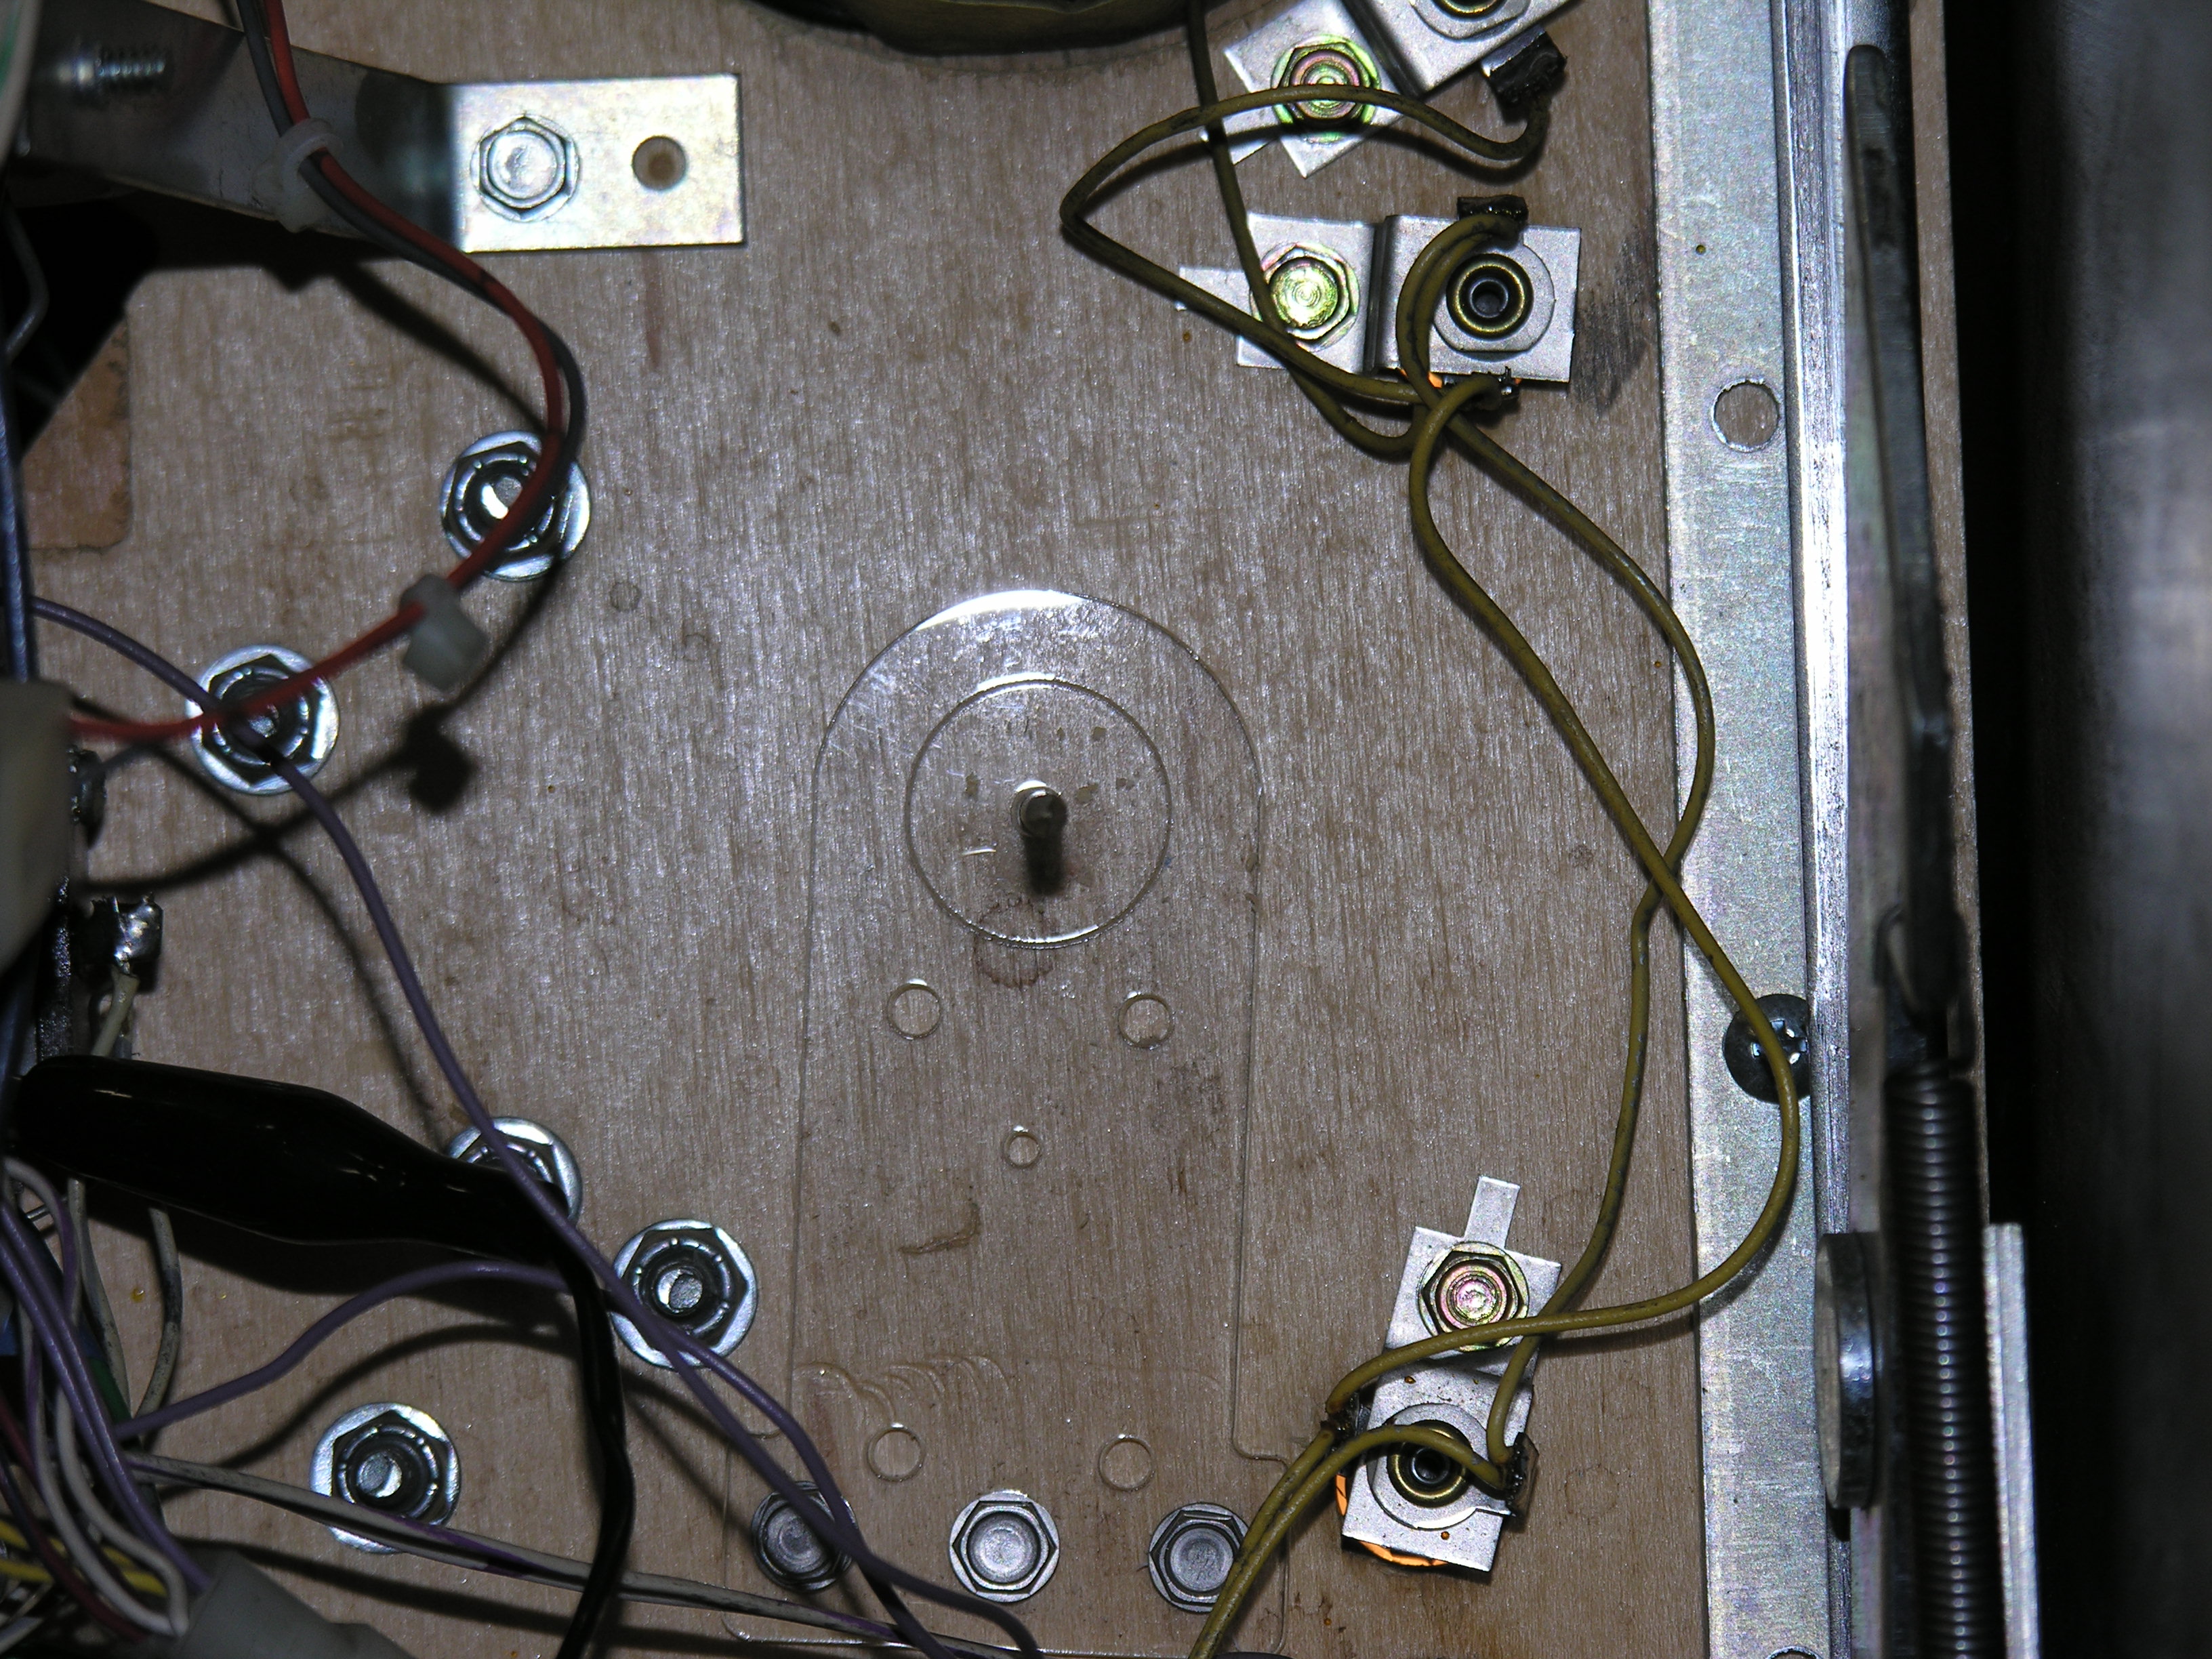 Remove
the bit from the drill, and stick it in the hole. make sure that it all
looks square. If it doesn't, no harm done, find that handy woodworking
friend to help you out. If it does, drill all the way through. Go fast
and light at the end.
Remove
the bit from the drill, and stick it in the hole. make sure that it all
looks square. If it doesn't, no harm done, find that handy woodworking
friend to help you out. If it does, drill all the way through. Go fast
and light at the end. 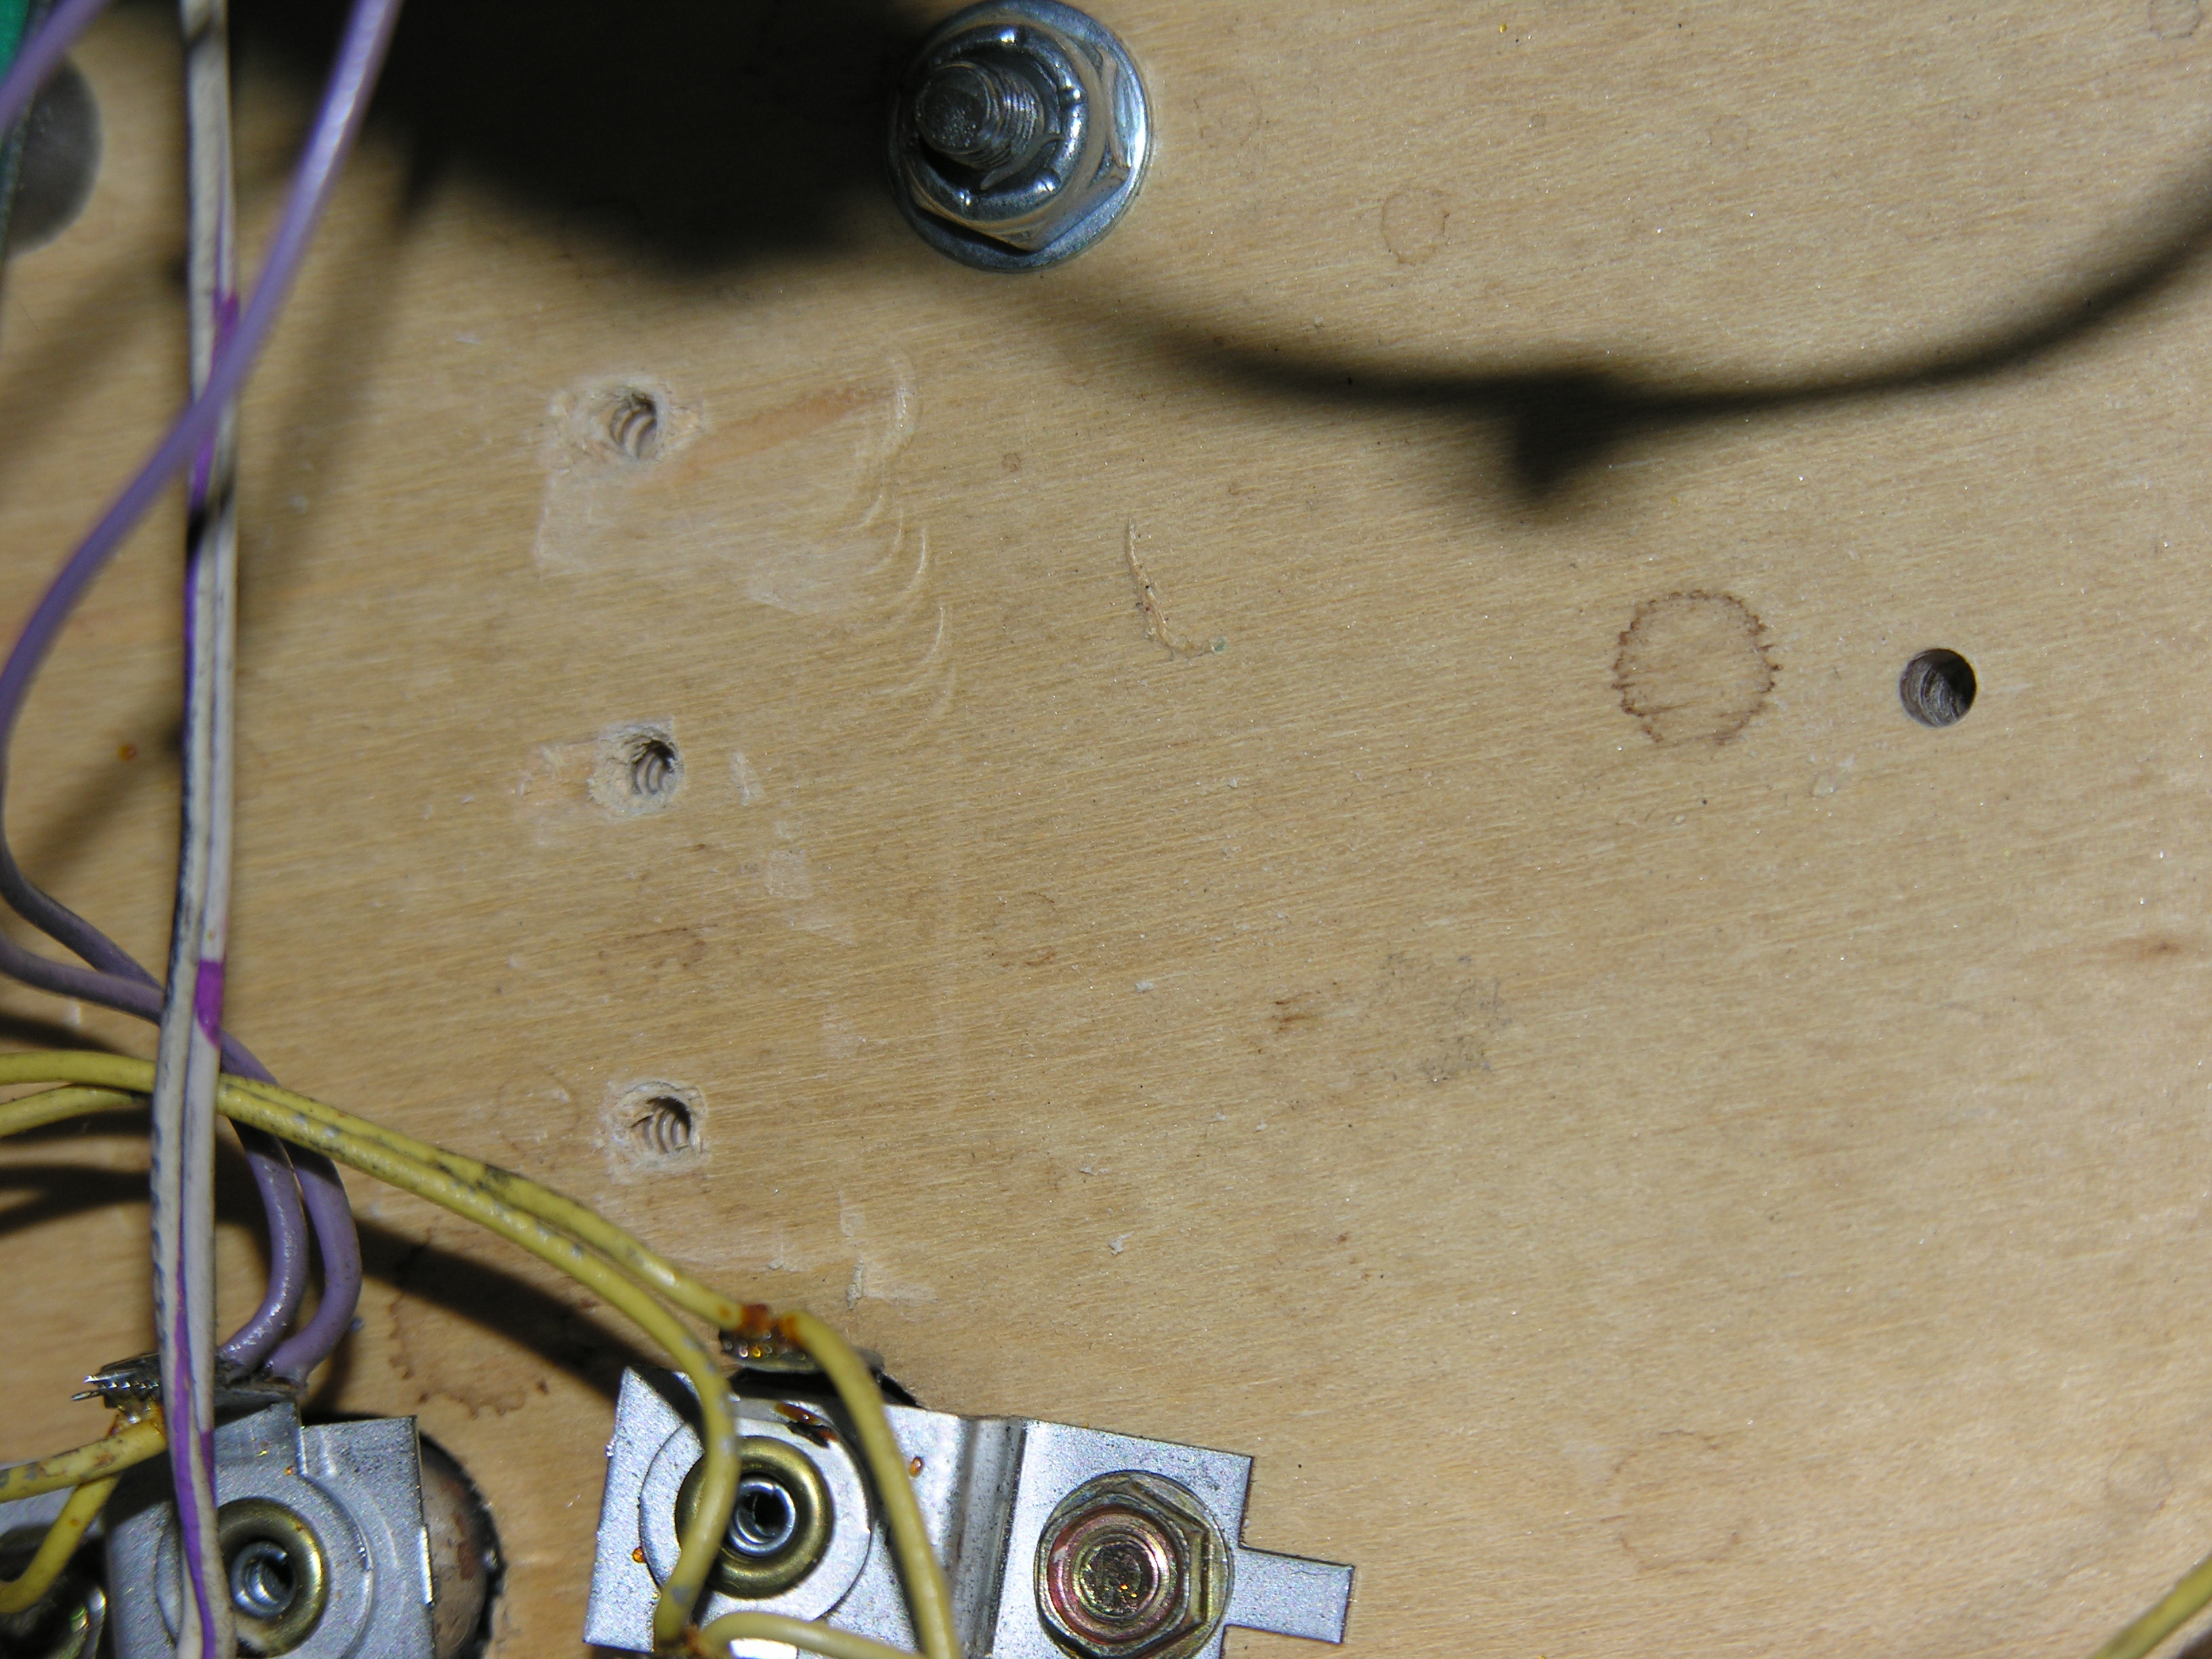 Here
are the holes, all set and ready to go.
Here
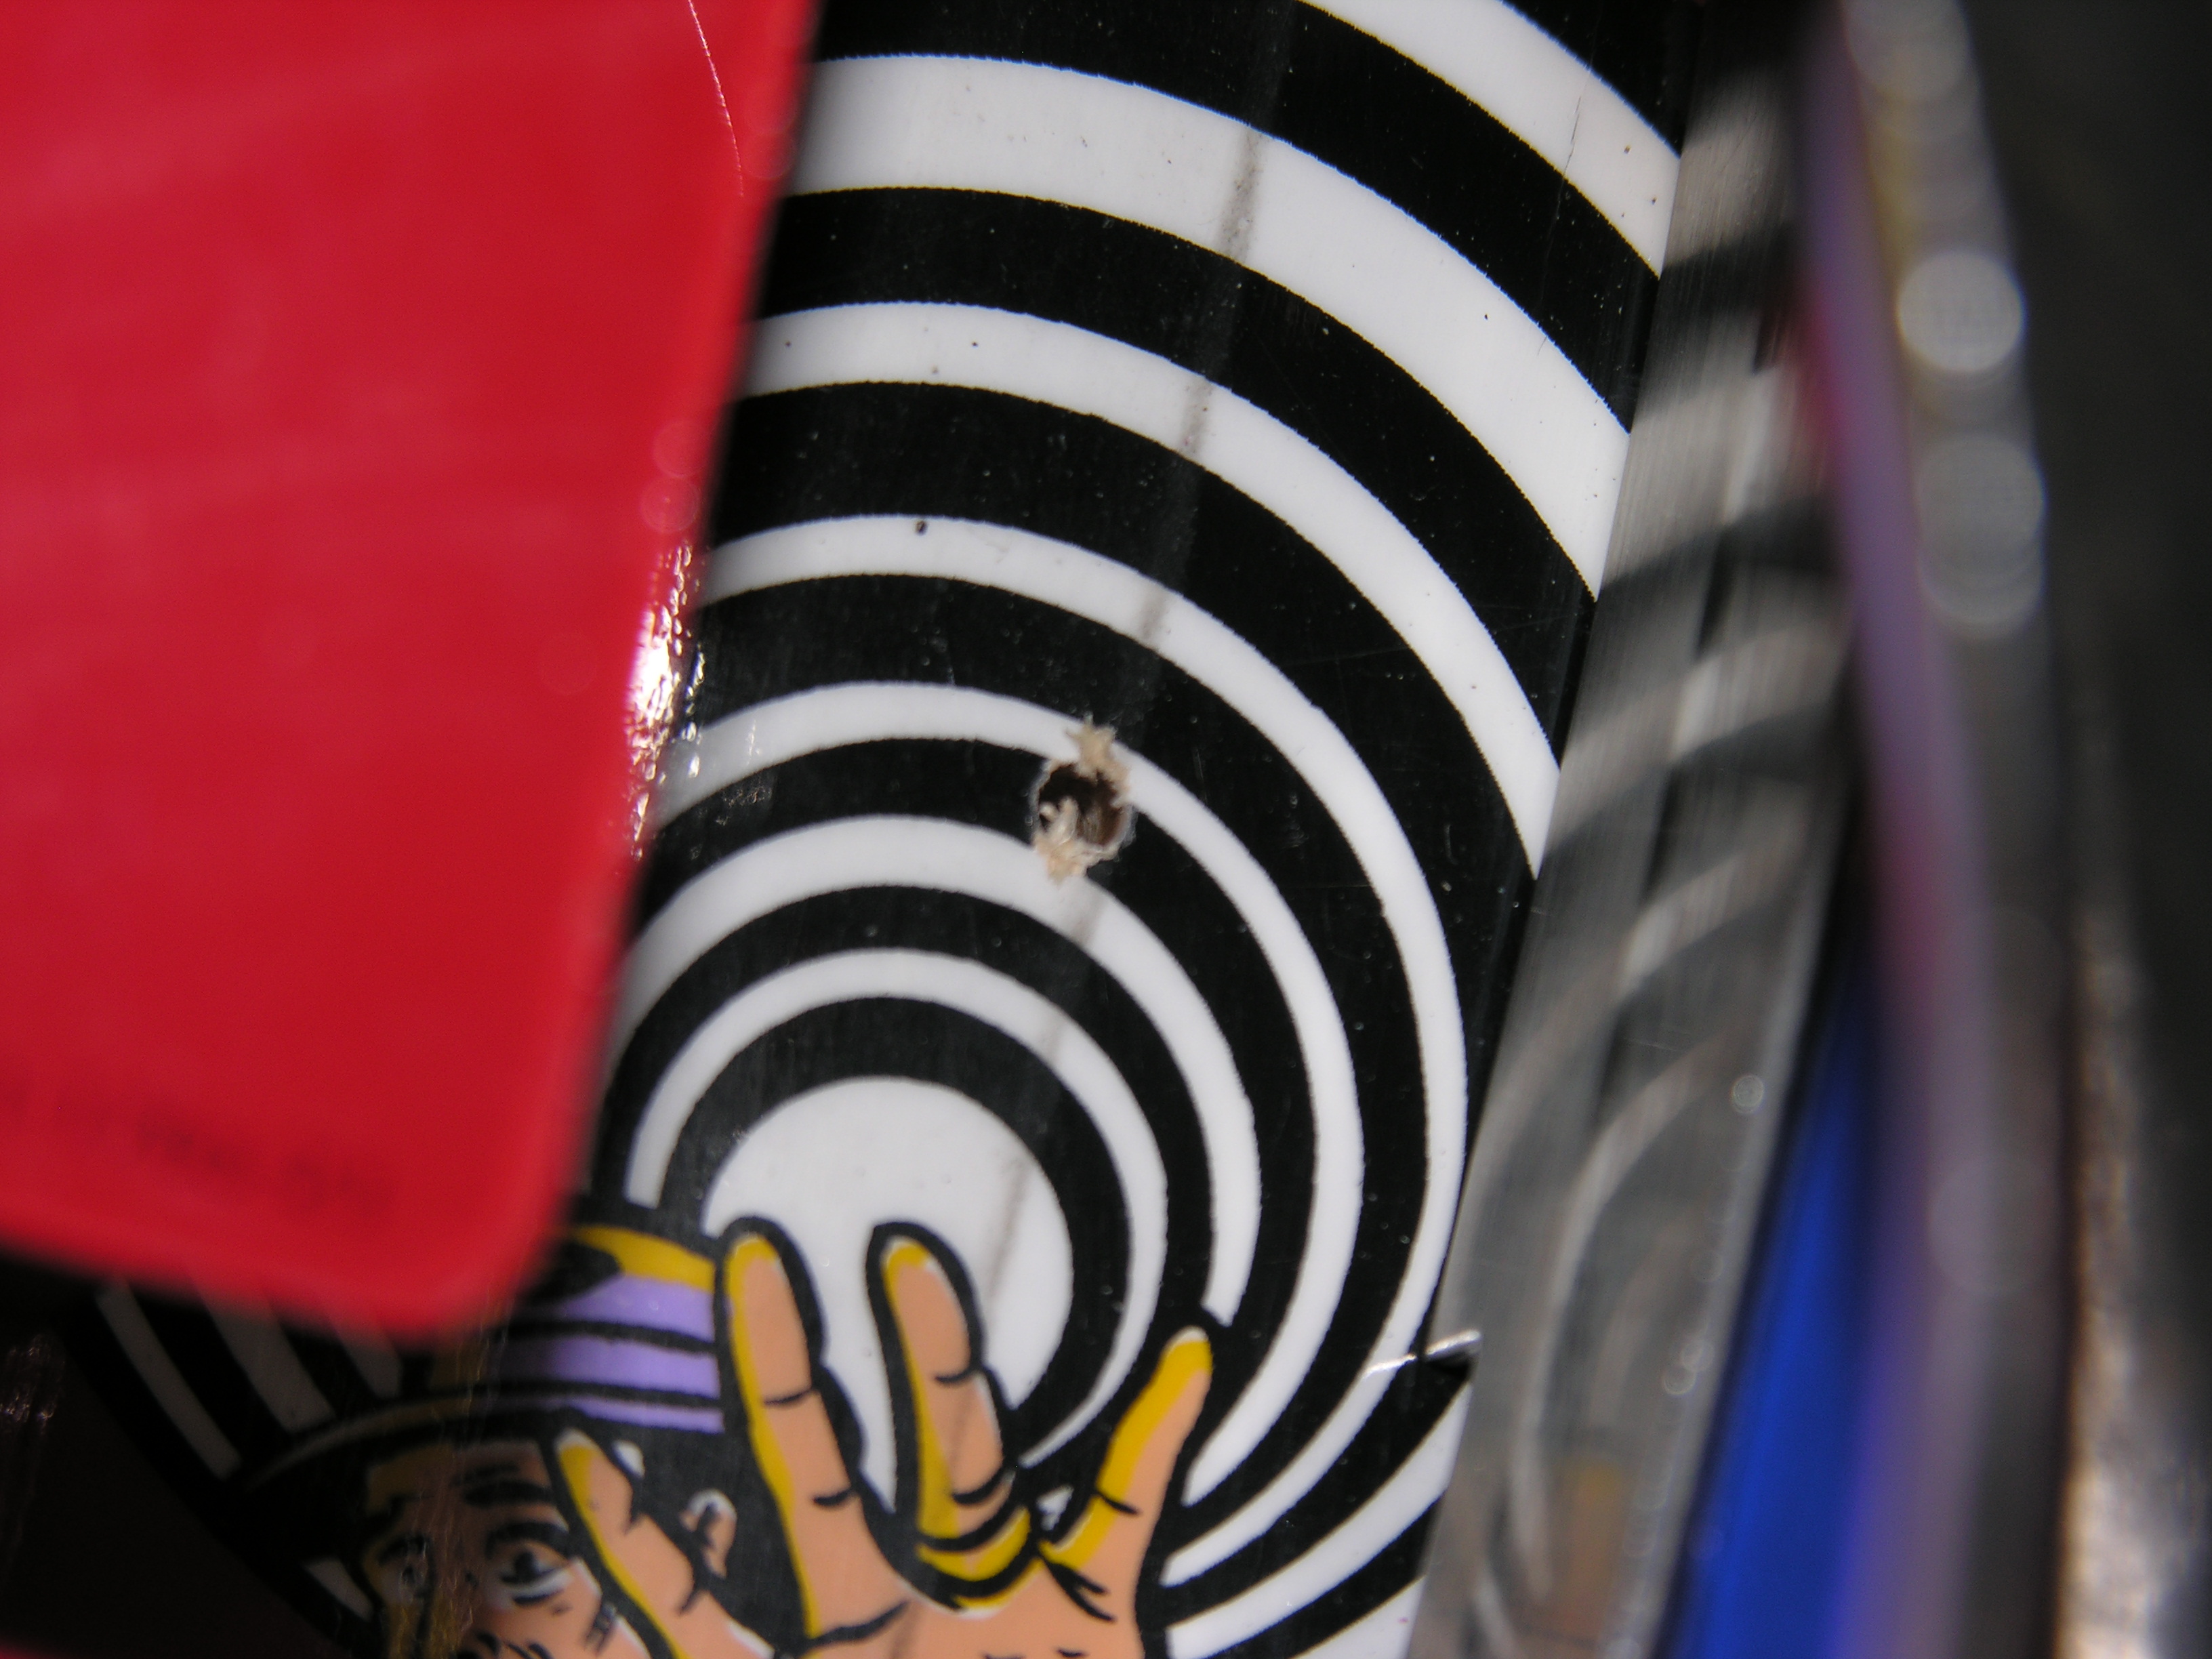
are the holes, all set and ready to go. 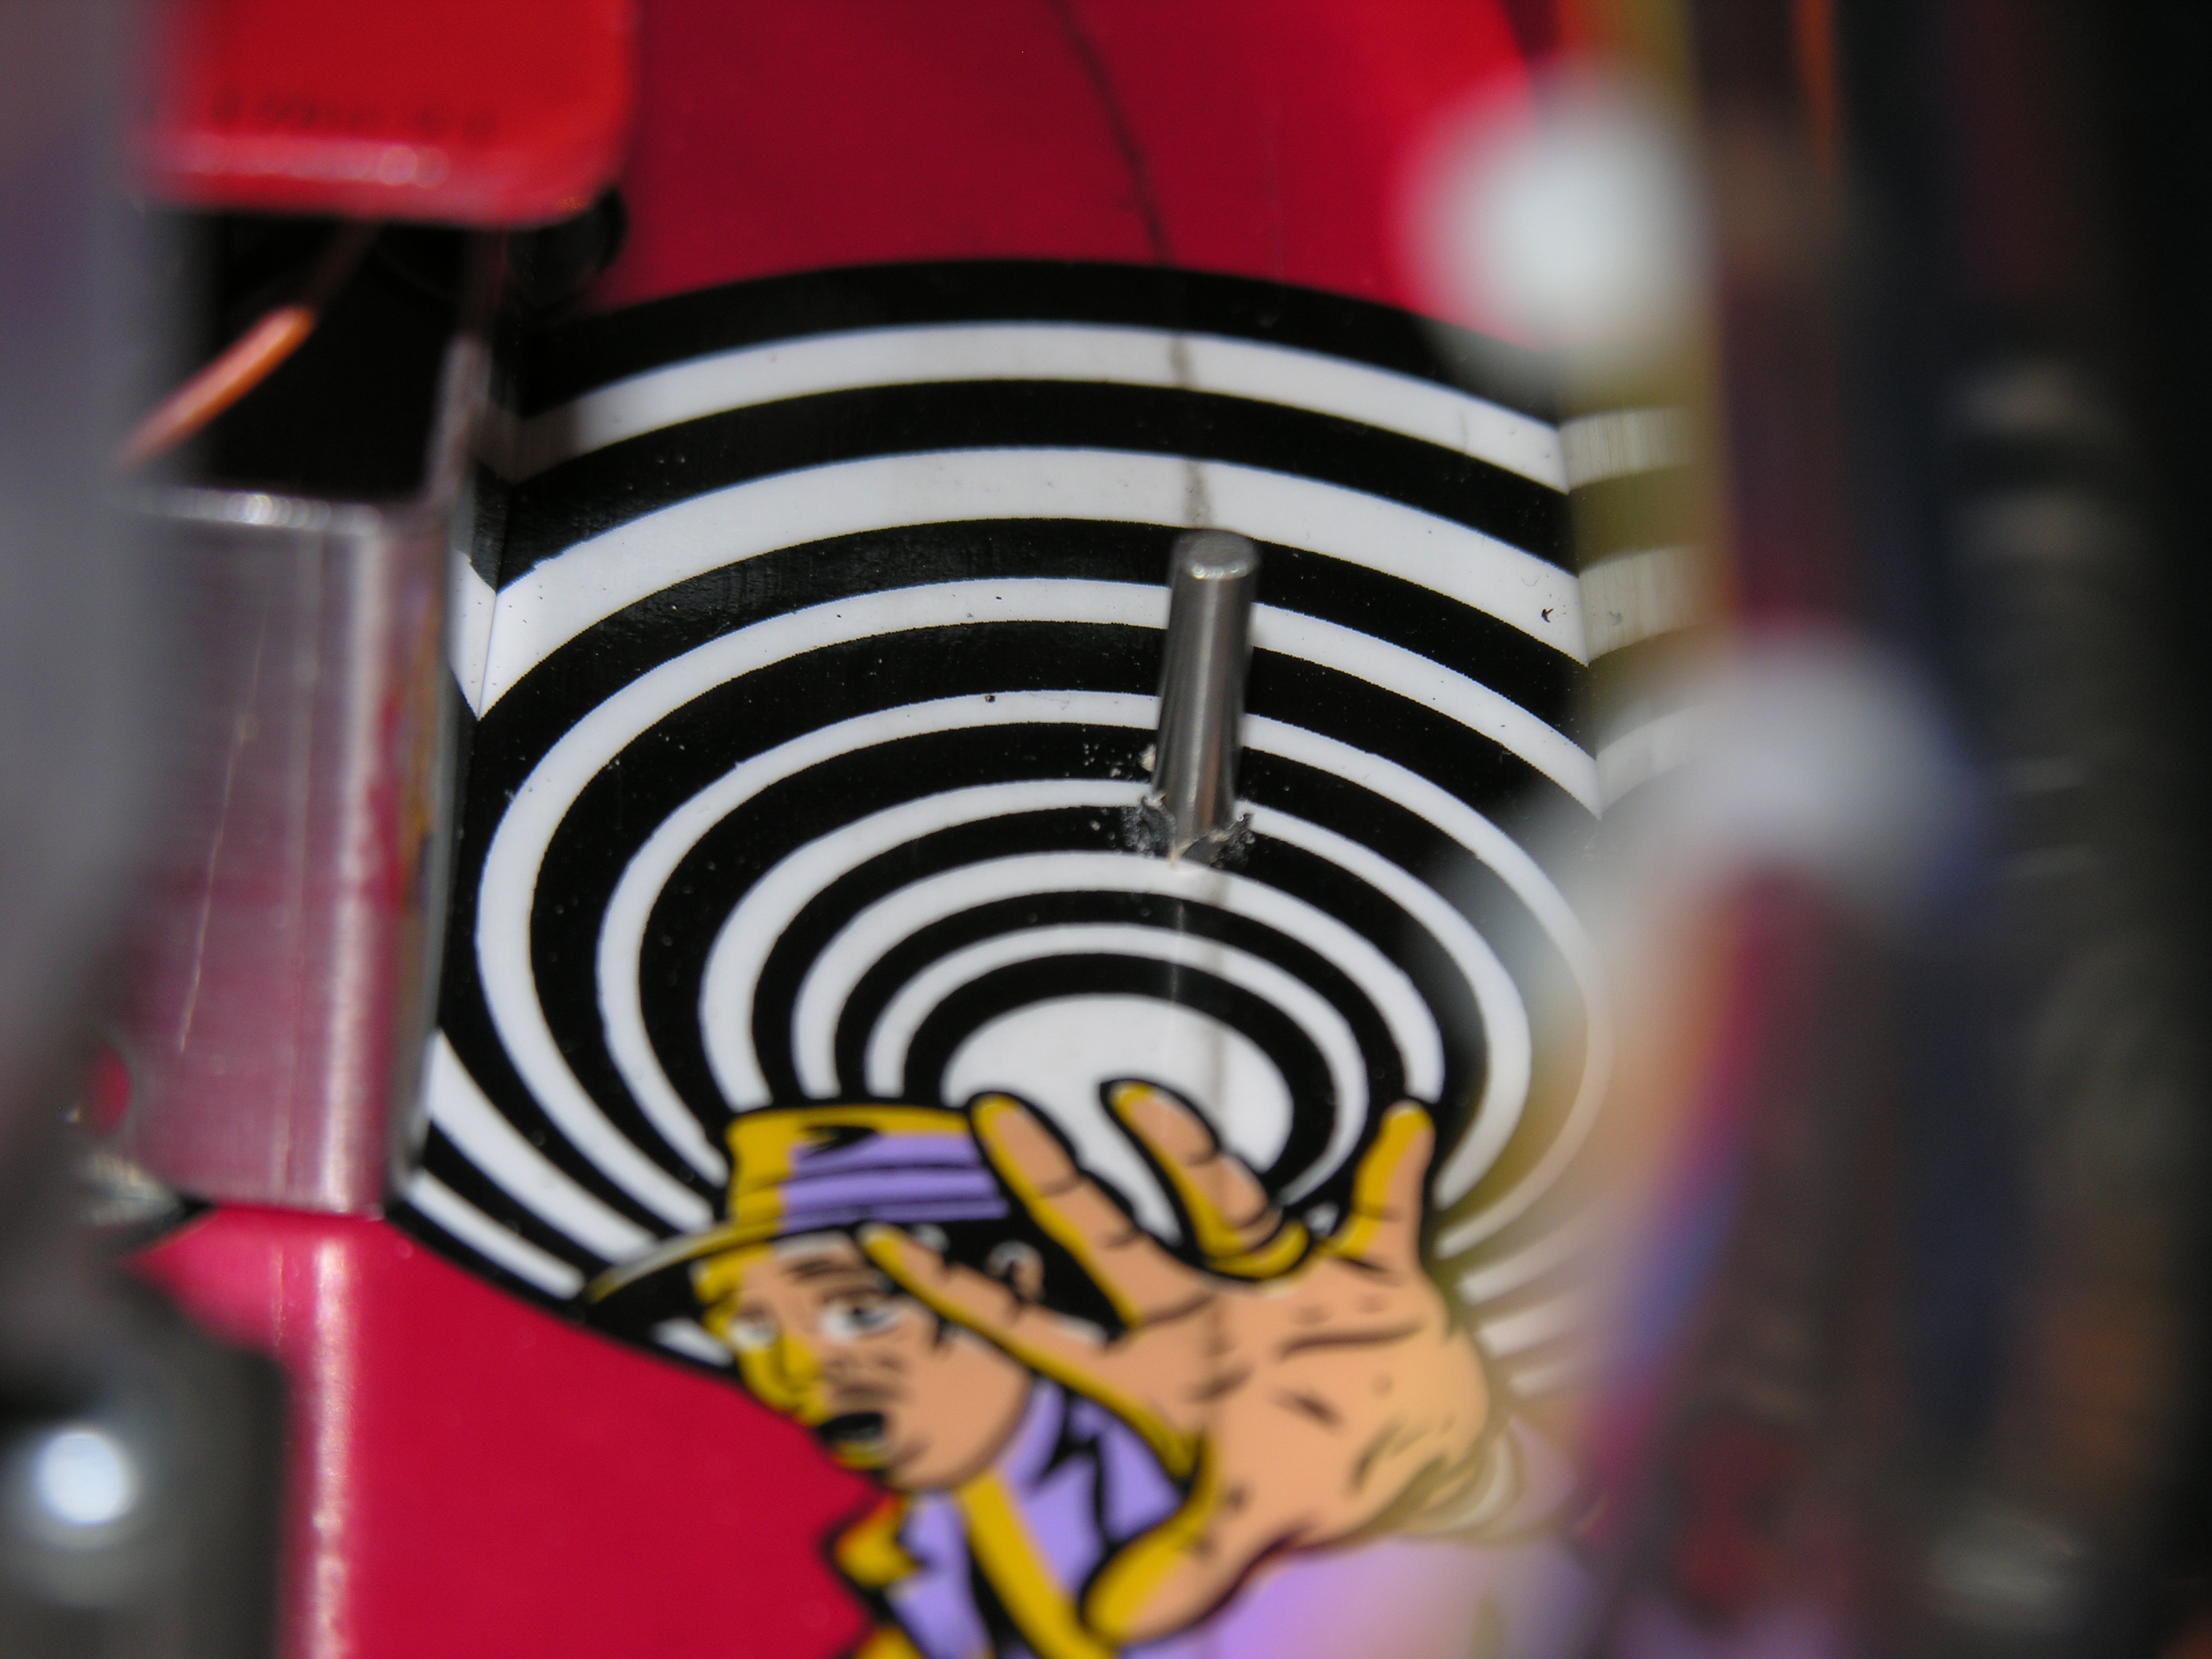 There's
our pilot from the top. In the third ring, and a shade to the left of
the ball trail. The magnet will hold the ball just clear of the ball
guide. This is the correct location - things are looking good.
There's
our pilot from the top. In the third ring, and a shade to the left of
the ball trail. The magnet will hold the ball just clear of the ball
guide. This is the correct location - things are looking good.
Whoever thought that a ball trail would be useful???
 Here's
a nice picture of the pilot hole. If your hole is not in this general
area - back to that woodworky friend, please!
Here's
a nice picture of the pilot hole. If your hole is not in this general
area - back to that woodworky friend, please!Now you are ready to drill the big hole. No need to do it right away. You'll be stripping the playfield to do the ball guide holes anyway.