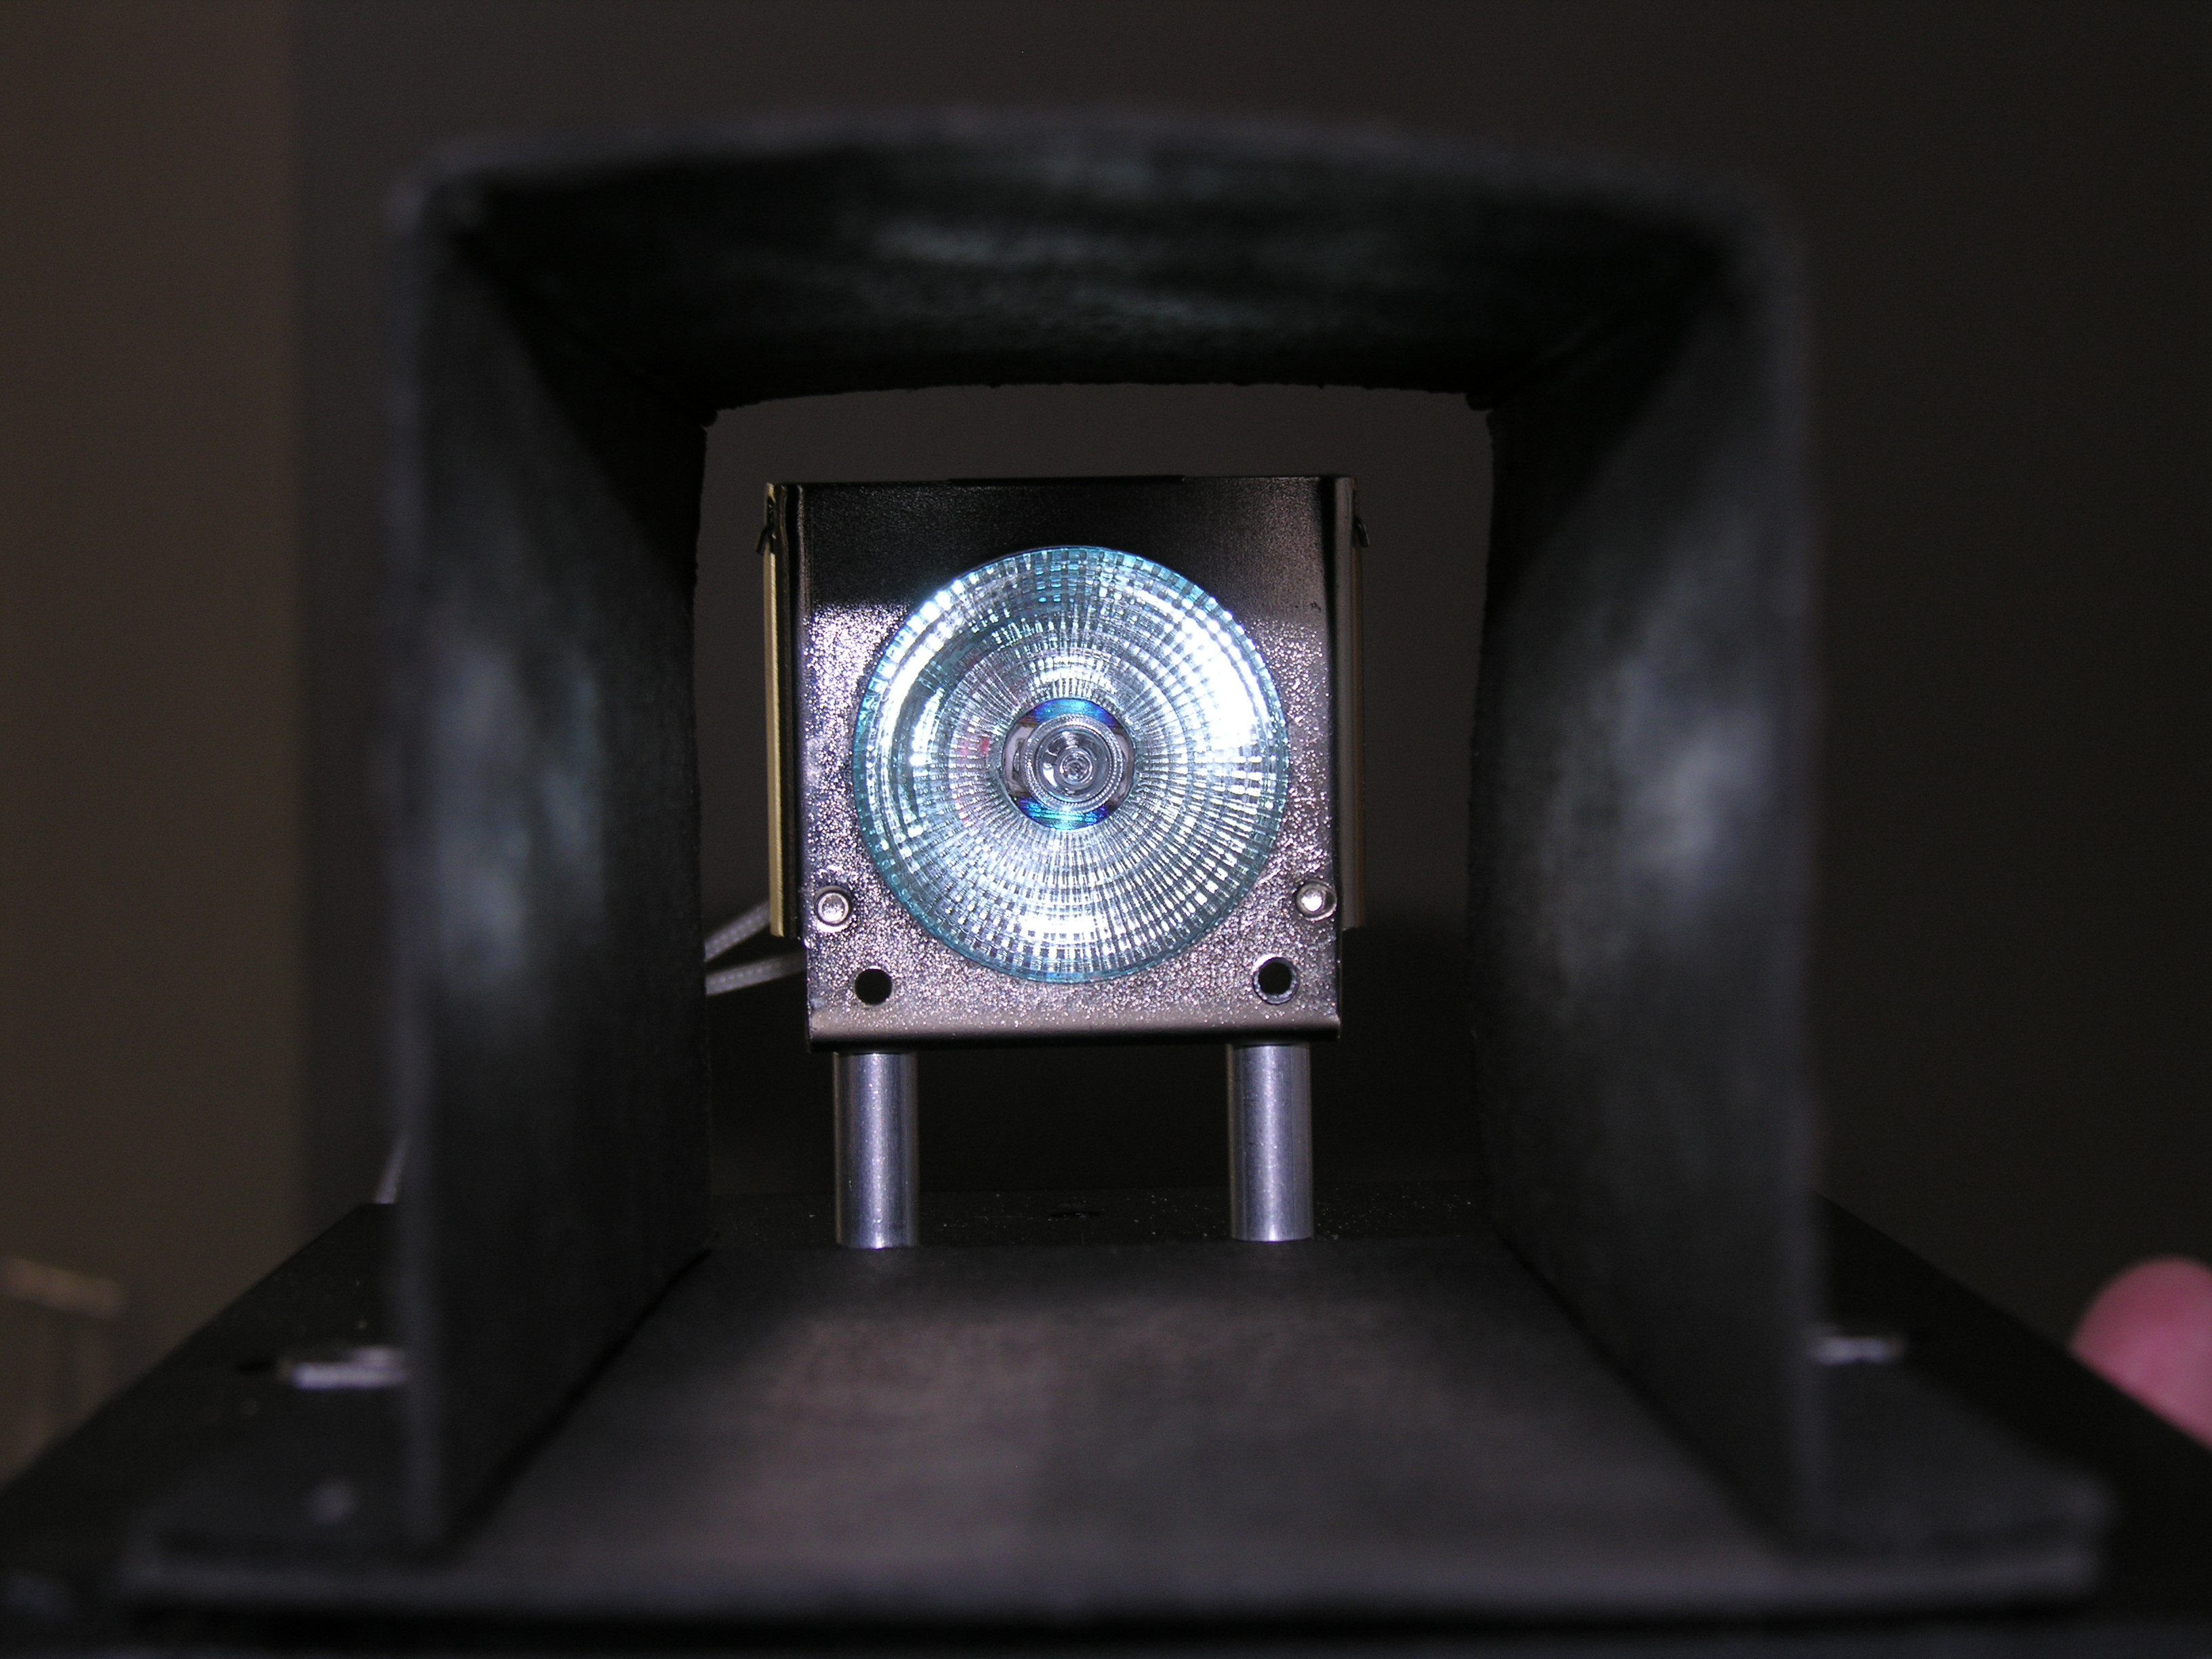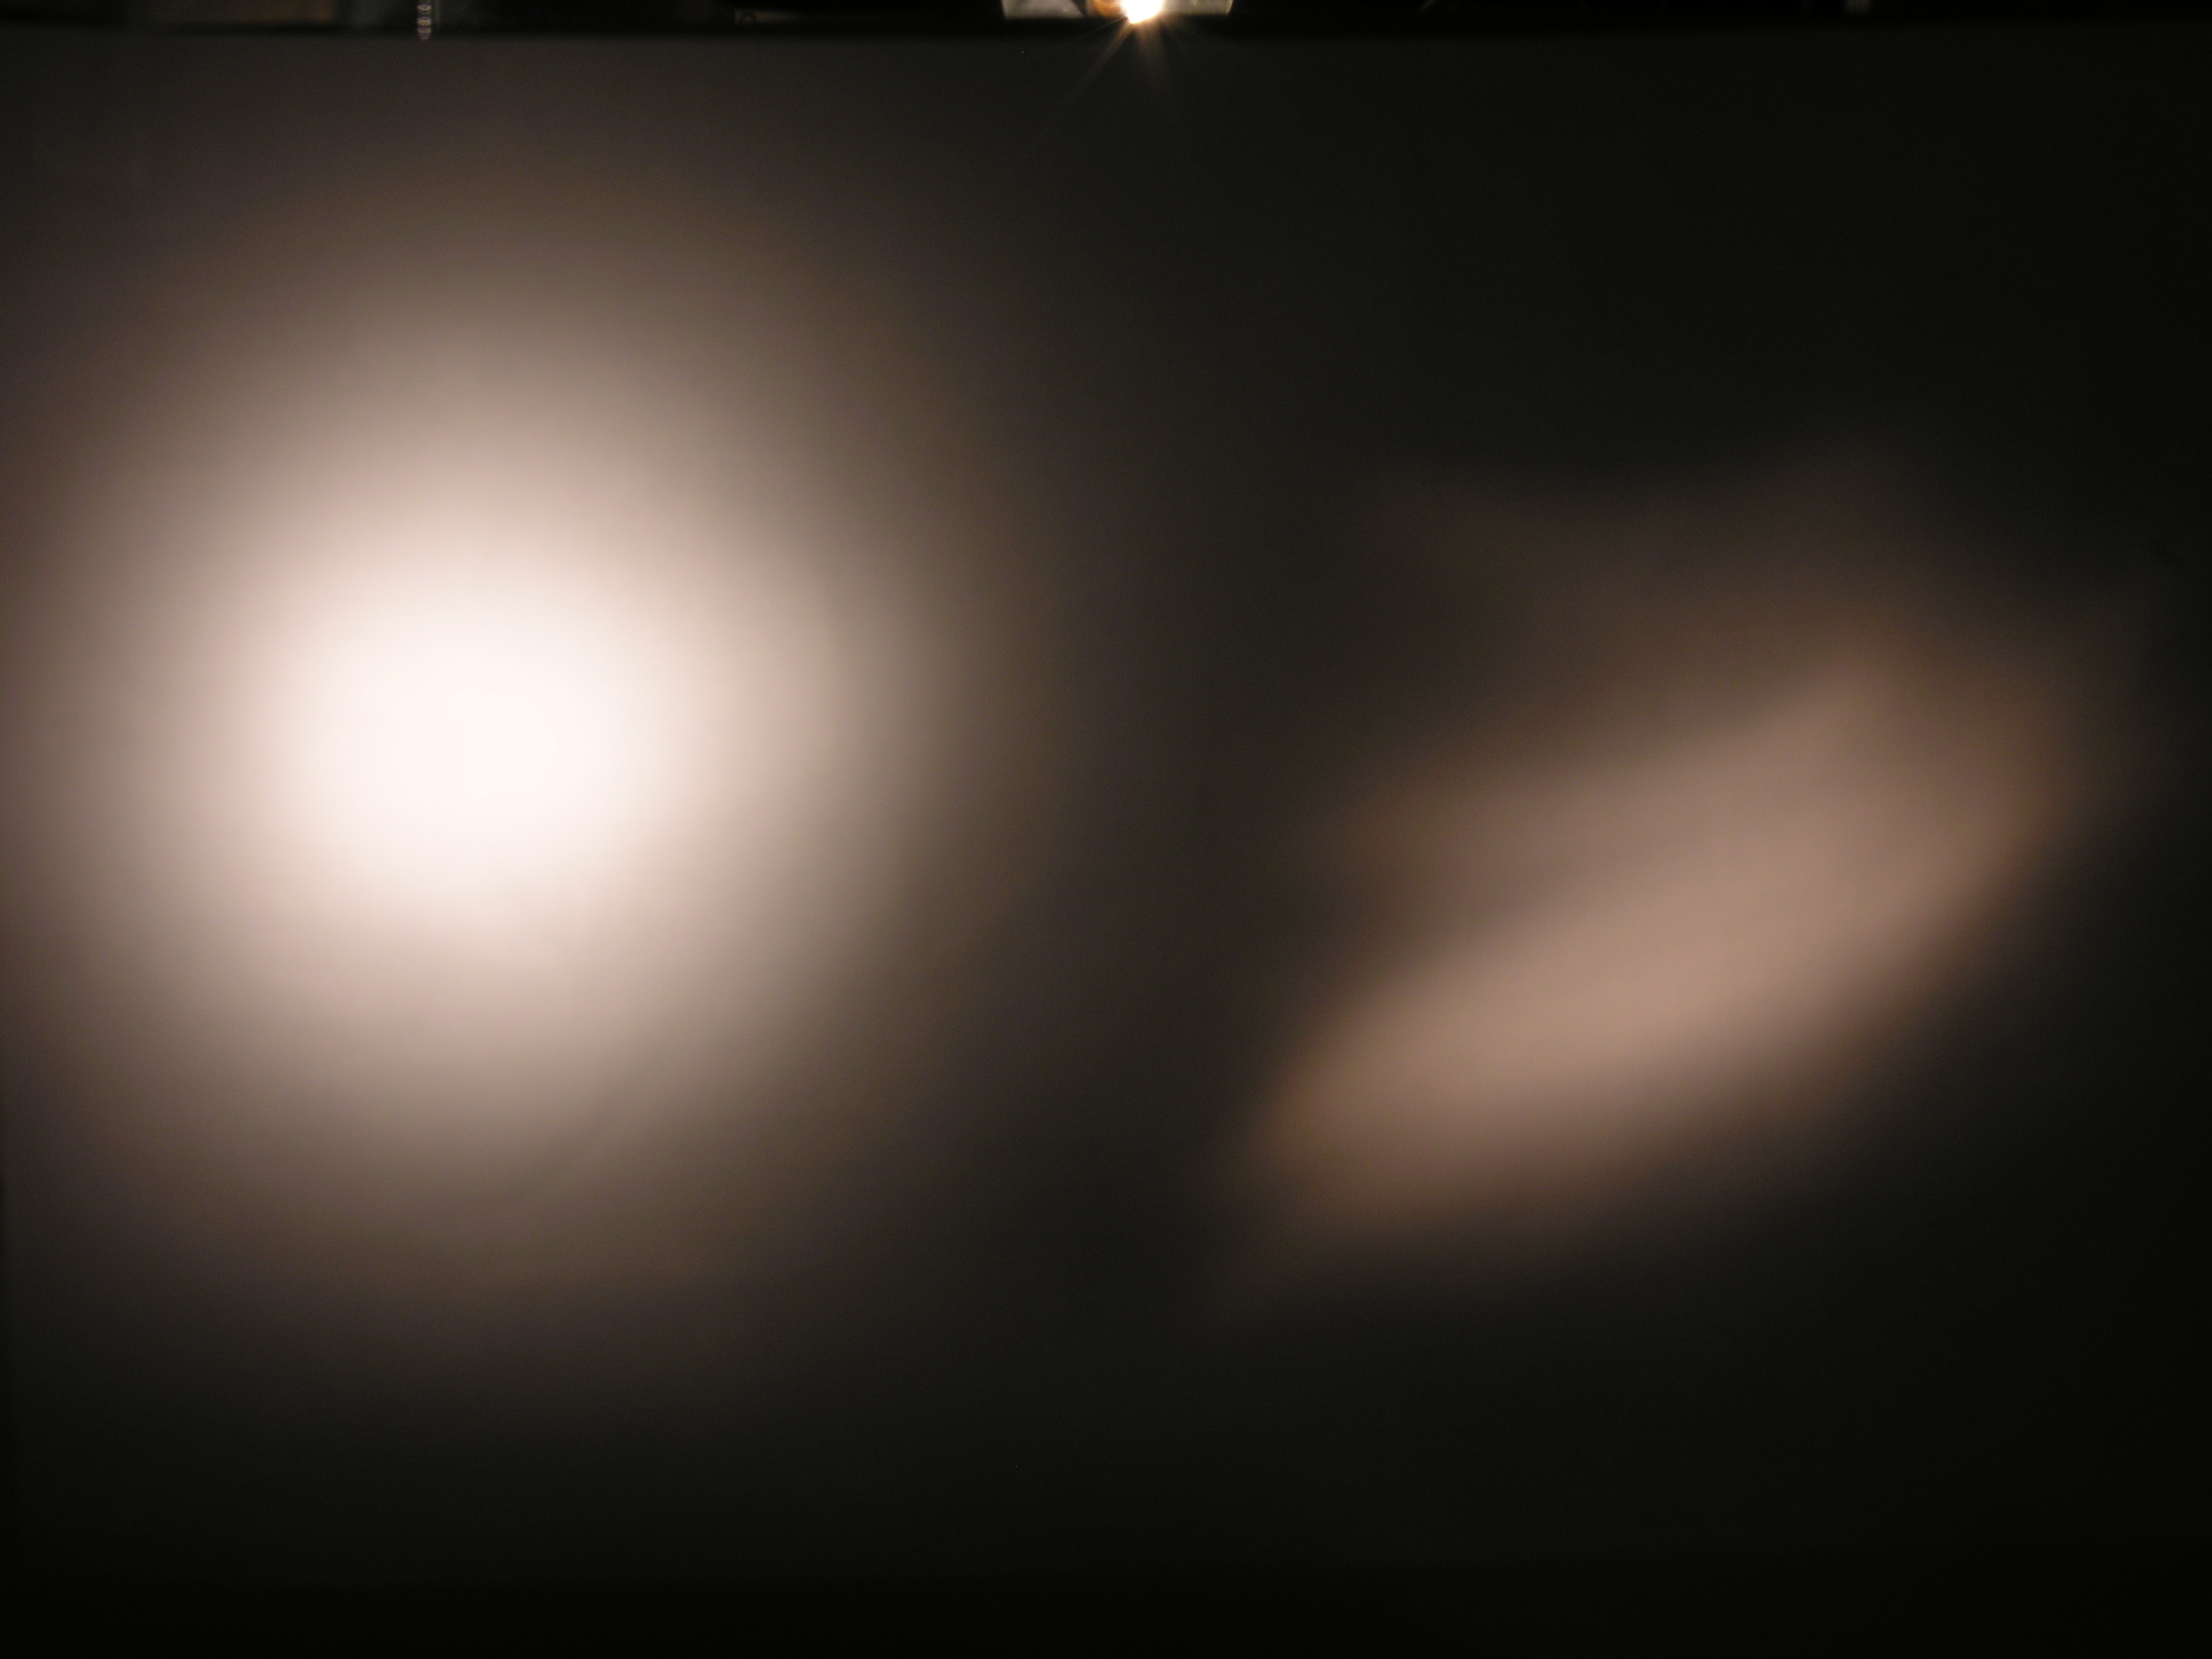
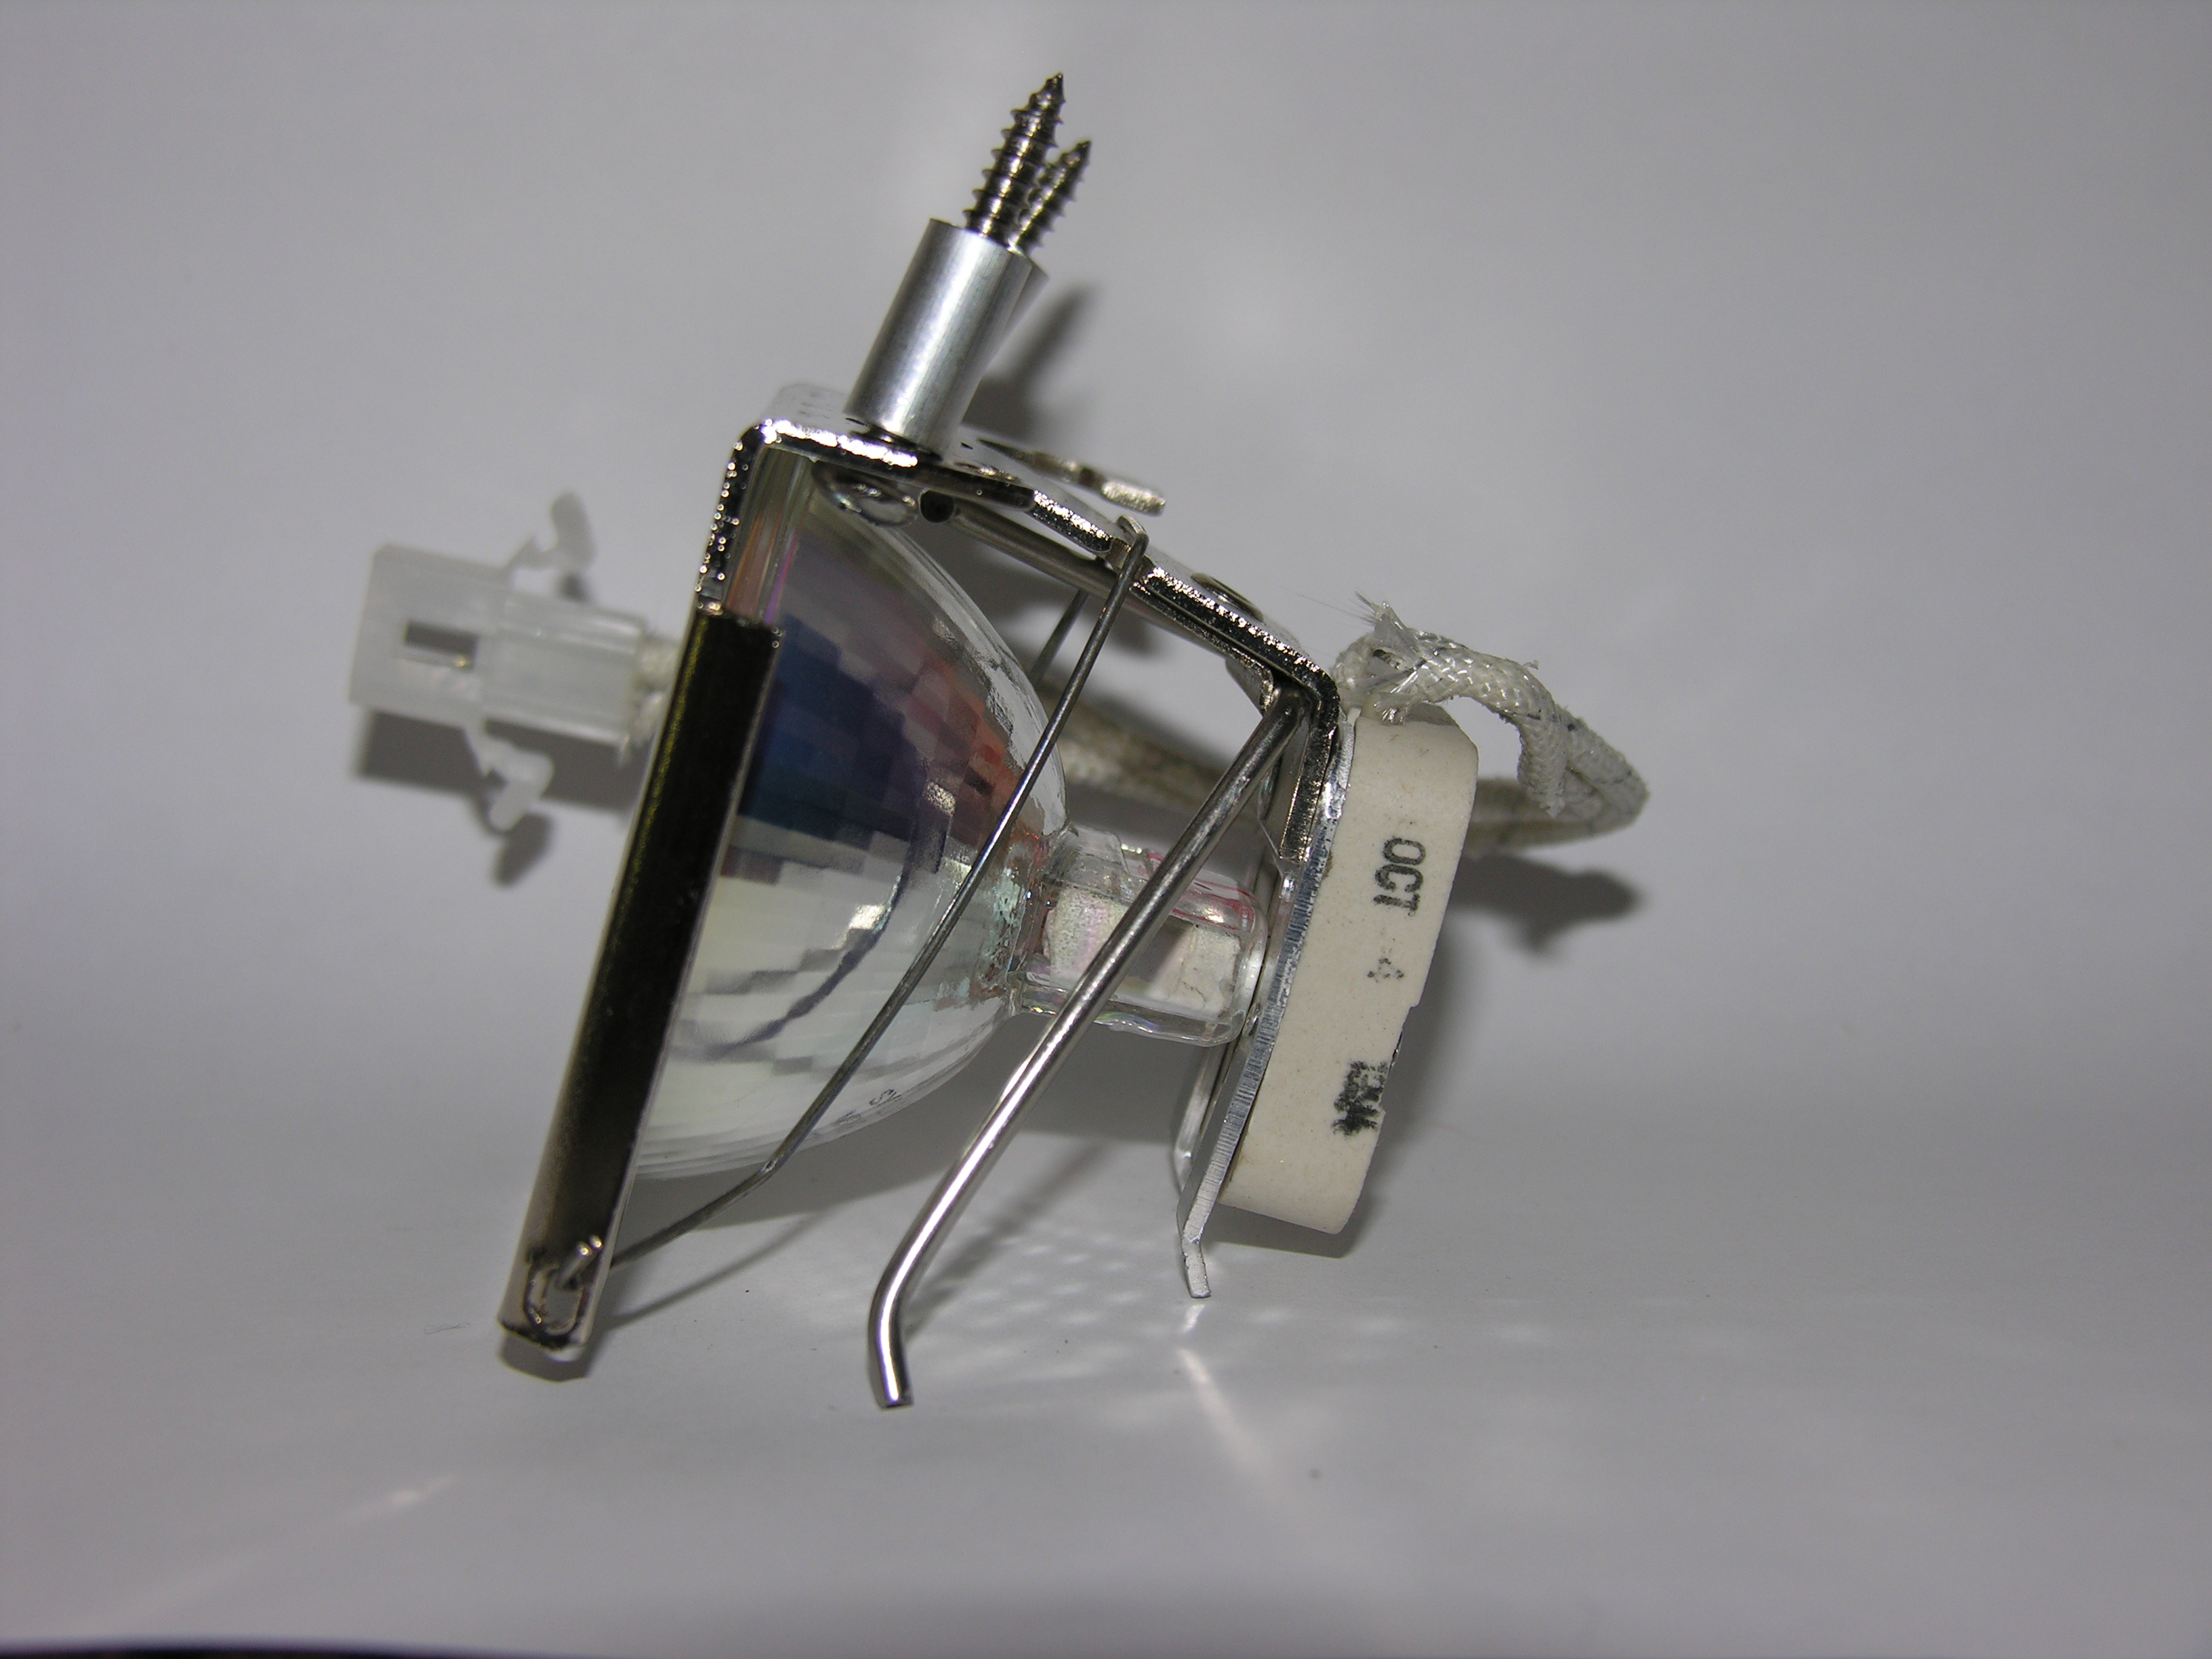
 Here
are the two projector assemblies. Here, you can see why the halogen
assembly is brighter than the original auto bulb: the auto bulb sends
most of its light off in unwanted direction, as the reflector has very
limited coverage. the halogen bulb and reflector assembly captures far
more light.
Here
are the two projector assemblies. Here, you can see why the halogen
assembly is brighter than the original auto bulb: the auto bulb sends
most of its light off in unwanted direction, as the reflector has very
limited coverage. the halogen bulb and reflector assembly captures far
more light. 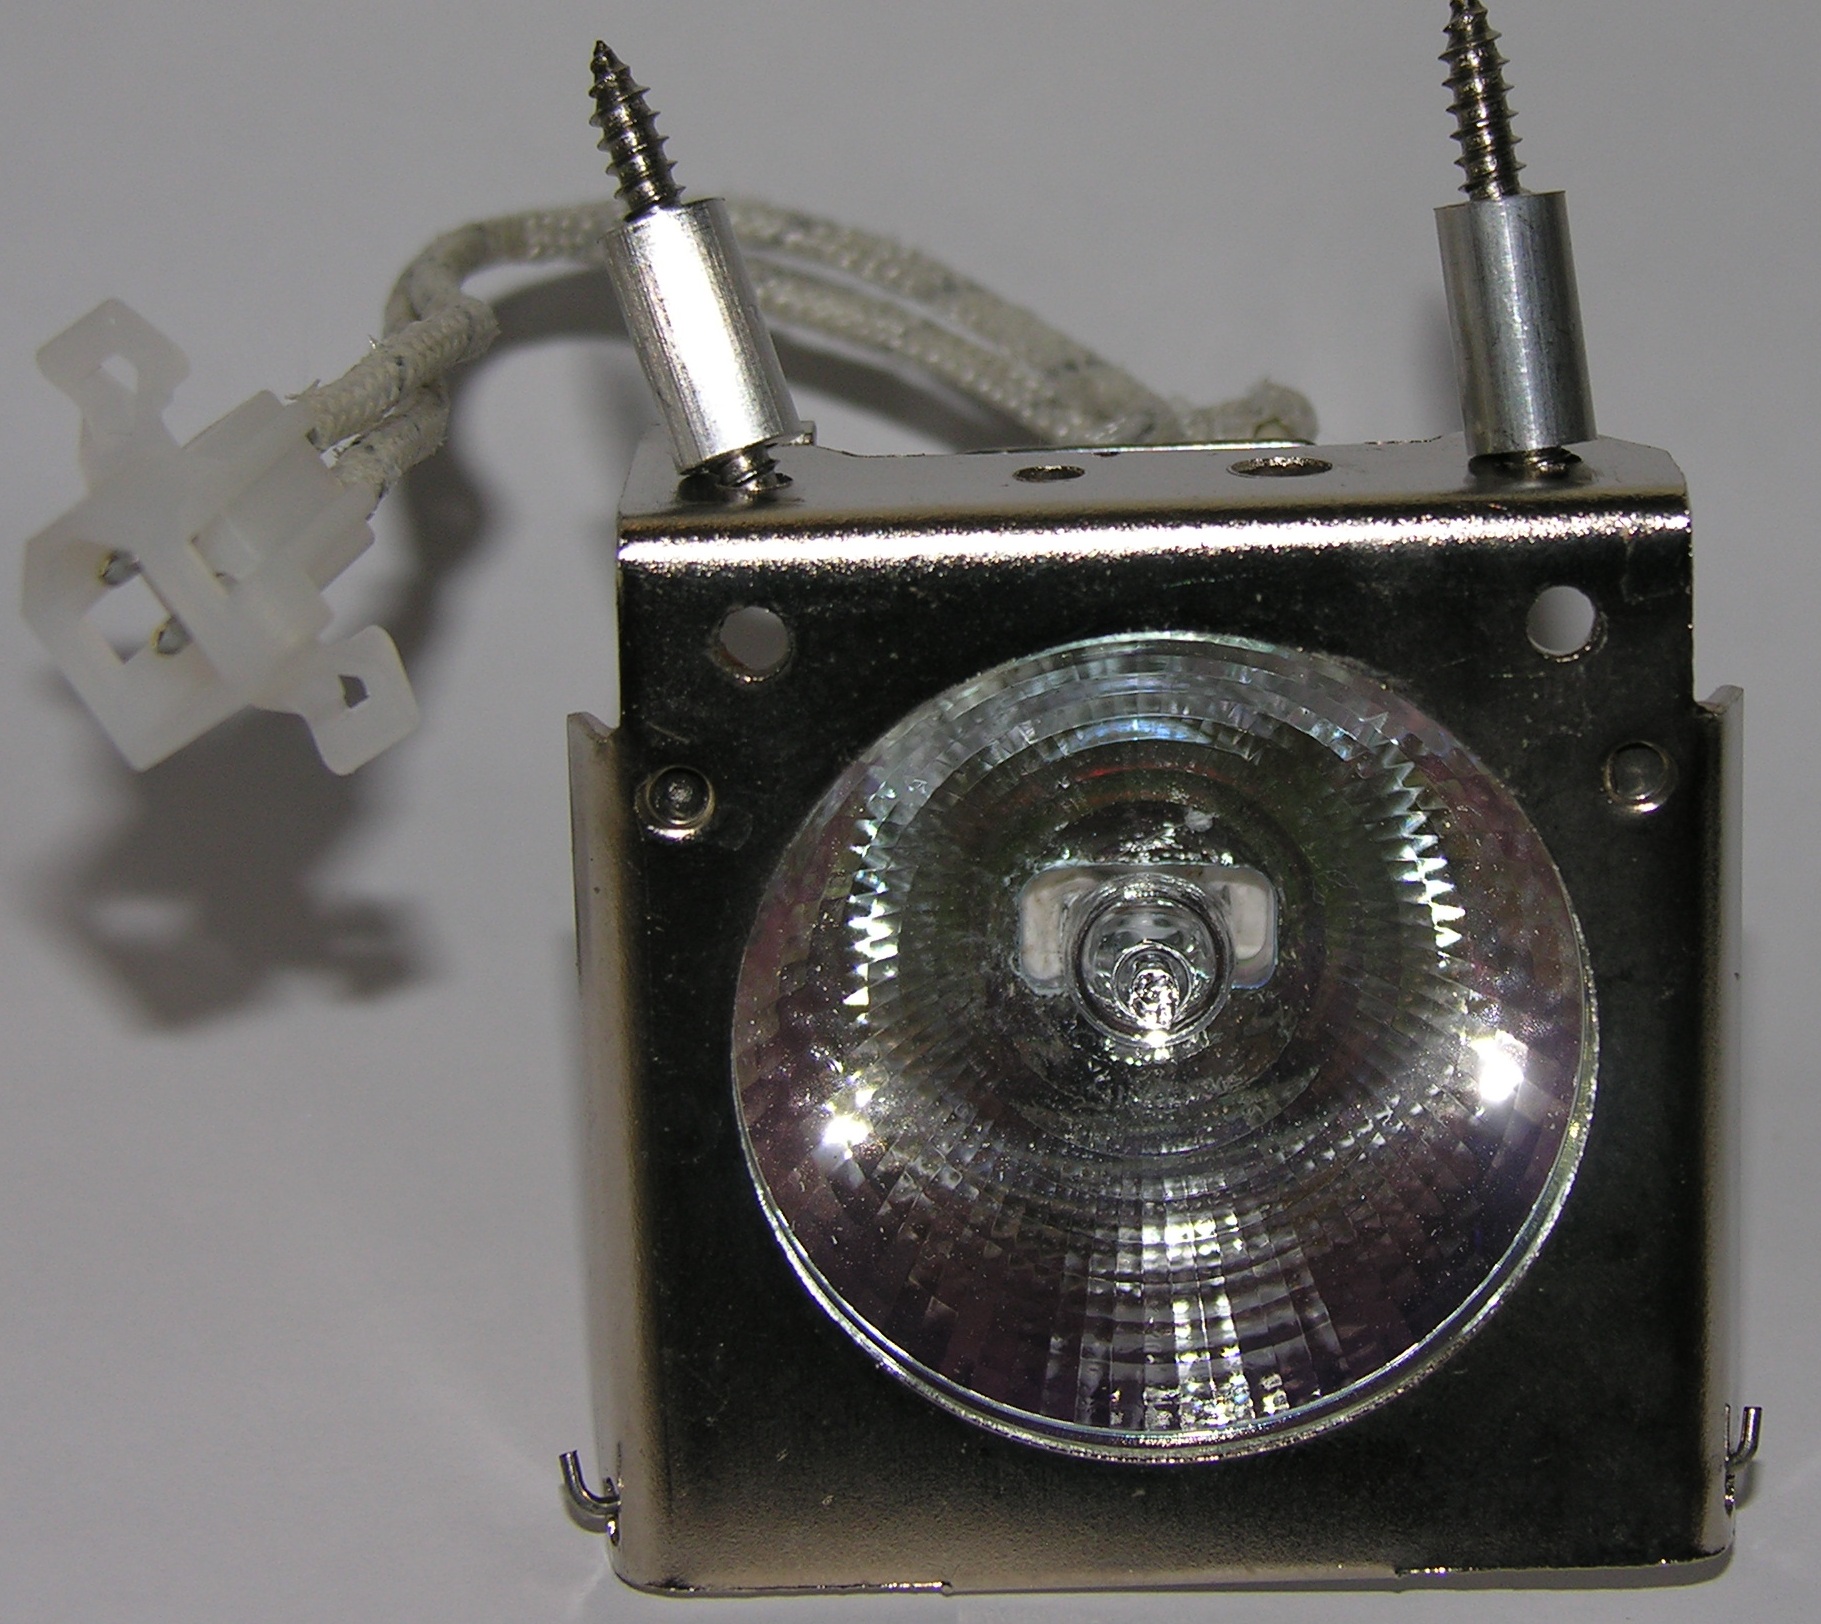
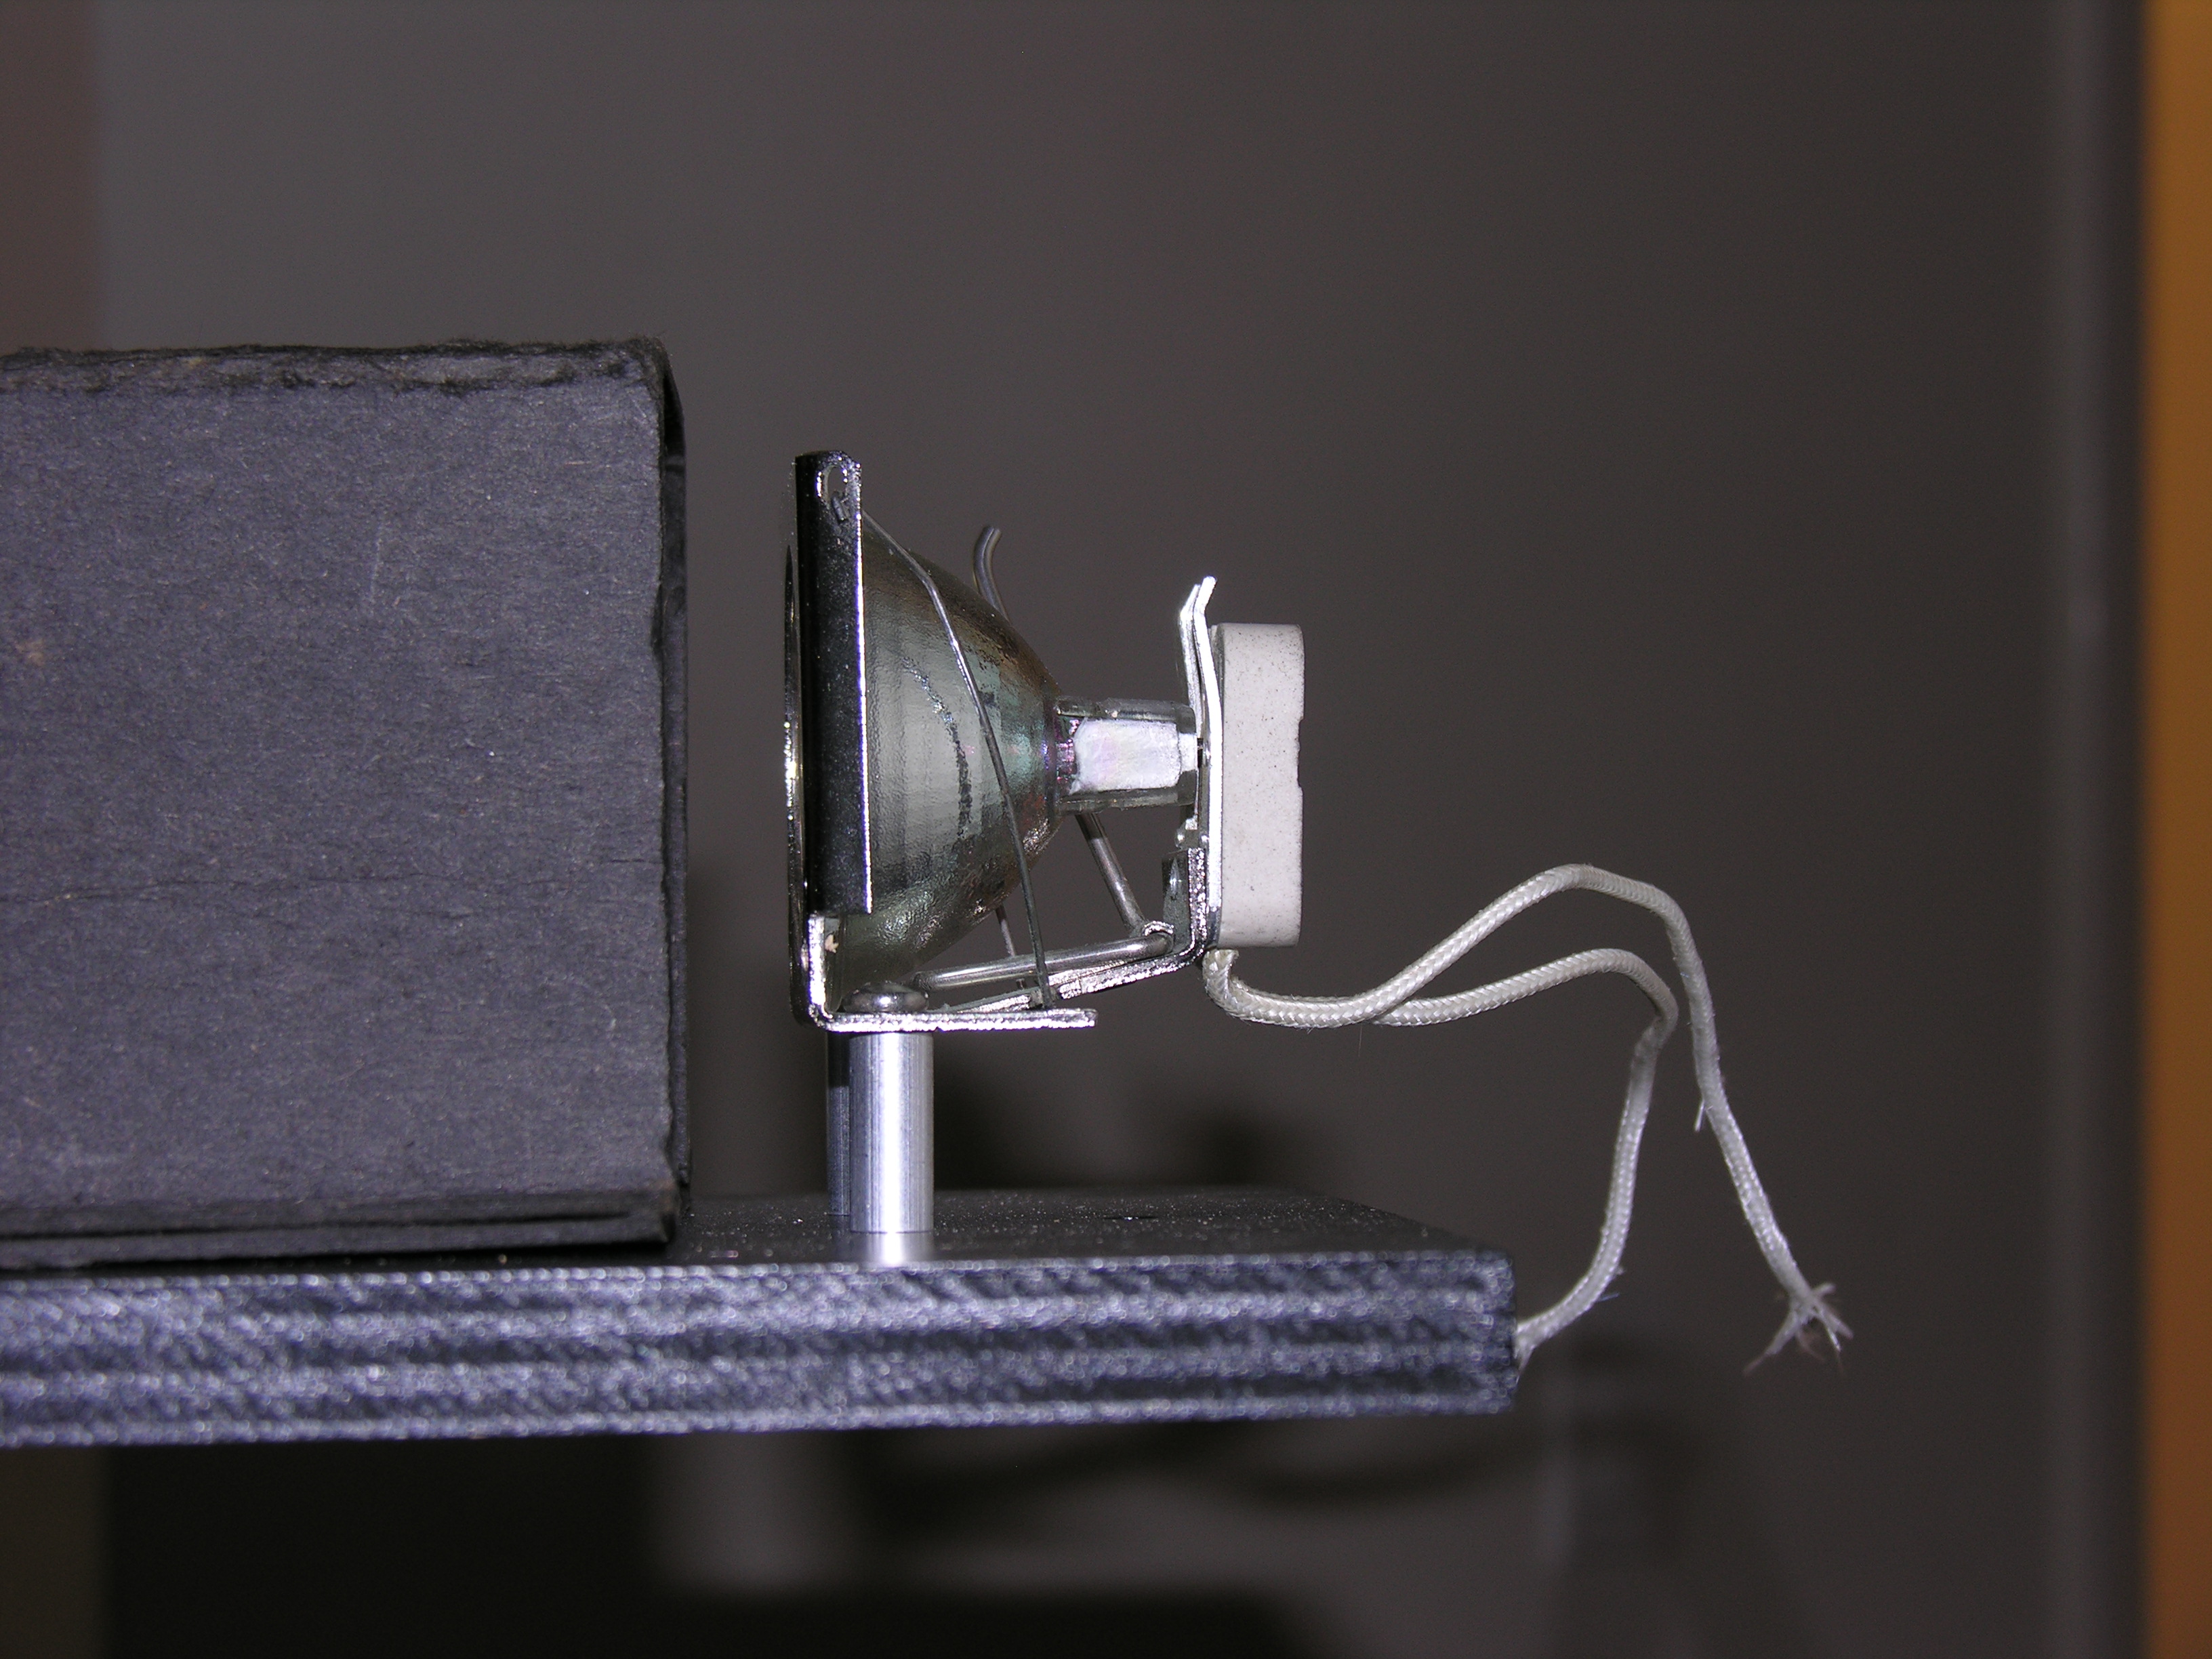
1) Remove your projector assembly from the machine. It is held in by two cap screws, and the Molex connector to the auto bulb.
2) Remove the original lamp assembly. It is held in by two hex head screws.
3) Place the new reflector onto the wood, and mark the mounting holes. It is good to use a T-square to make sure that the bulb assembly is square to the base.
4) Drill two small pilot holes.
5) Assemble the bulb and bulb holder to the base using the 1" self-tapping screws and the aluminum spacers. Put it back in the machine, reconnect the connector.