The Circus Voltaire Ringmaster Protector
My Ringmaster hole was getting beaten up. So here's a stainless steel protector that keeps it safe. the protector is made from .010 full hard stainless steel. This material is astonishingly tough, and yet thin enough that it does not interfere with the ringmaster or the ball movement. Key to the protector is that it is almost perfectly flat, so it sits right. No airballs, and no interference with the eddy sensor are important here.
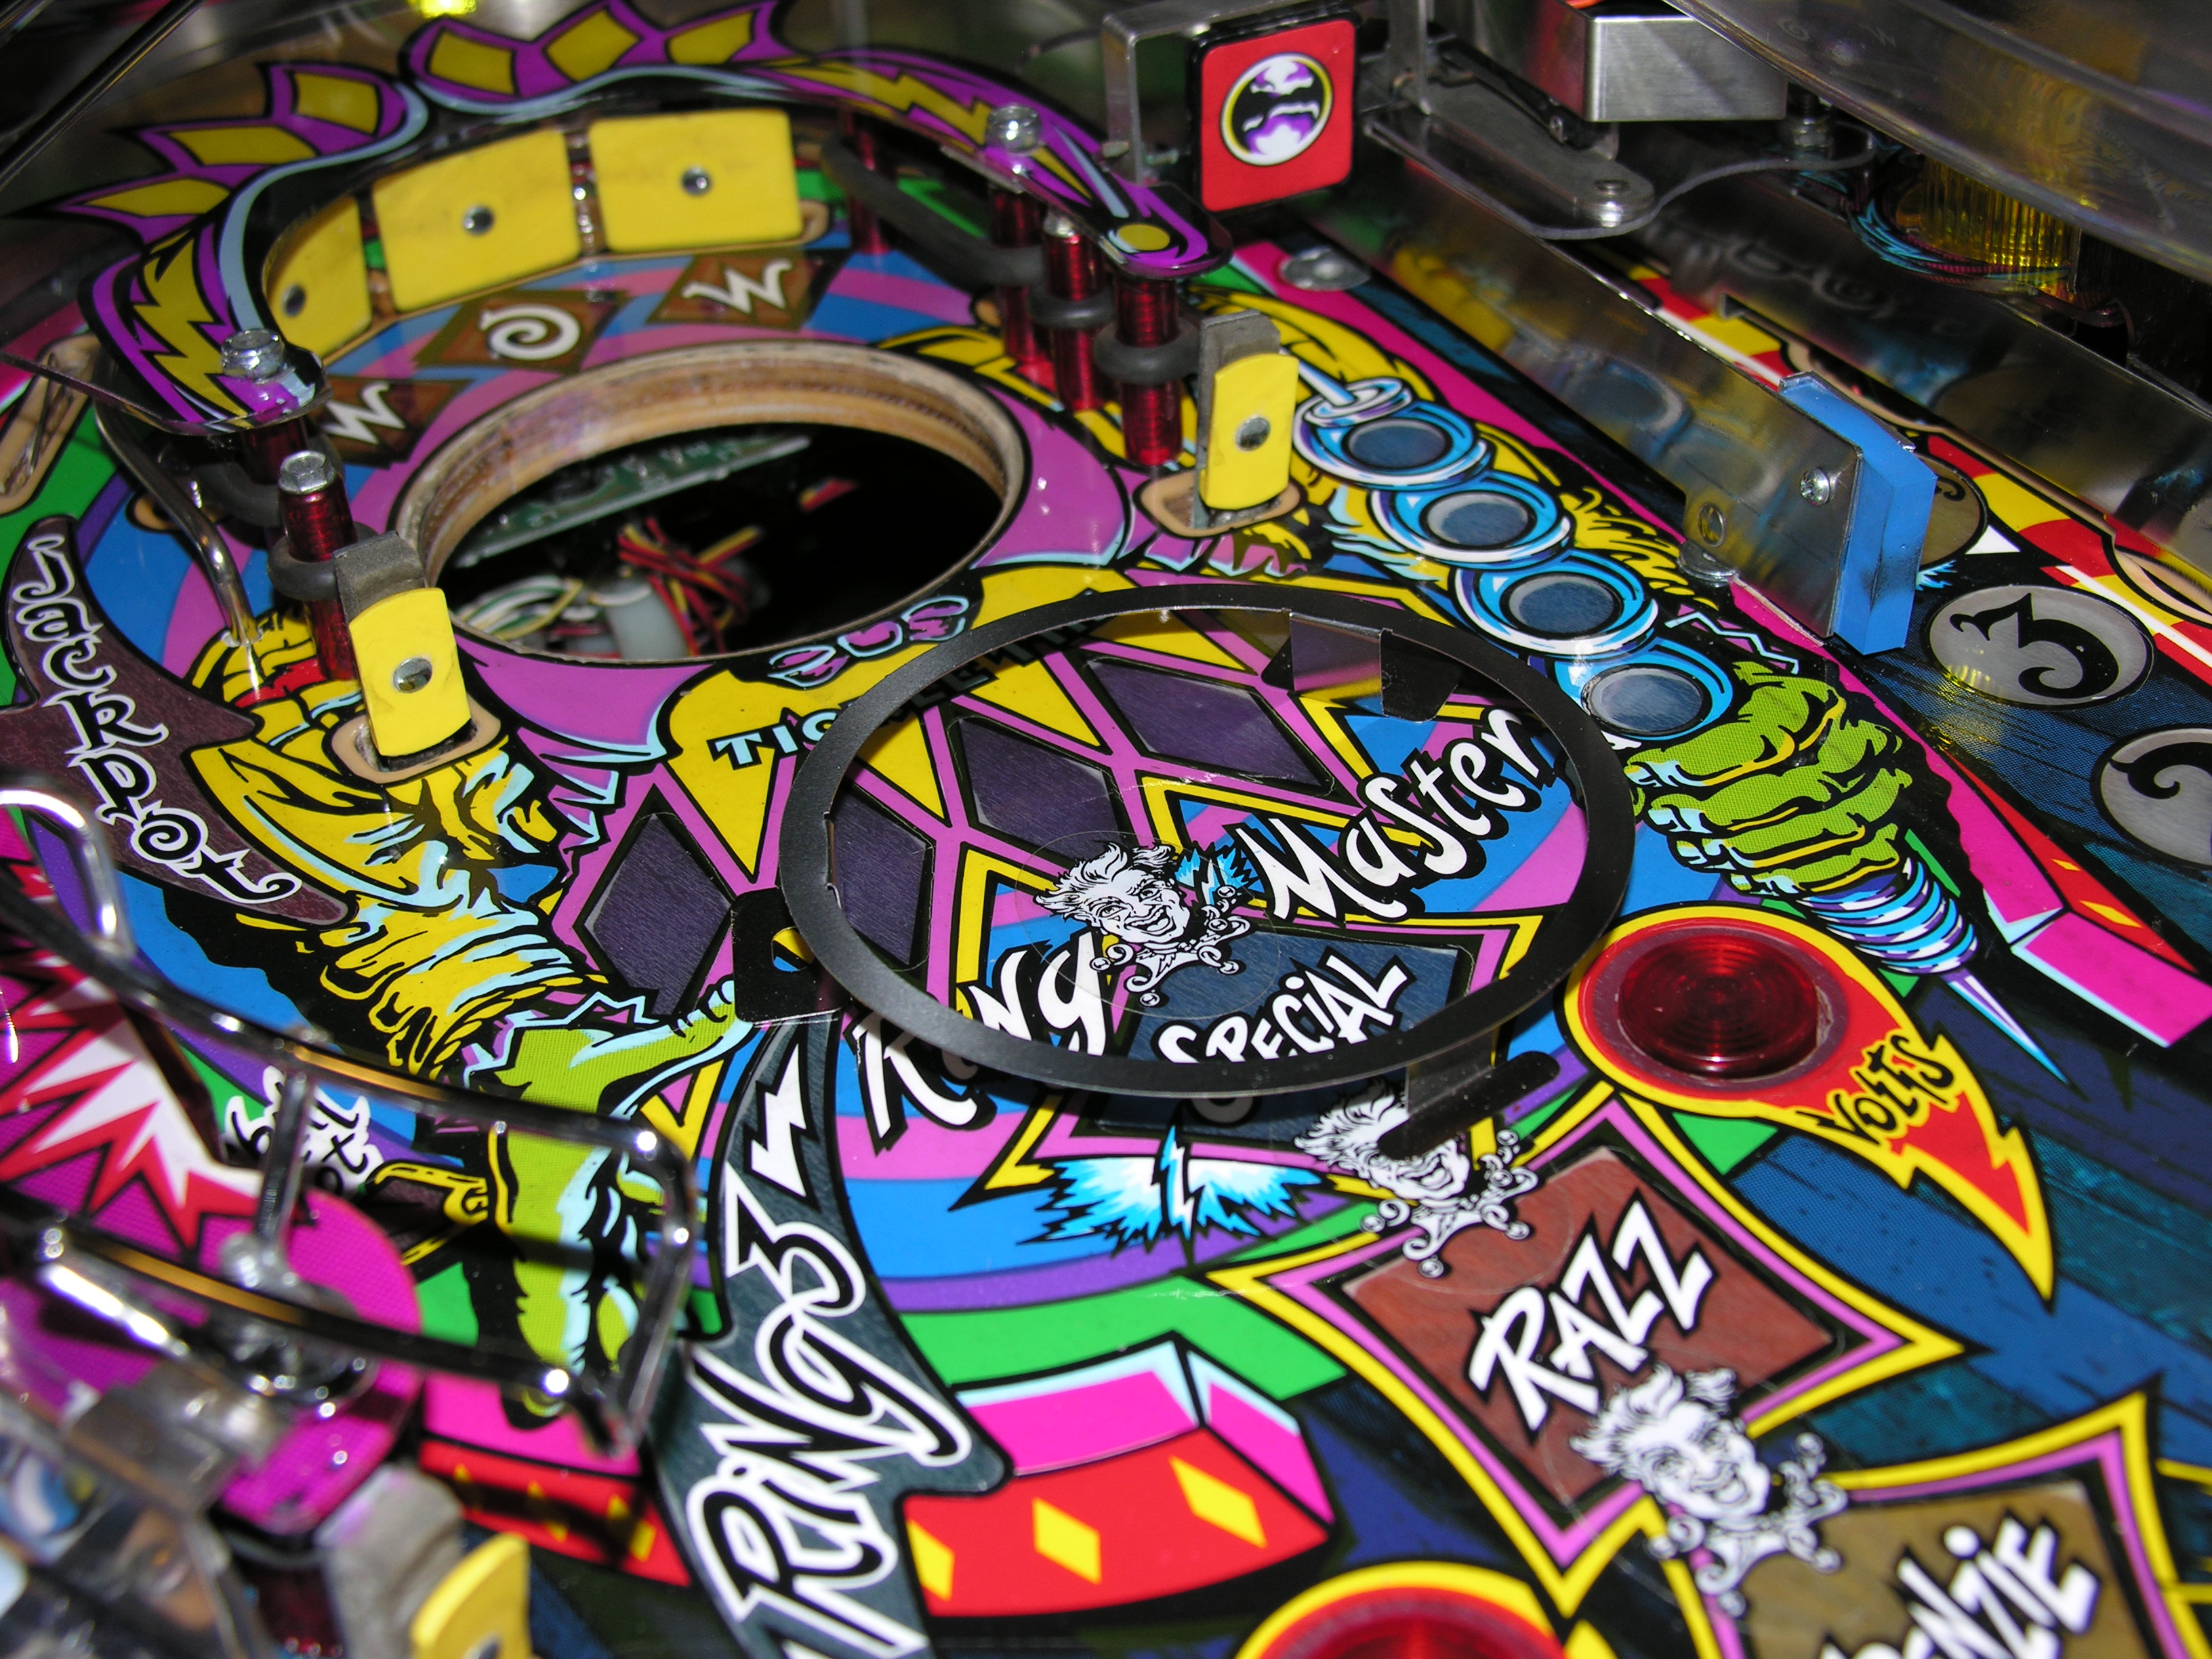
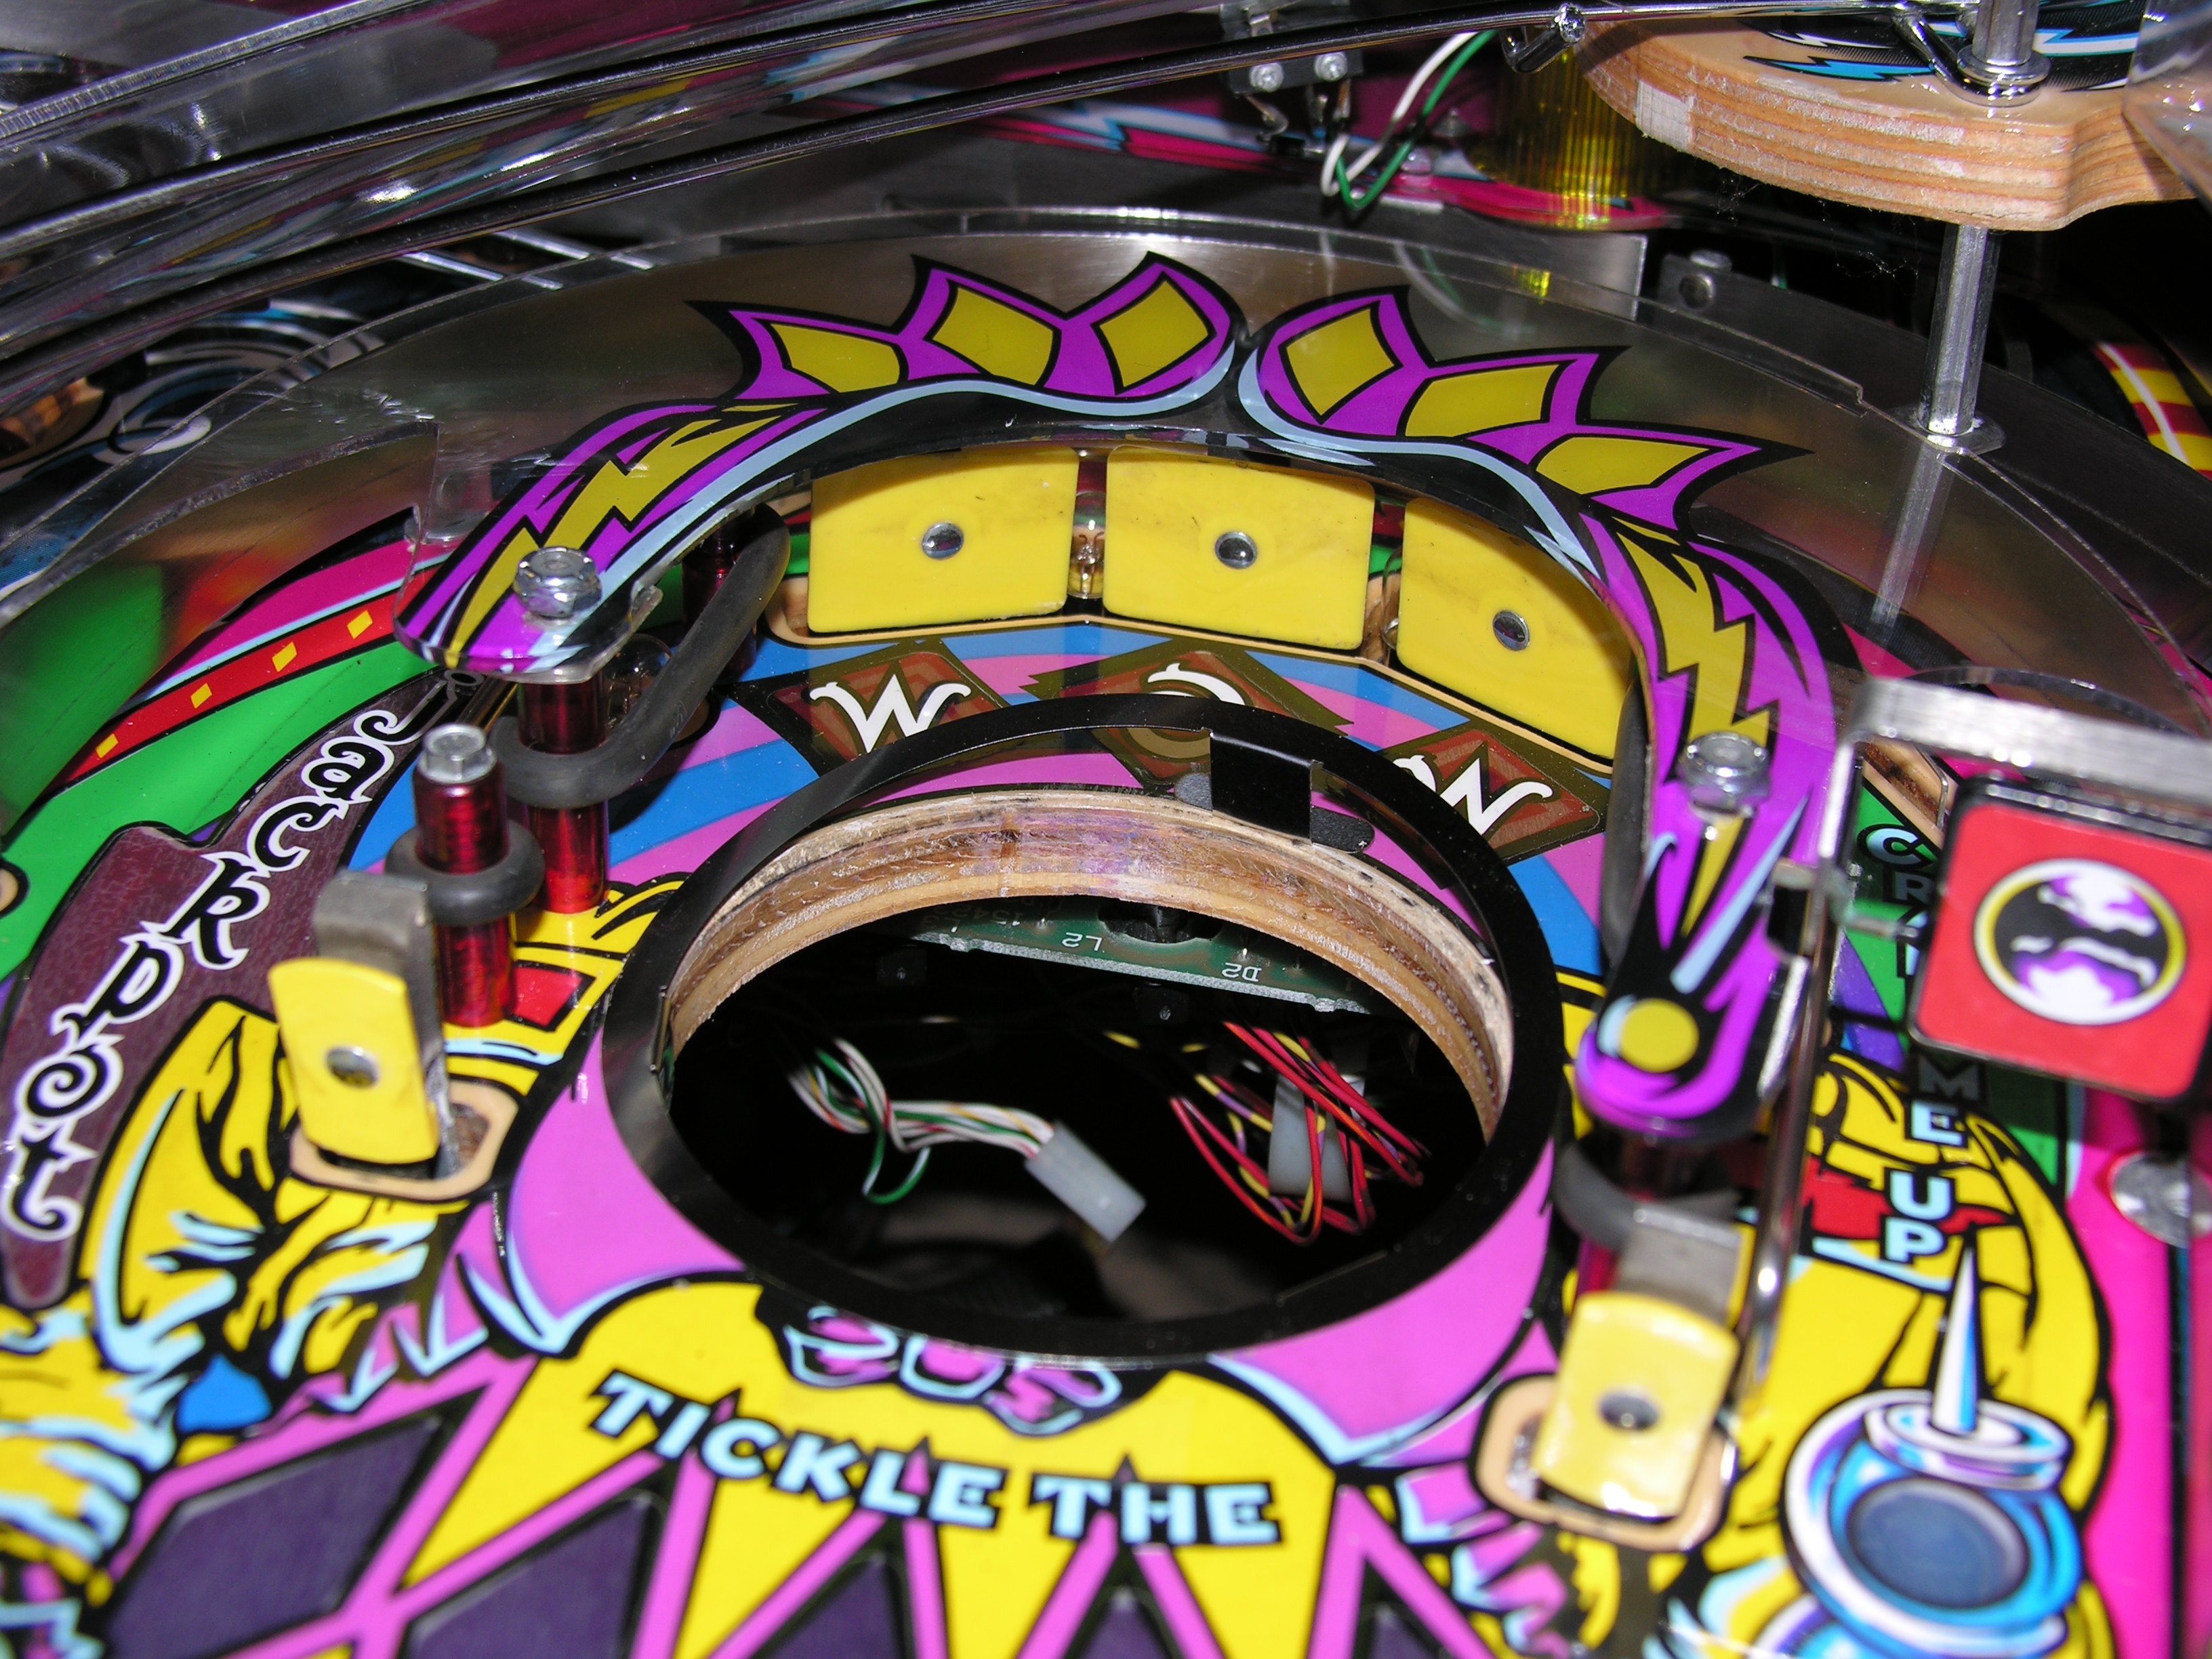
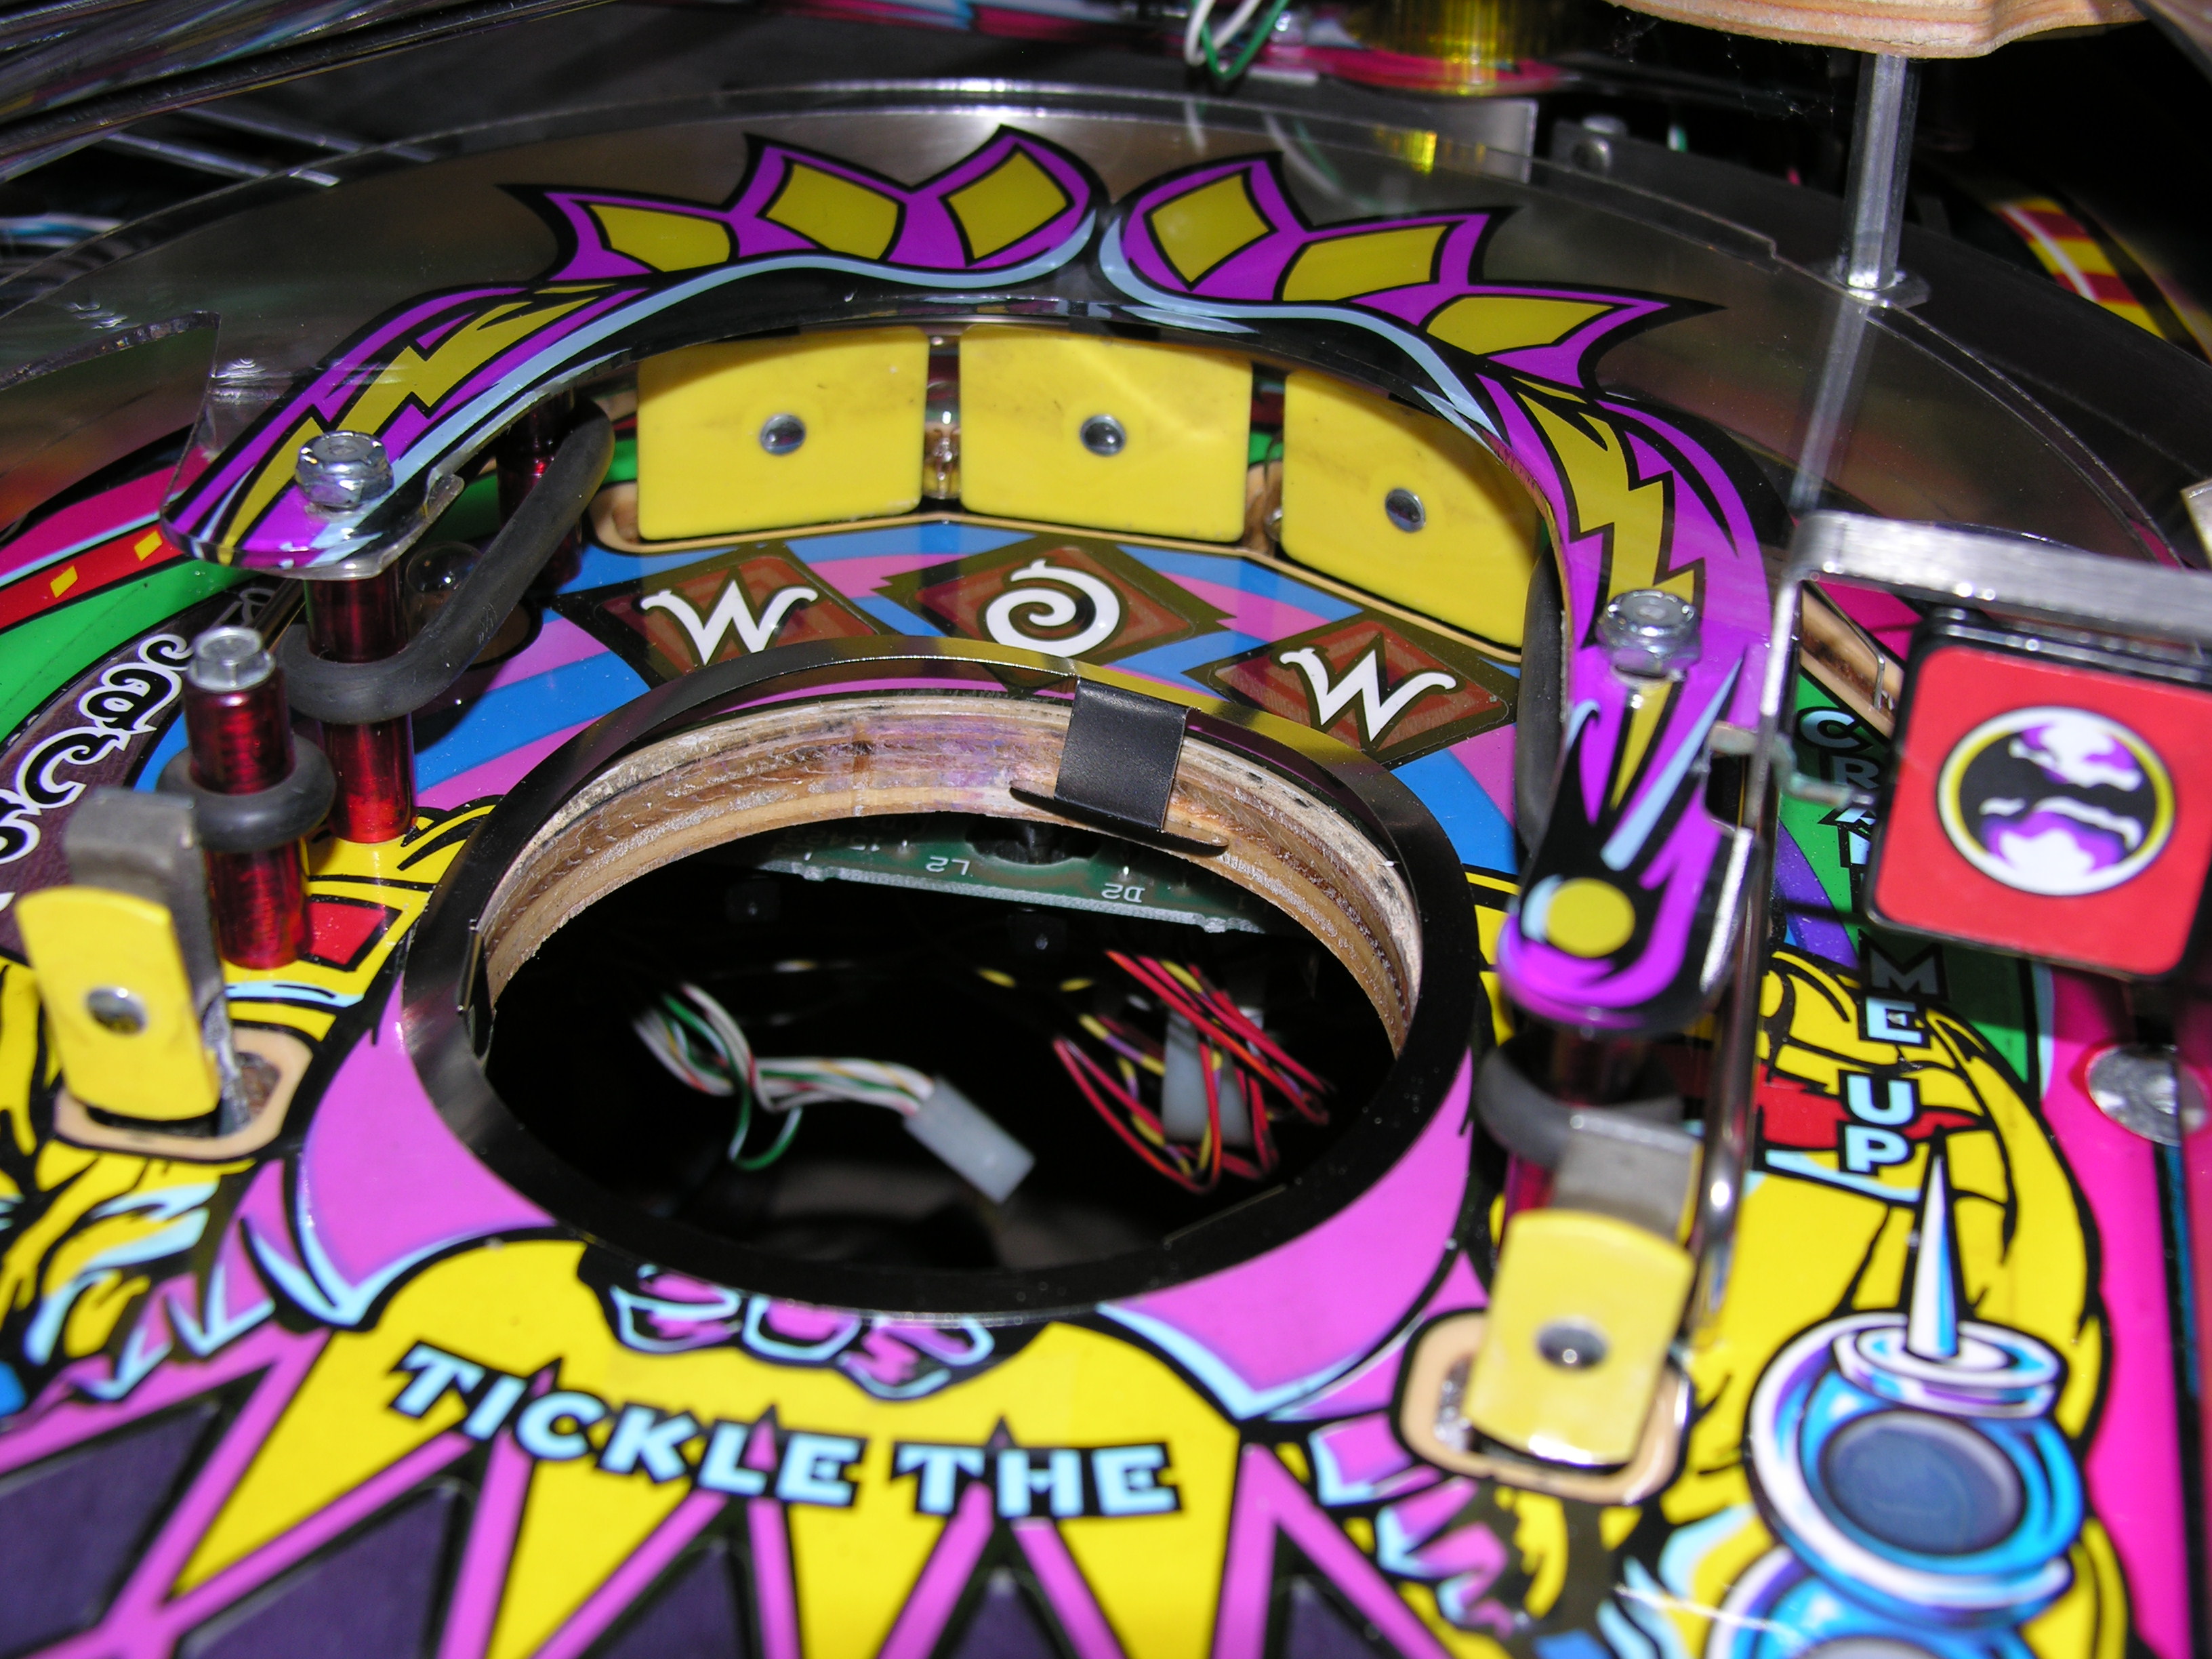
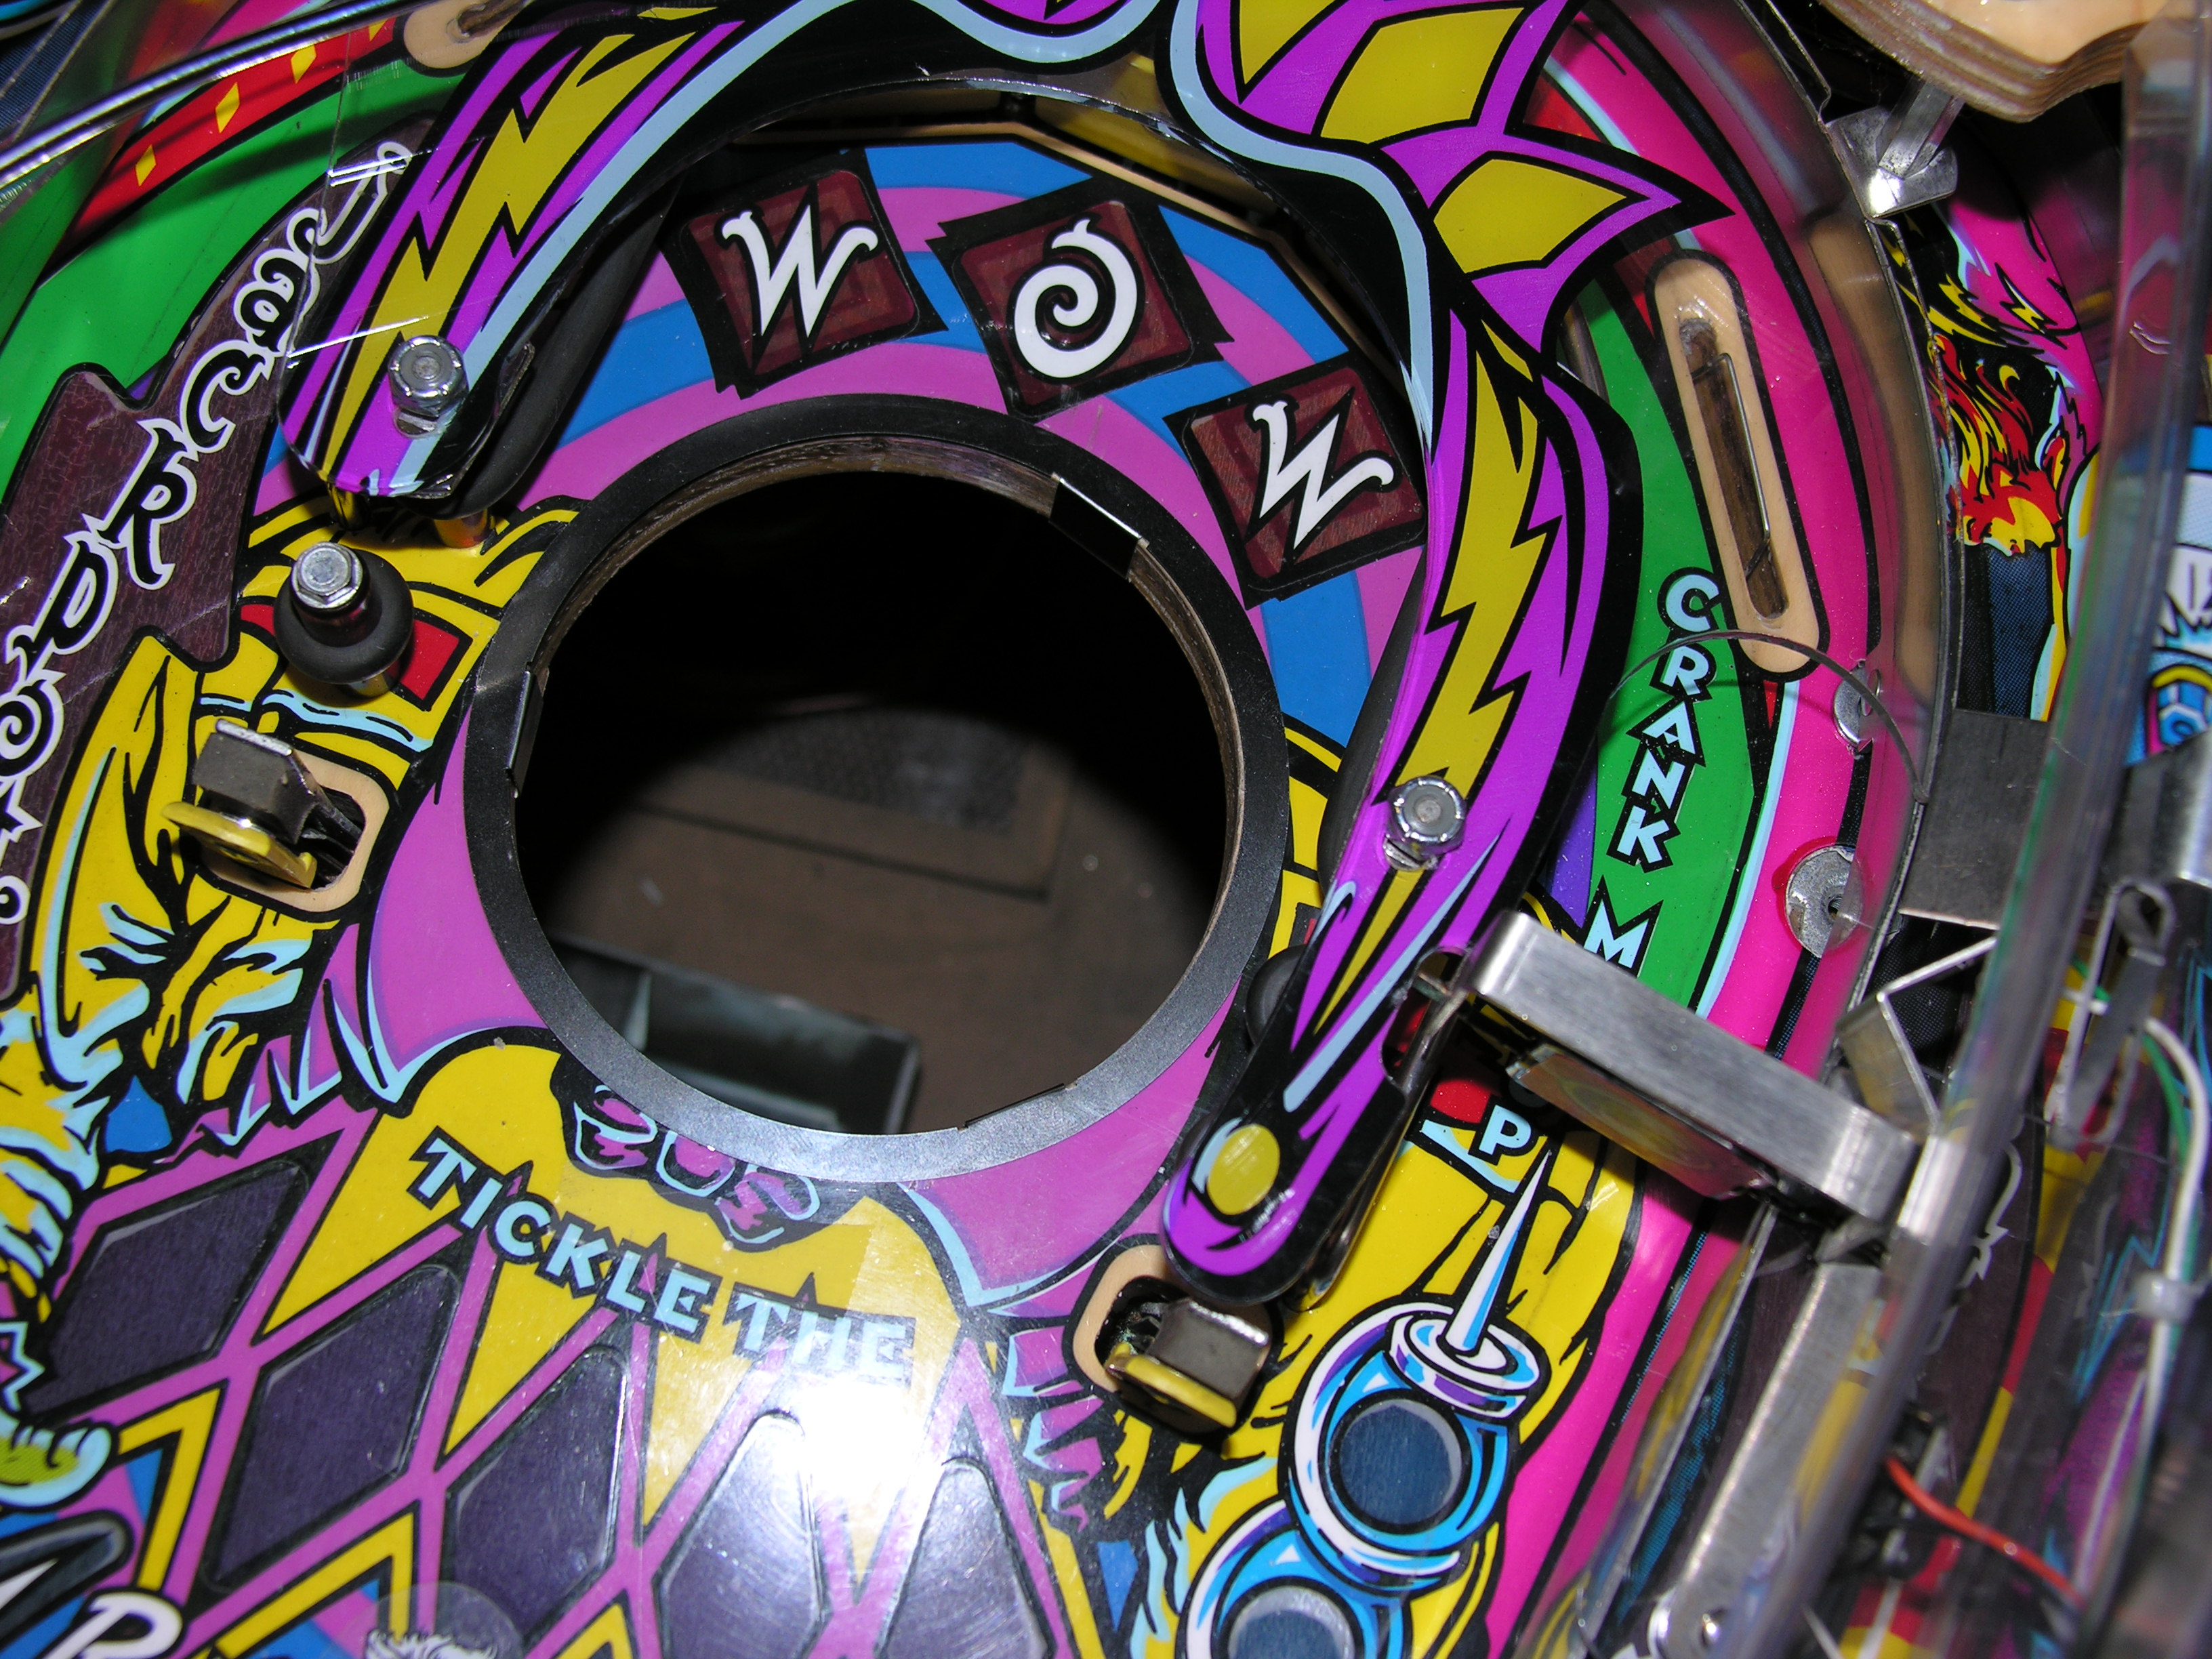
Here's what the ring looks like, sitting on the playfield. You can see the wear around my Ringmaster hole.
Here are pictures of an installed ring with the ringmaster up and down. There's no adjustment needed to accommodate the protector - other than to make sure that the Ringmaster is properly aligned in the hole, so that it doesn't catch the protector.


 Here's
the ring, installed, without the Ringmaster cap. Here's
the ring, installed, without the Ringmaster cap.To install; 1) Remove the WOW cap as you here. The kit includes two new screws, as your old one is probably all beaten up. |
|
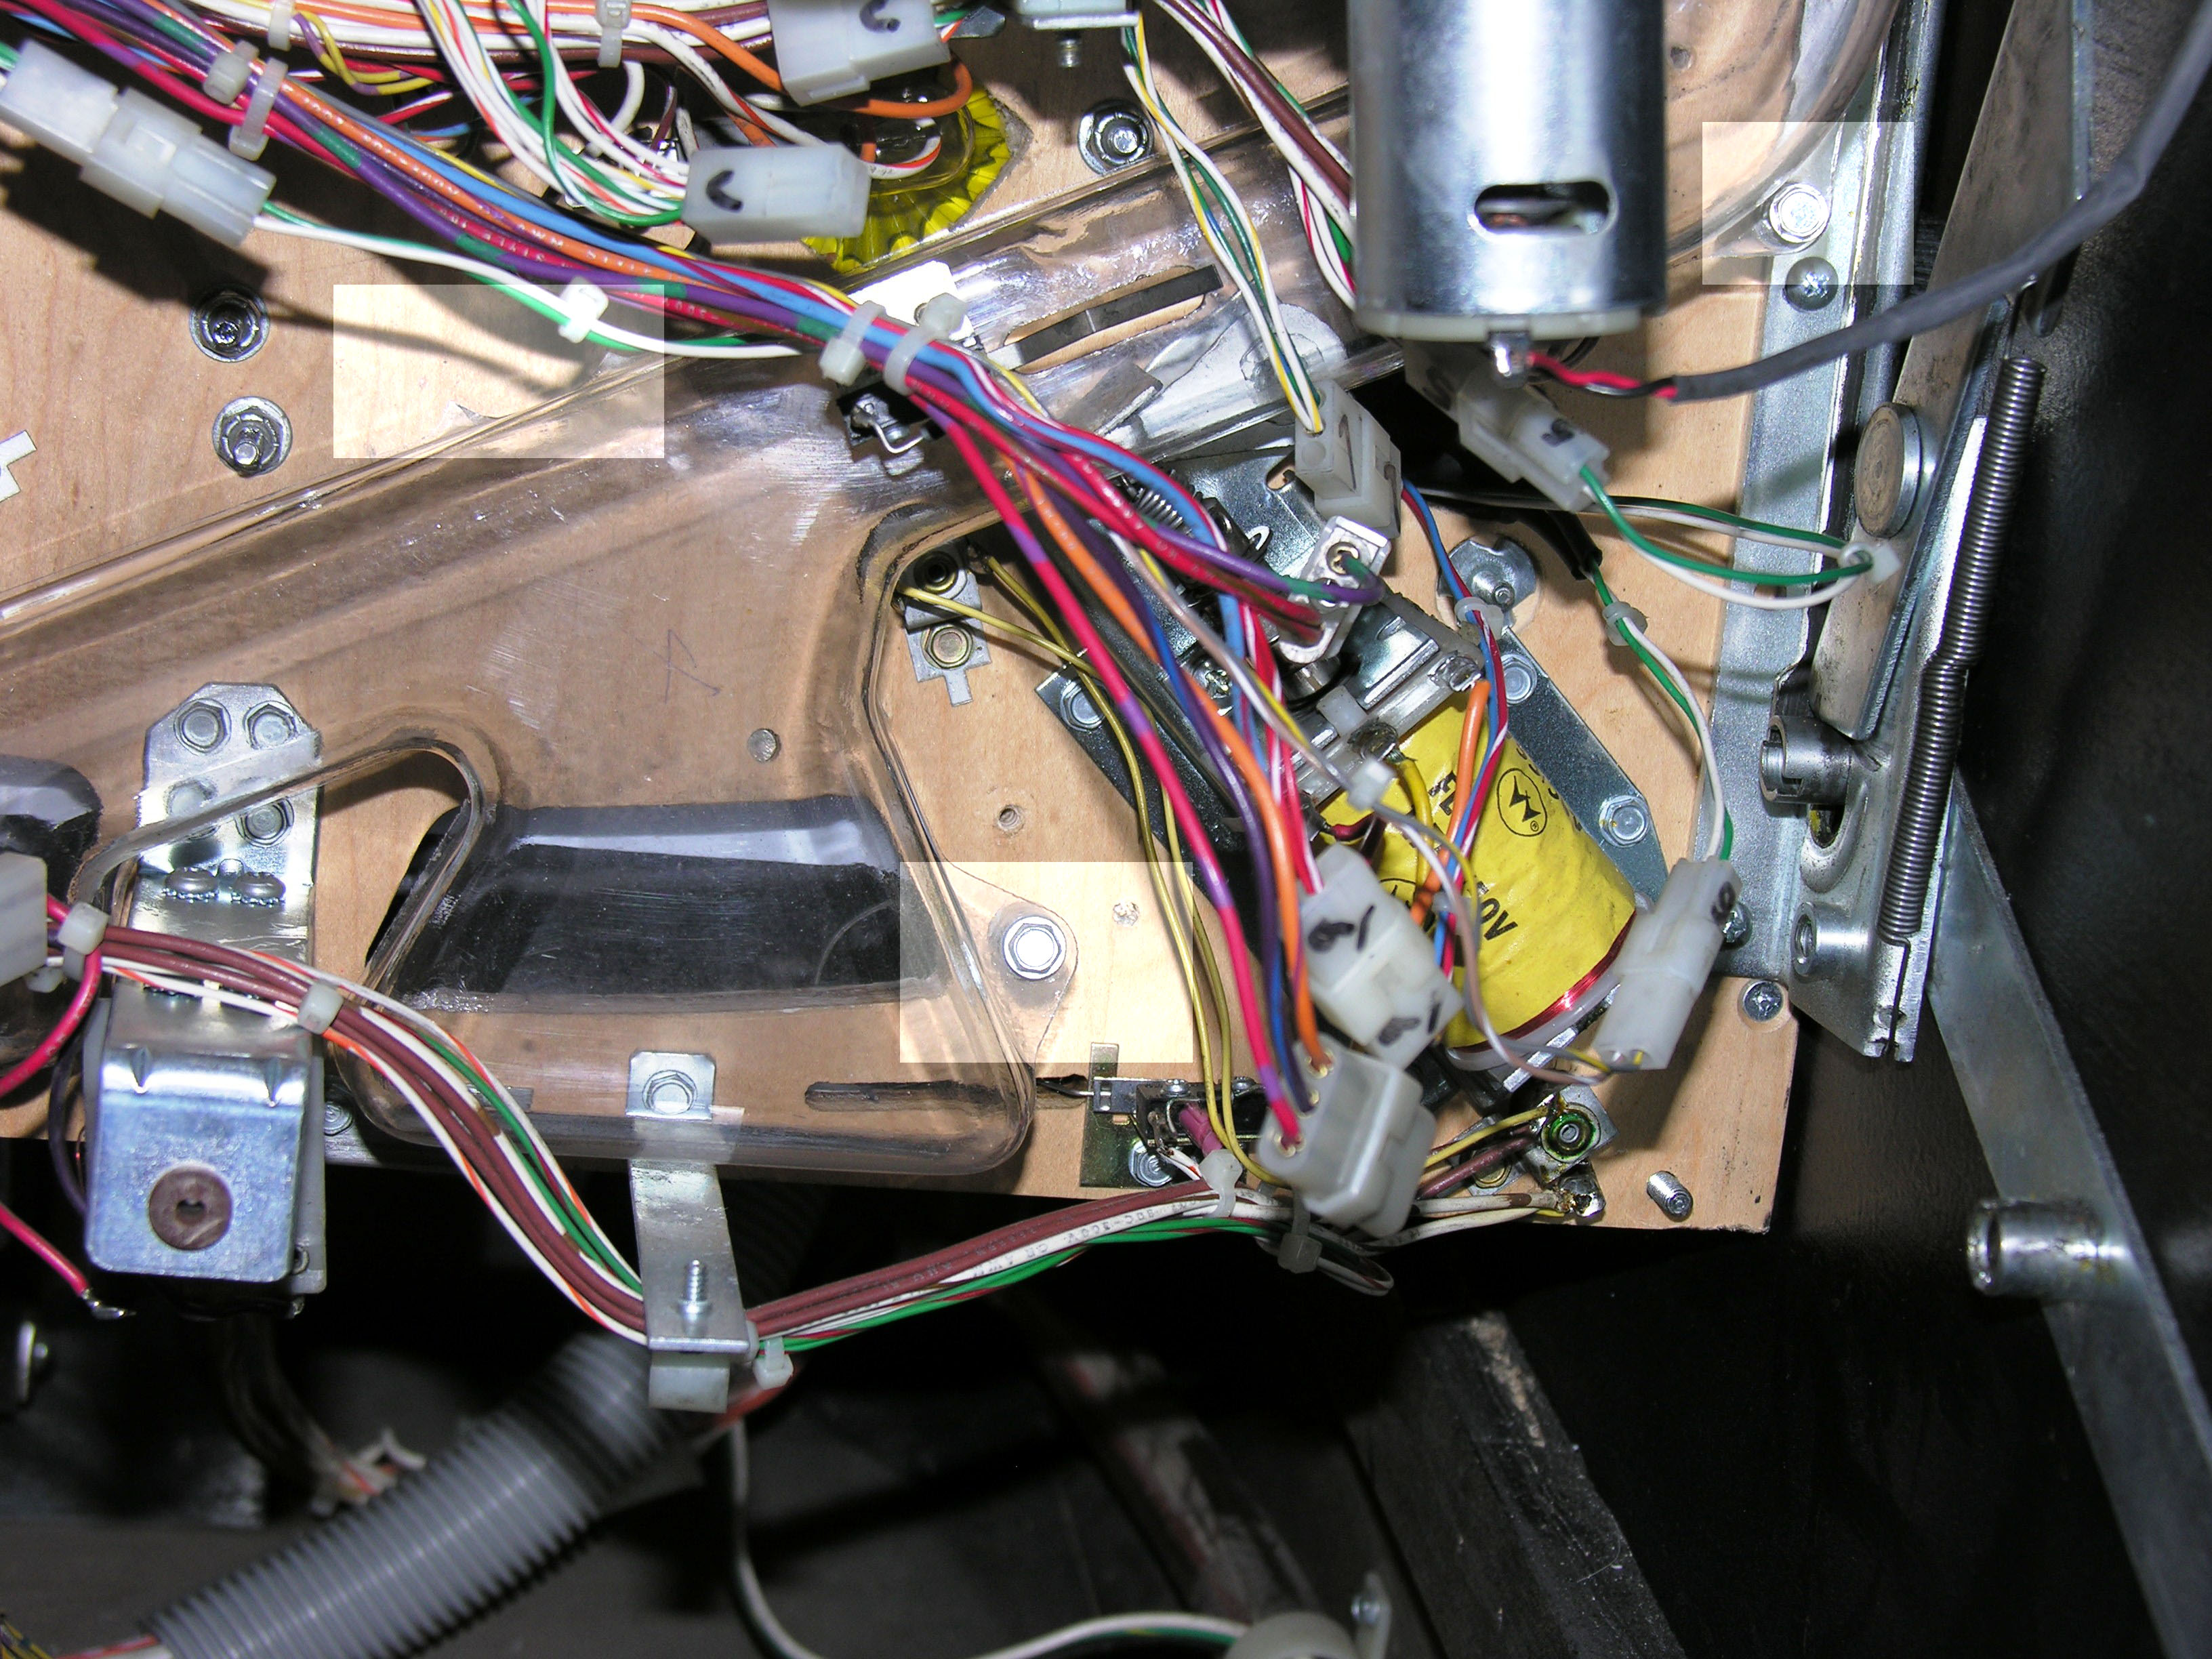  2)
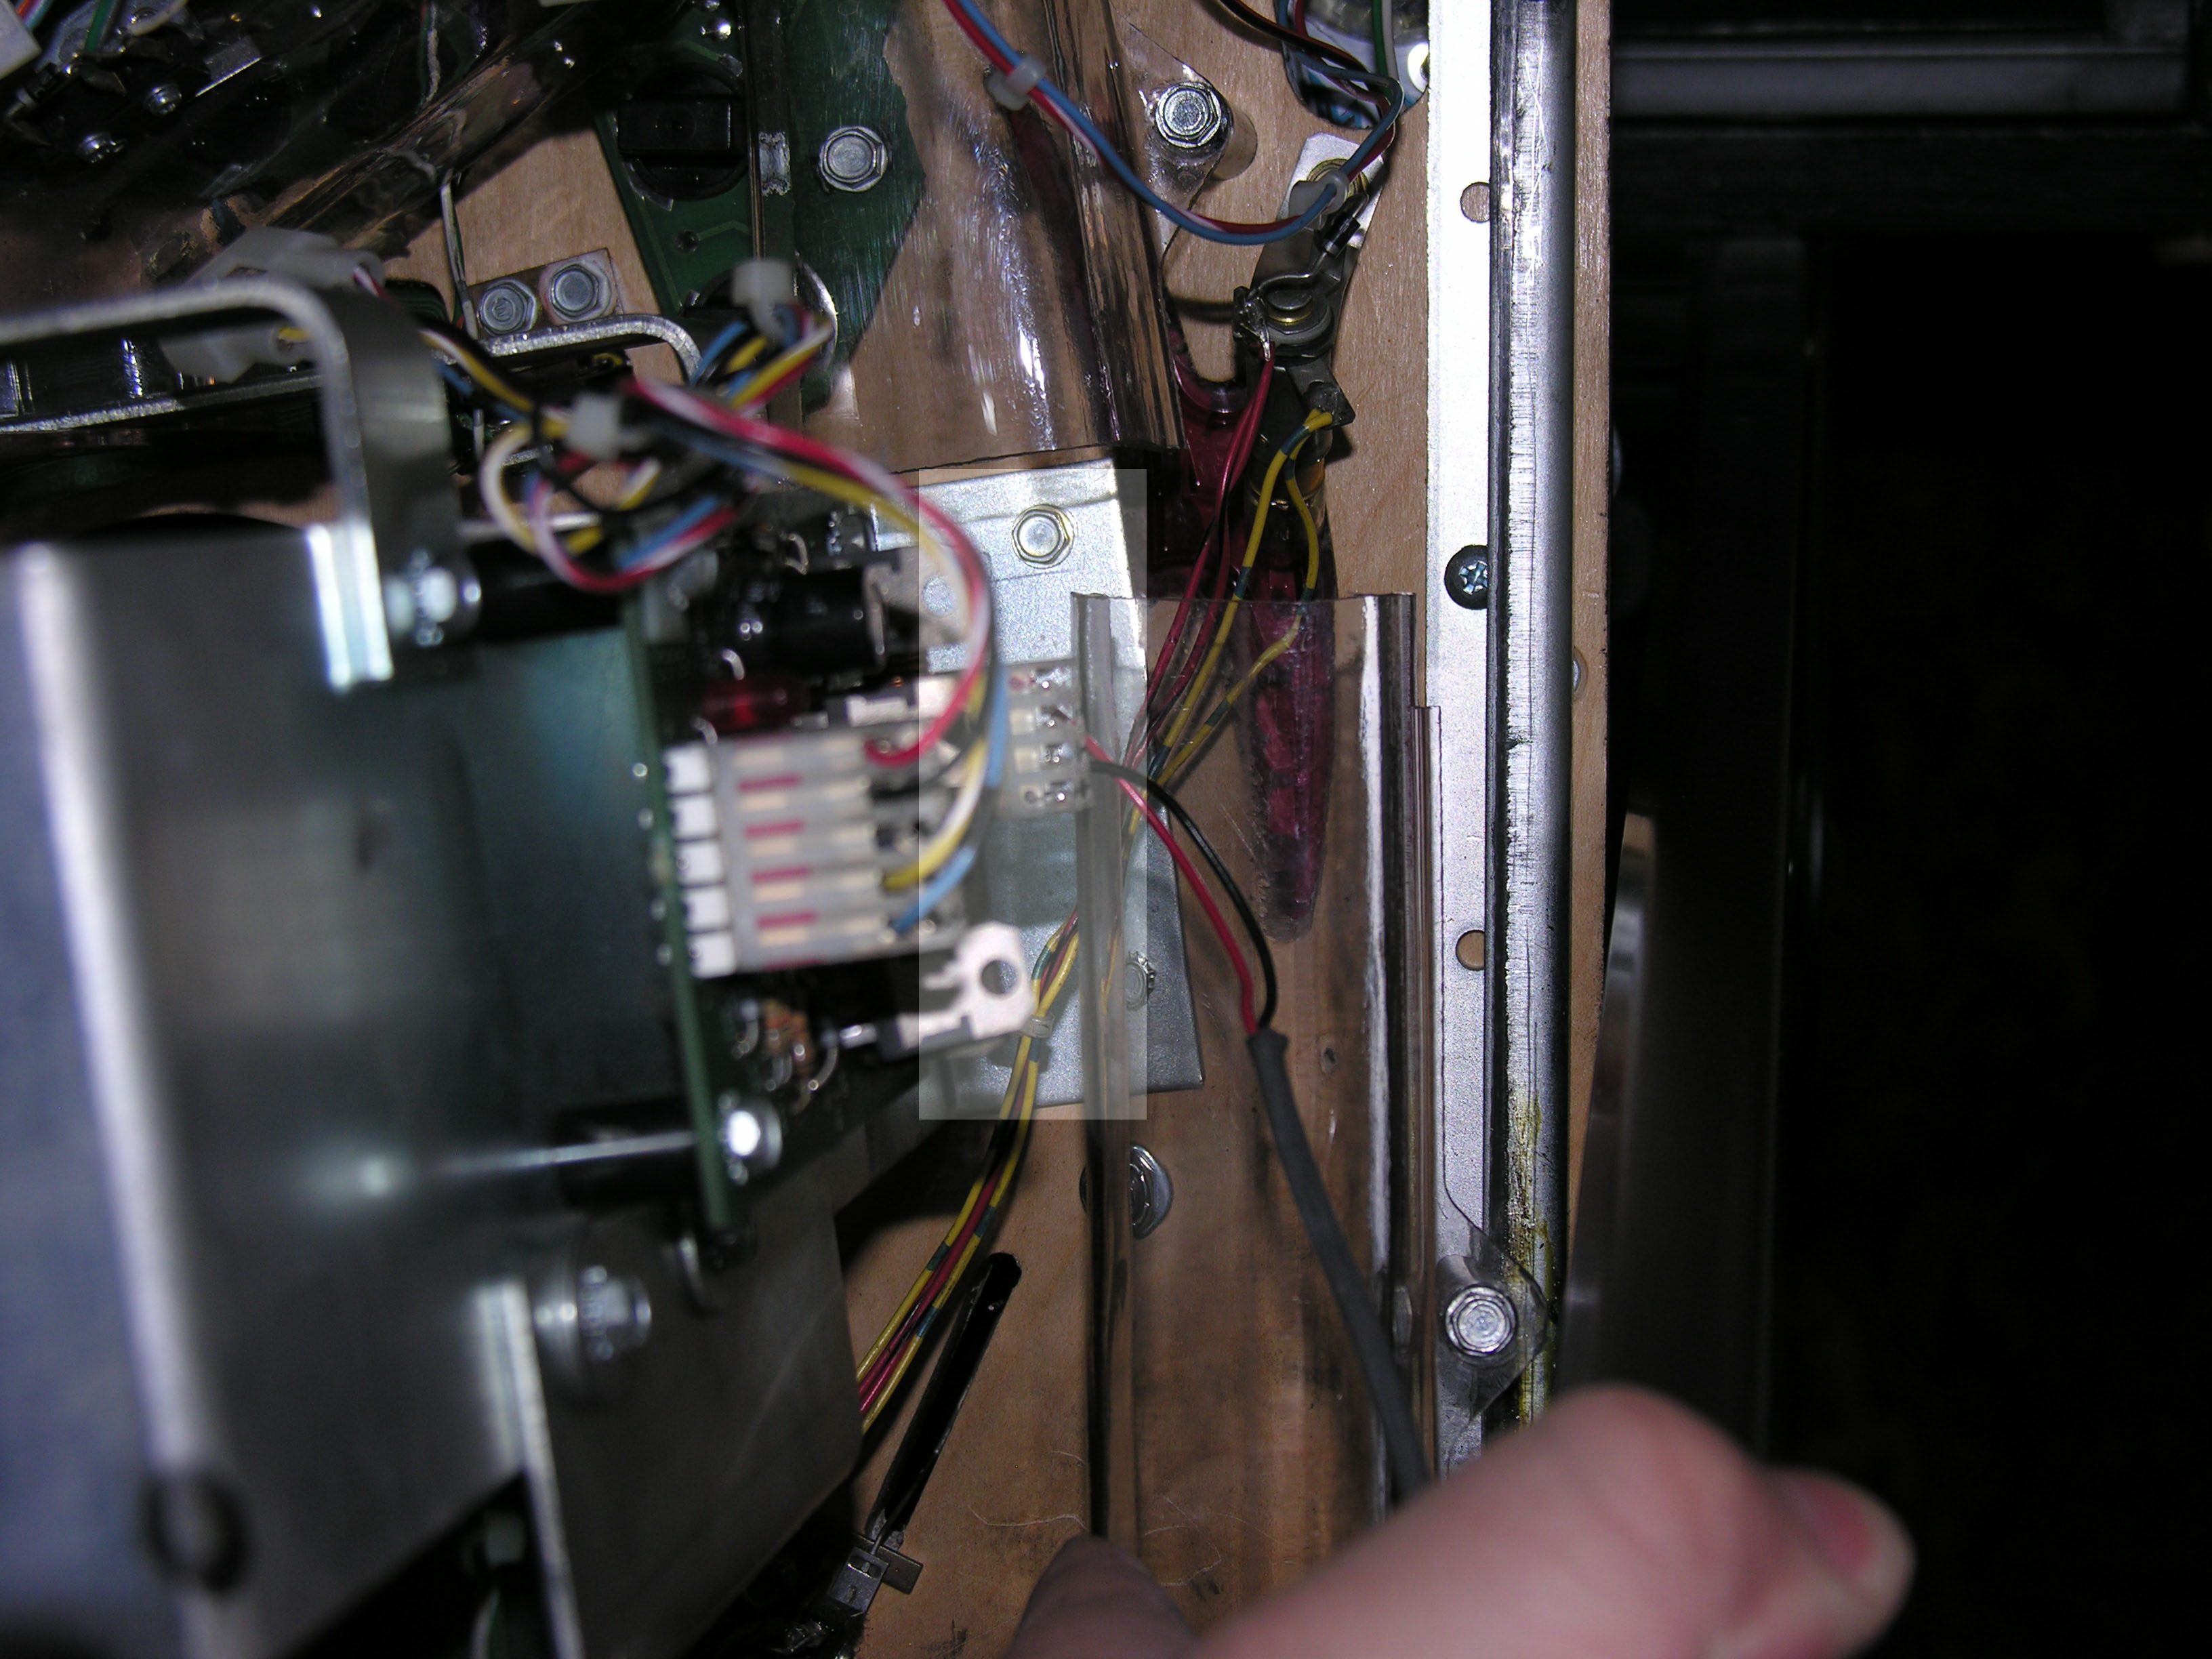
Lift the playfield. You need to loosen the under playfield ramp by
removing the four screws that hold it. My machine is missing one of the
screws, yours will be in the highlighted spaces. 2)
Lift the playfield. You need to loosen the under playfield ramp by
removing the four screws that hold it. My machine is missing one of the
screws, yours will be in the highlighted spaces.
The goal is to loosen this ramp so that we can get to the three mounting screws on the right. |
|
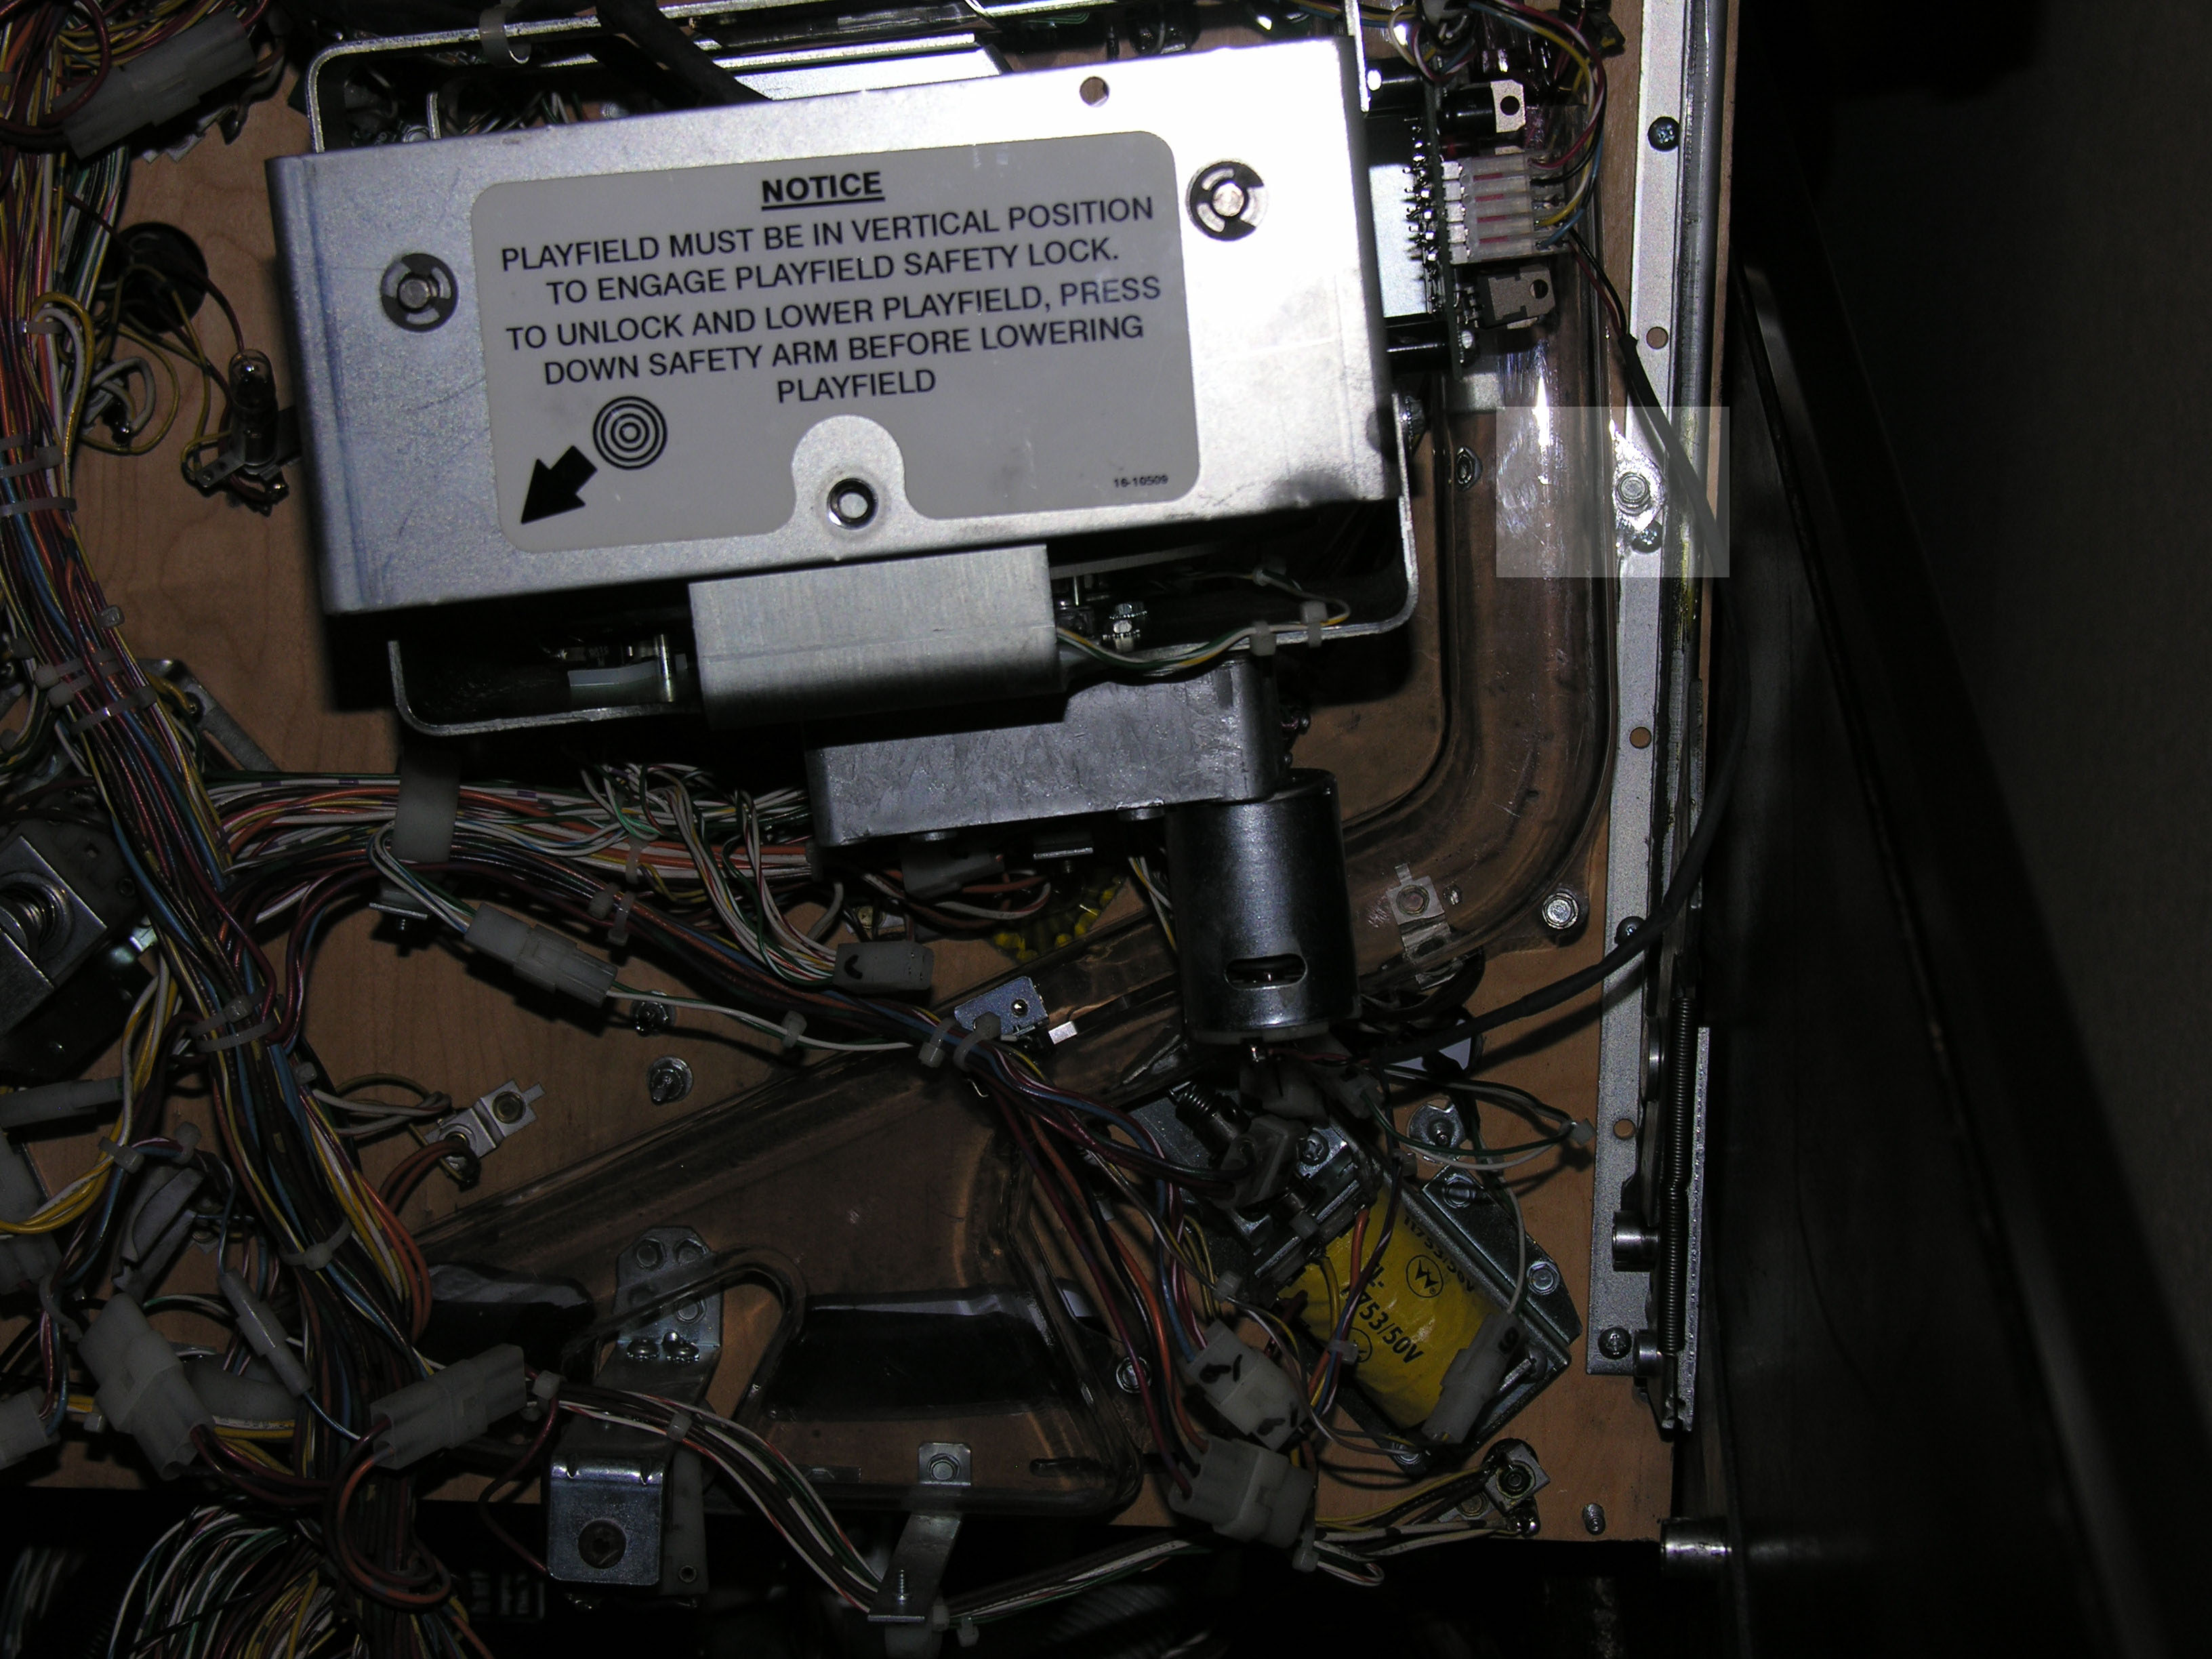
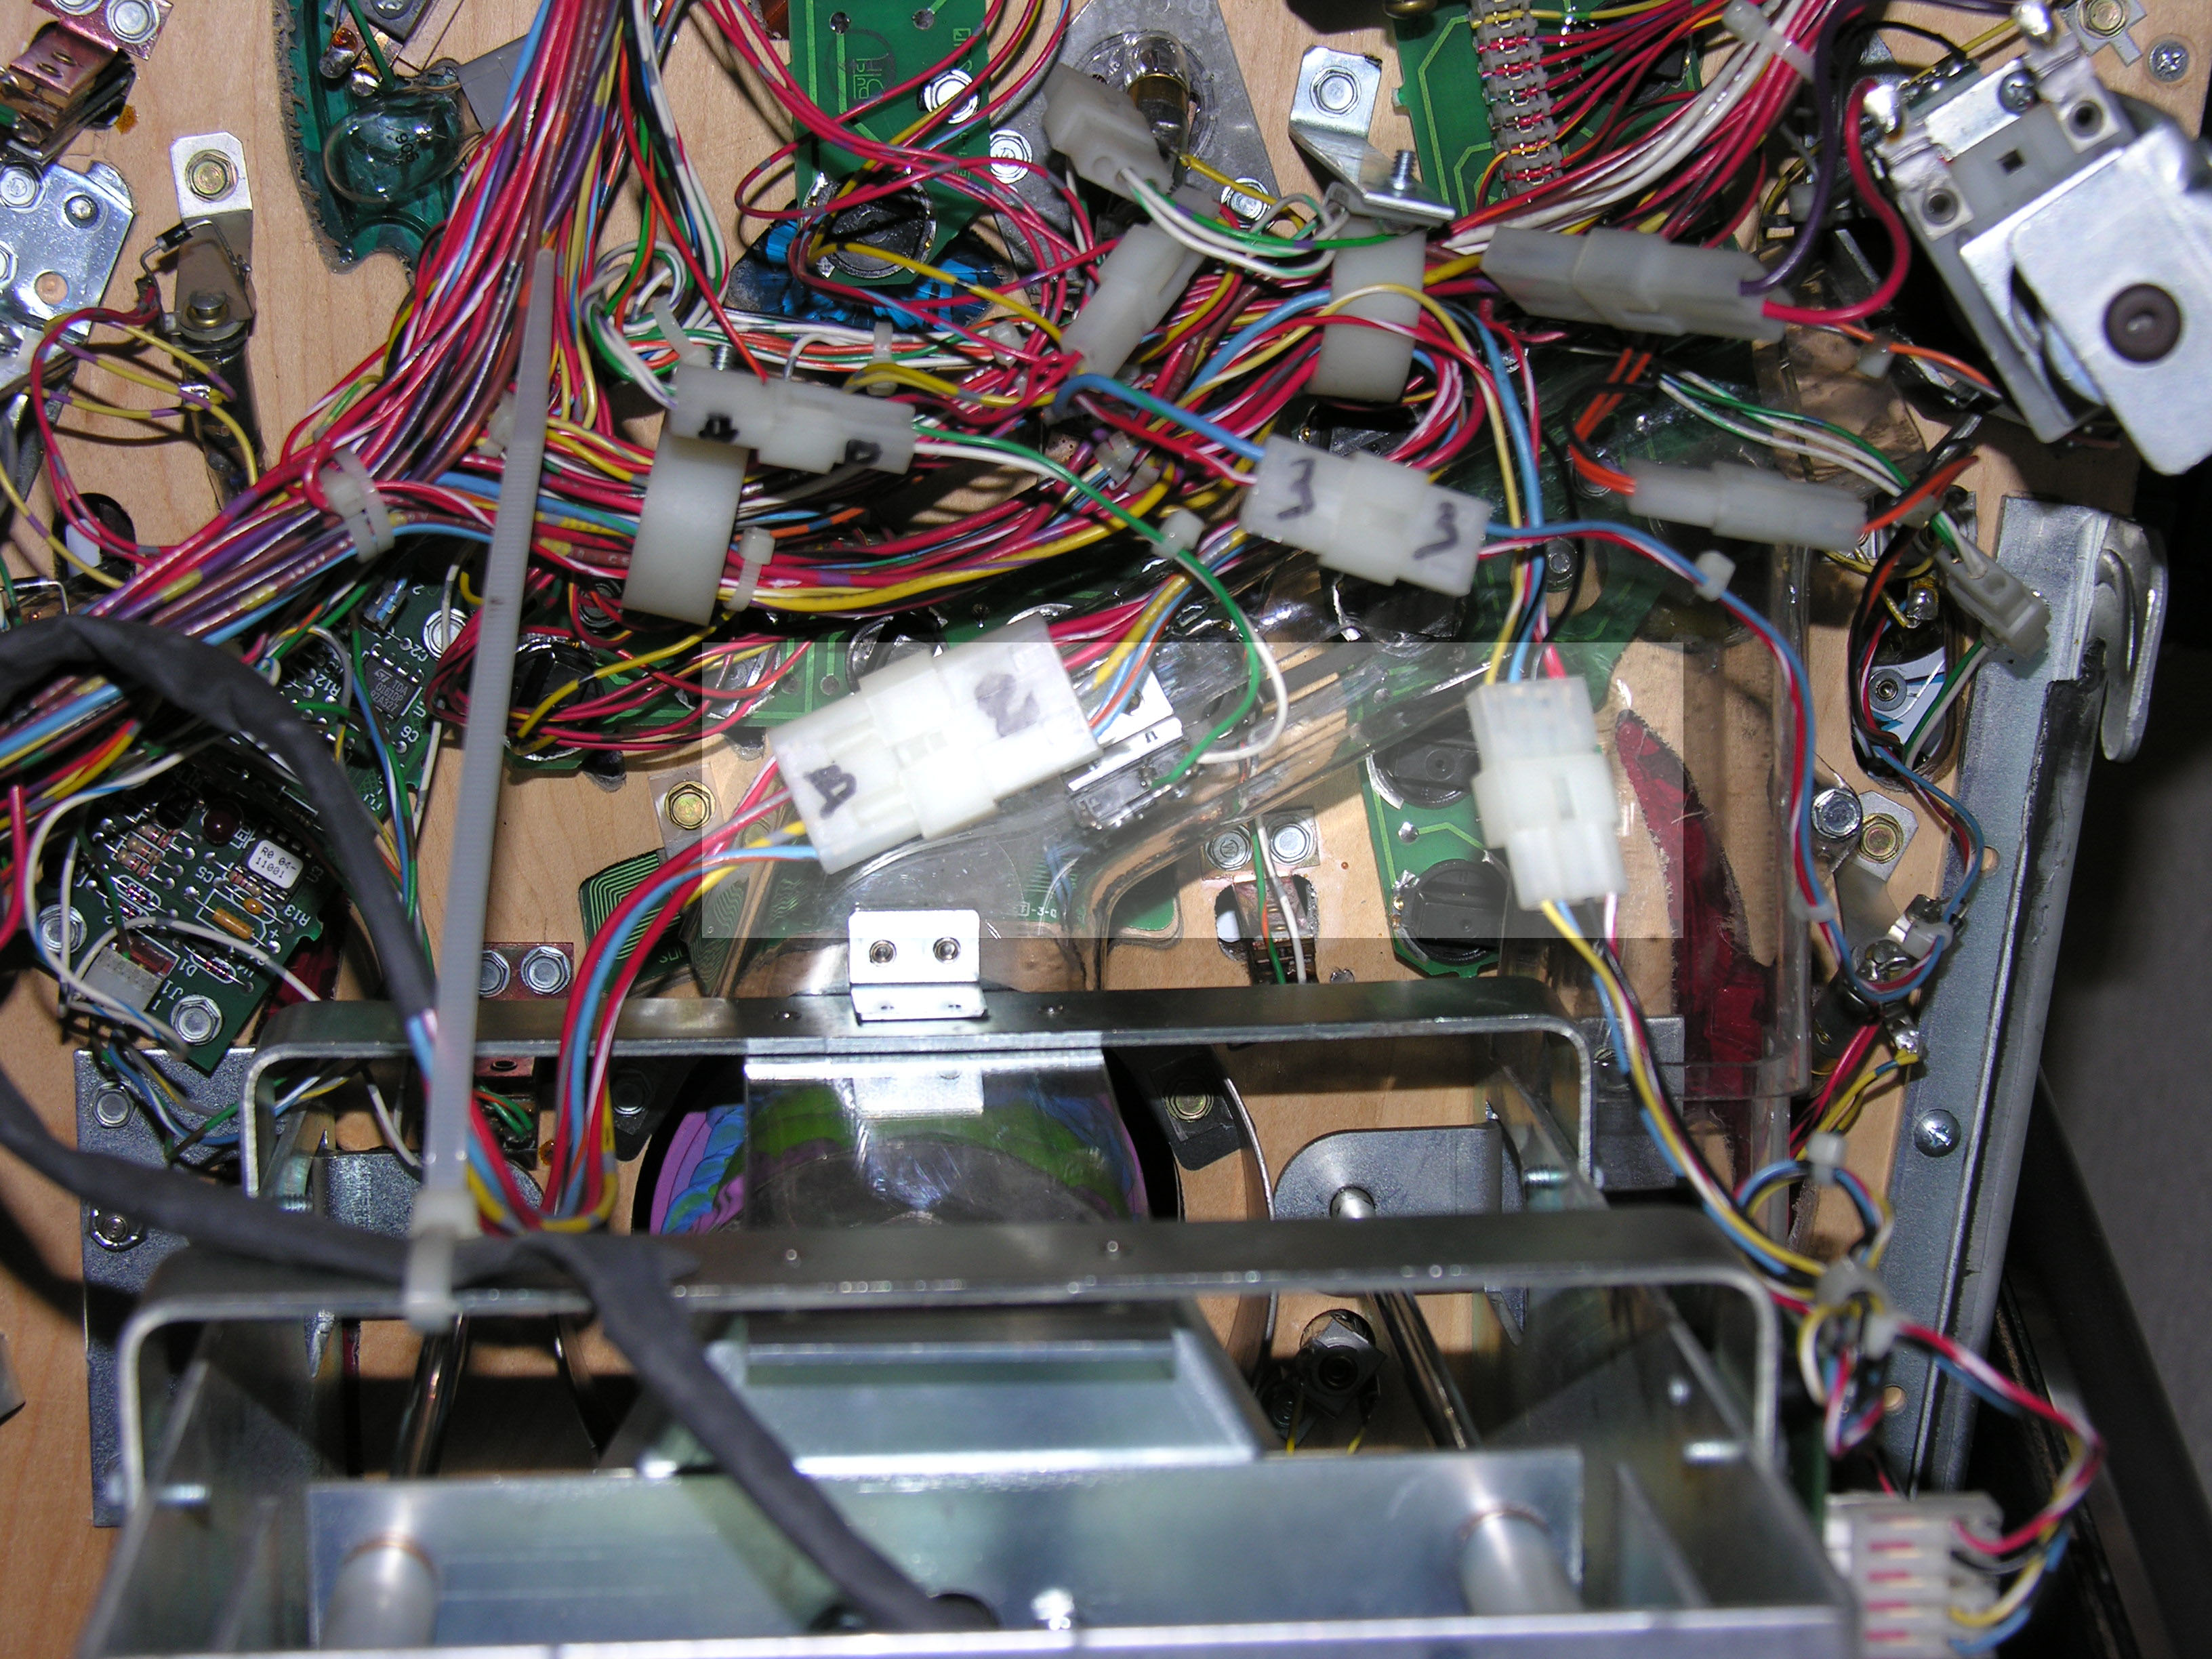
 Now,
using your hand push the ramp to the side so that you can get a 1/4"
nutdriver in there and remove the two machine screws and one woodscrew
that hold it in. Now,
using your hand push the ramp to the side so that you can get a 1/4"
nutdriver in there and remove the two machine screws and one woodscrew
that hold it in. |
|
 Disconnect
the two connectors on the top side of the Ringmaster. Disconnect
the two connectors on the top side of the Ringmaster. |
|
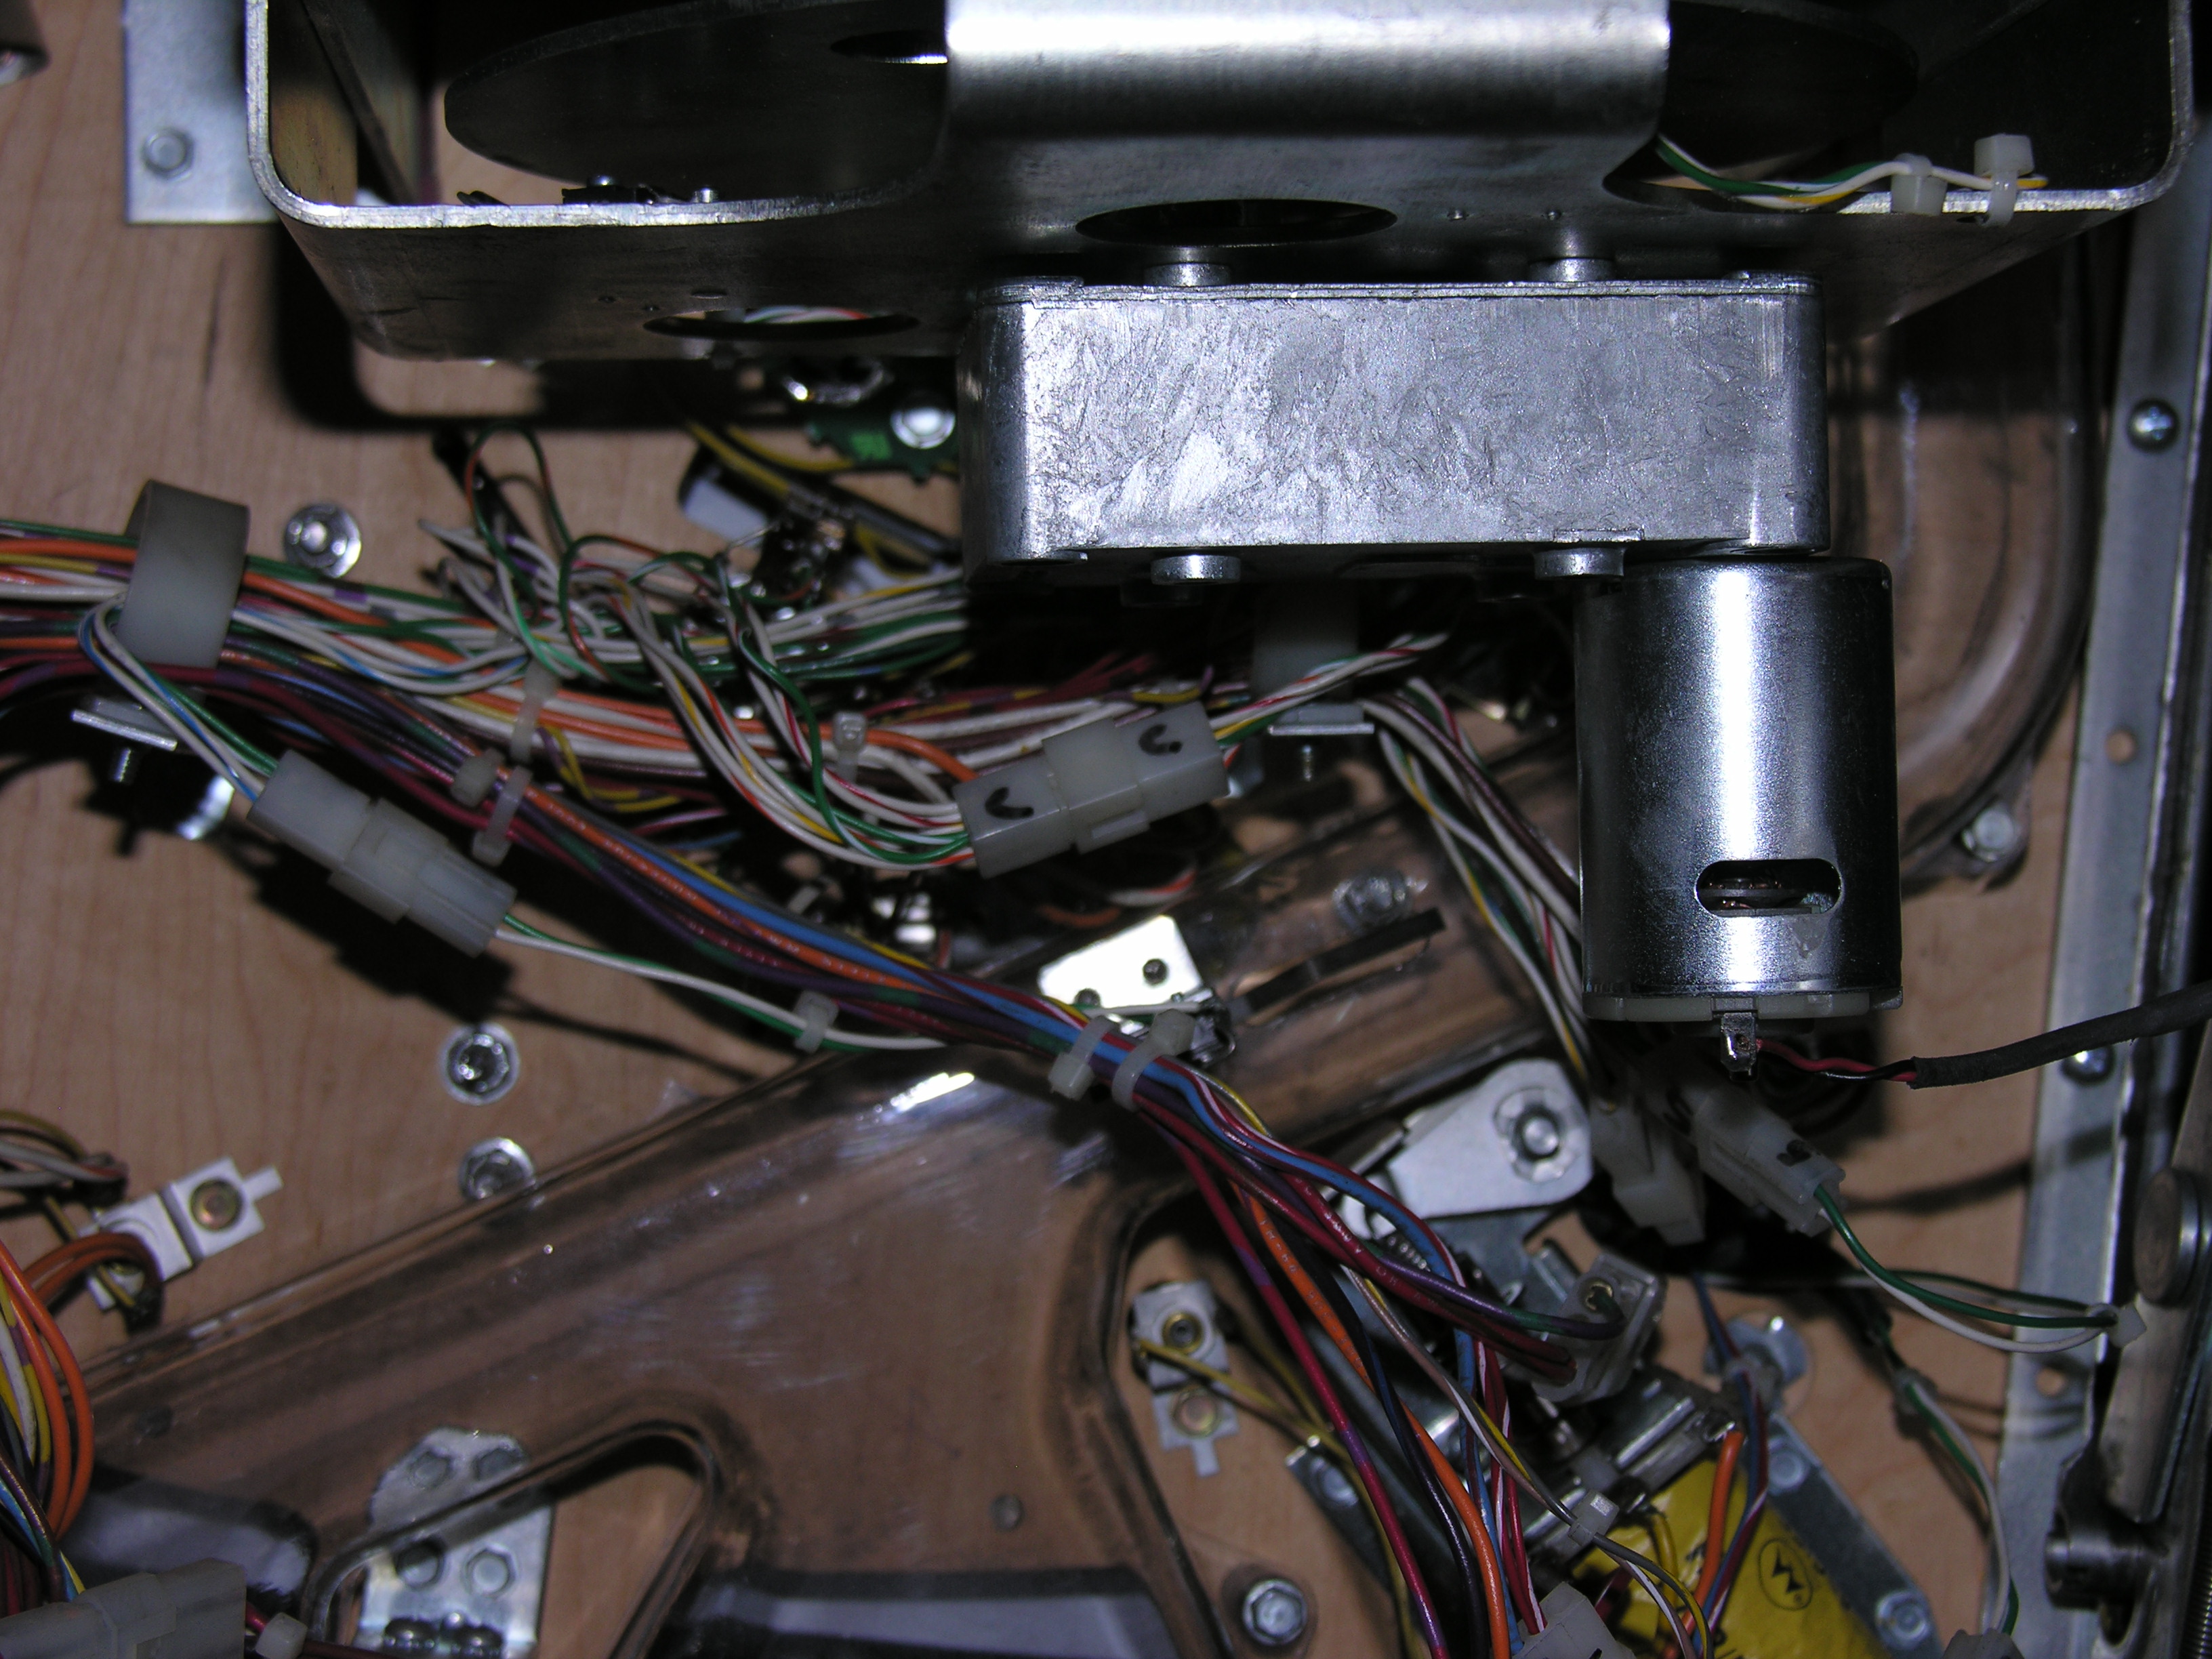 and
one on the bottom. You can now undo the two wood screws on teh left hand
side of the Ringmaster. Leave the nut until last. Once the nut is off,
you can navigate the whole Ringmaster out of the playfield. and
one on the bottom. You can now undo the two wood screws on teh left hand
side of the Ringmaster. Leave the nut until last. Once the nut is off,
you can navigate the whole Ringmaster out of the playfield.
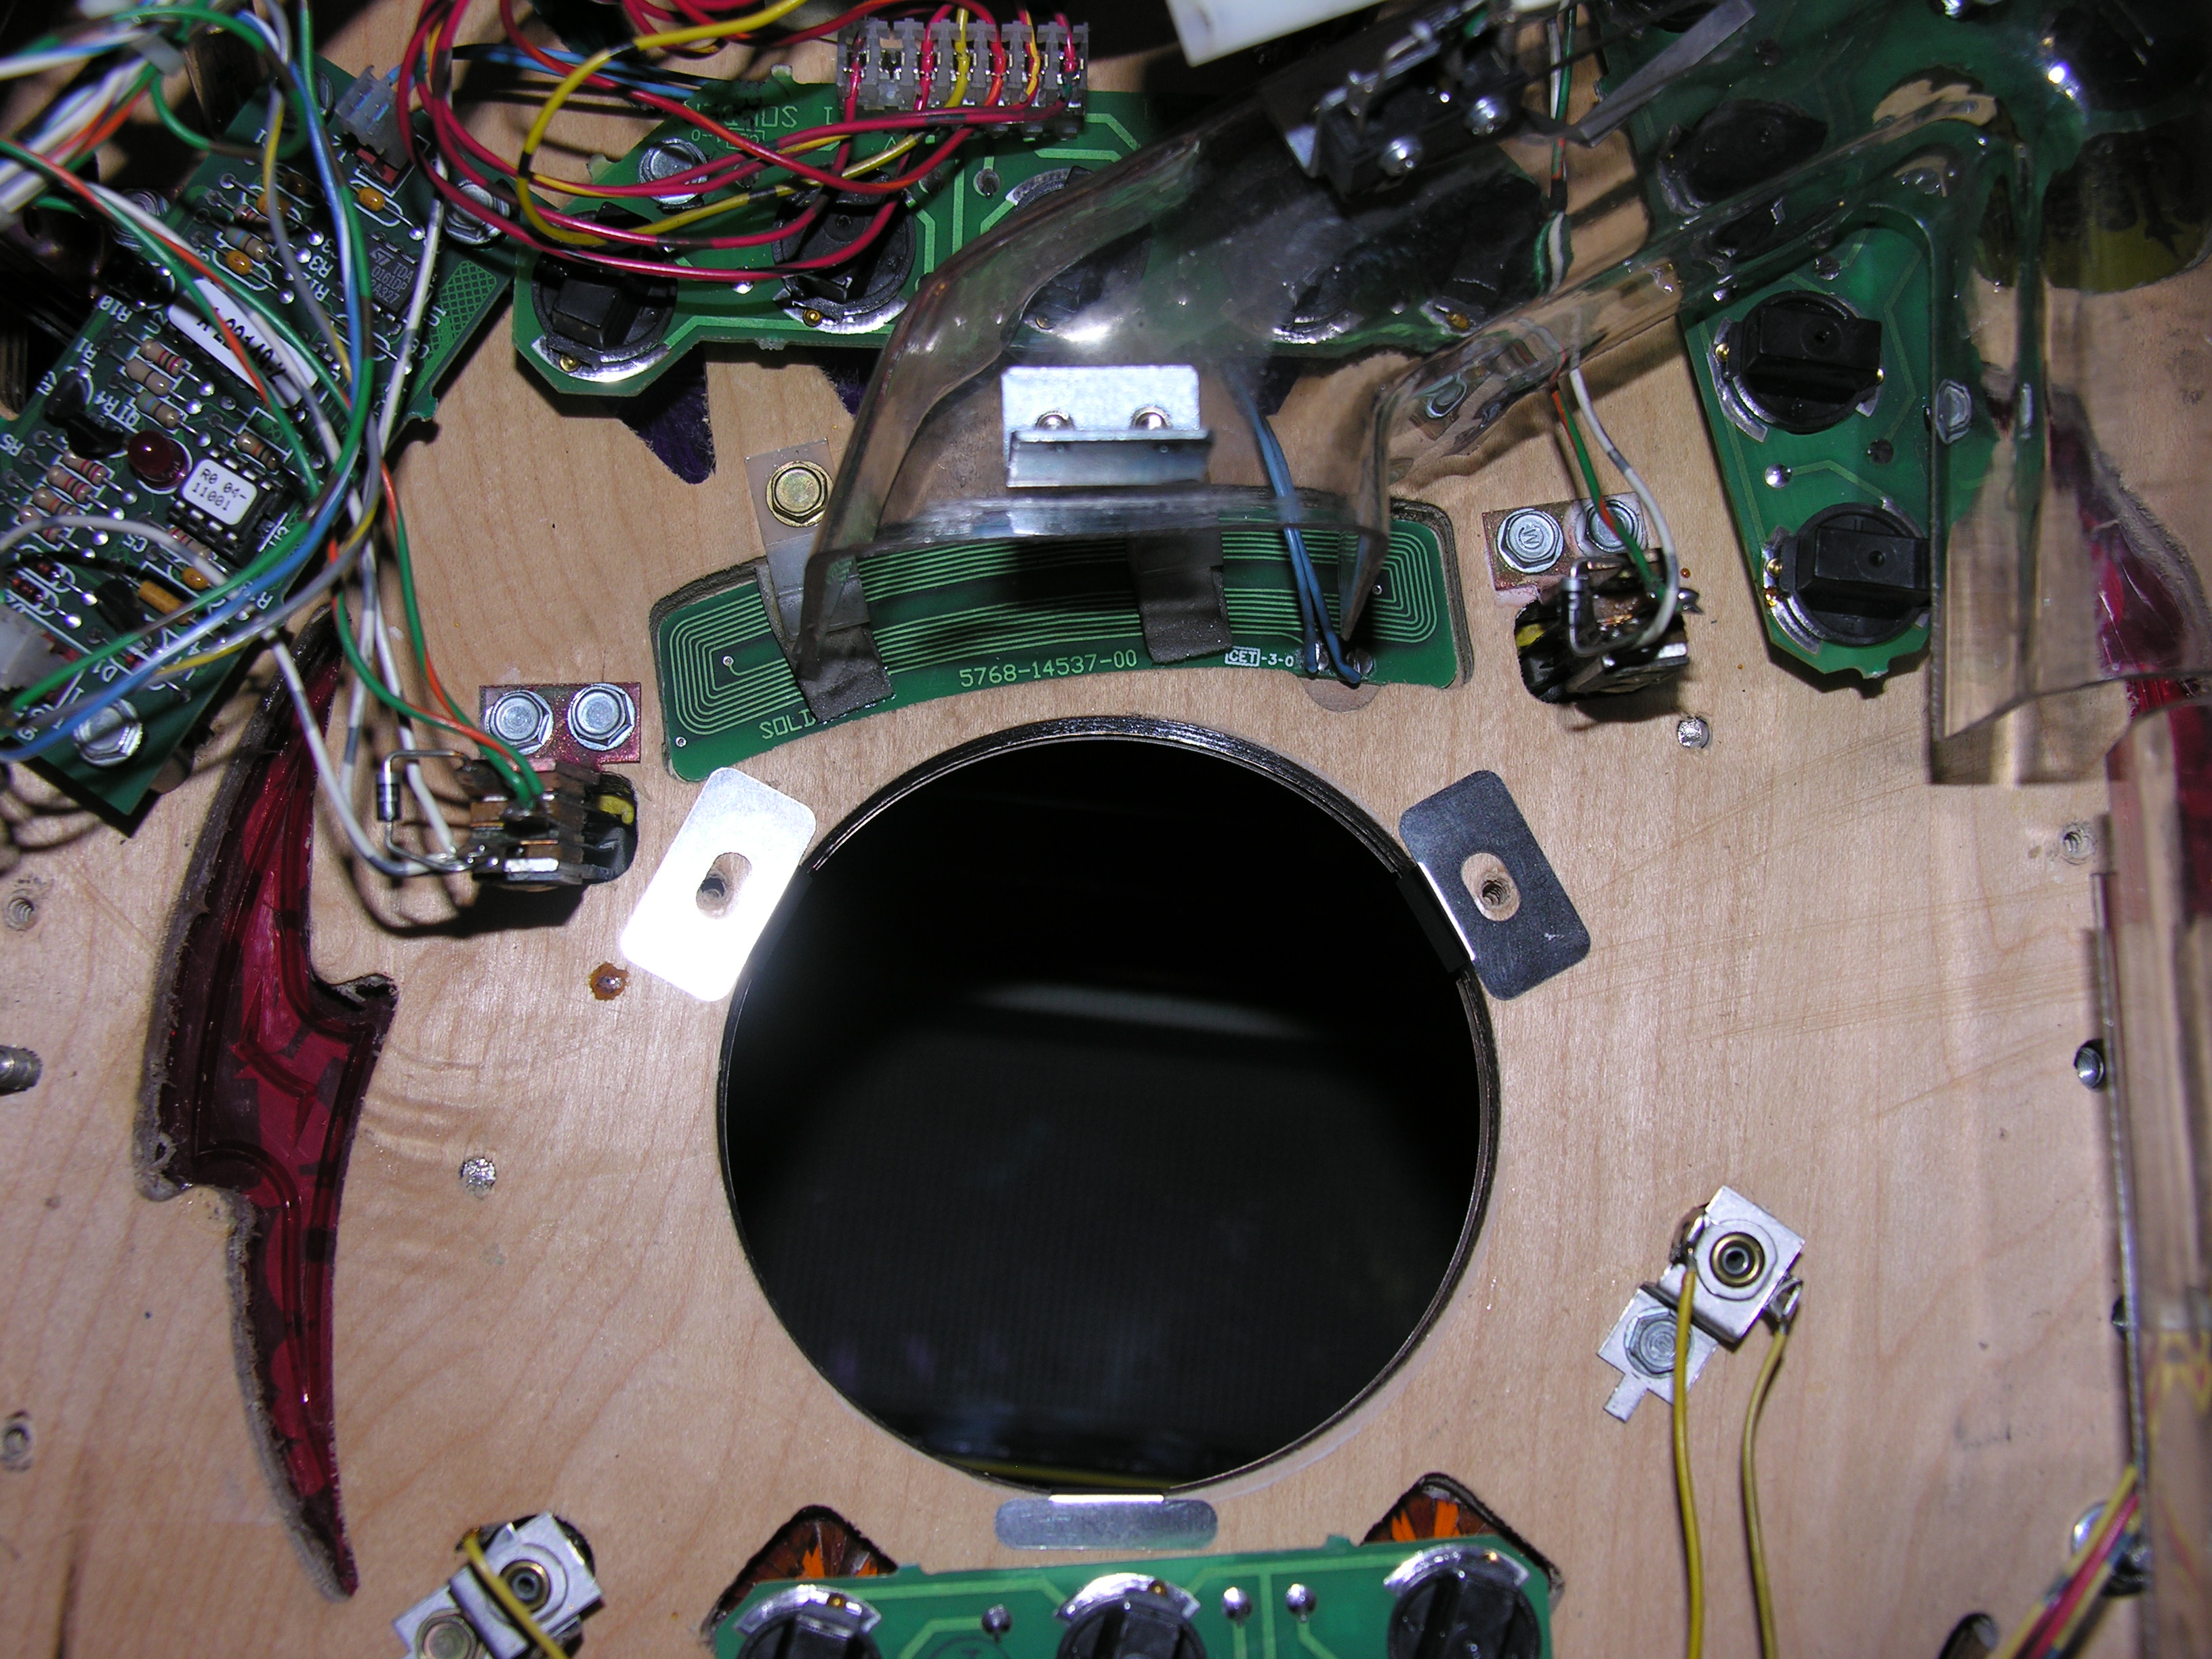
You will see a metal shield that covers the front half of the hole. It is held on by two screws. We will be mounting the protector under this shield. |
|
 Put
the two front feet (with holes) through the front of the hole, leaving
the back foot on the edge. Put
the two front feet (with holes) through the front of the hole, leaving
the back foot on the edge. |
|
 Gently
work the back foot through Gently
work the back foot through |
|
 until
the ring lies flat. until
the ring lies flat. |
|
 Gently
rotate the ring and align it with the under playfield collar holes.
Replace the shield and tighten the screws. Gently push the feet outwards
with your thumb to make sure that it is snug against the side of the
playfield hole. Gently
rotate the ring and align it with the under playfield collar holes.
Replace the shield and tighten the screws. Gently push the feet outwards
with your thumb to make sure that it is snug against the side of the
playfield hole. |
|
|
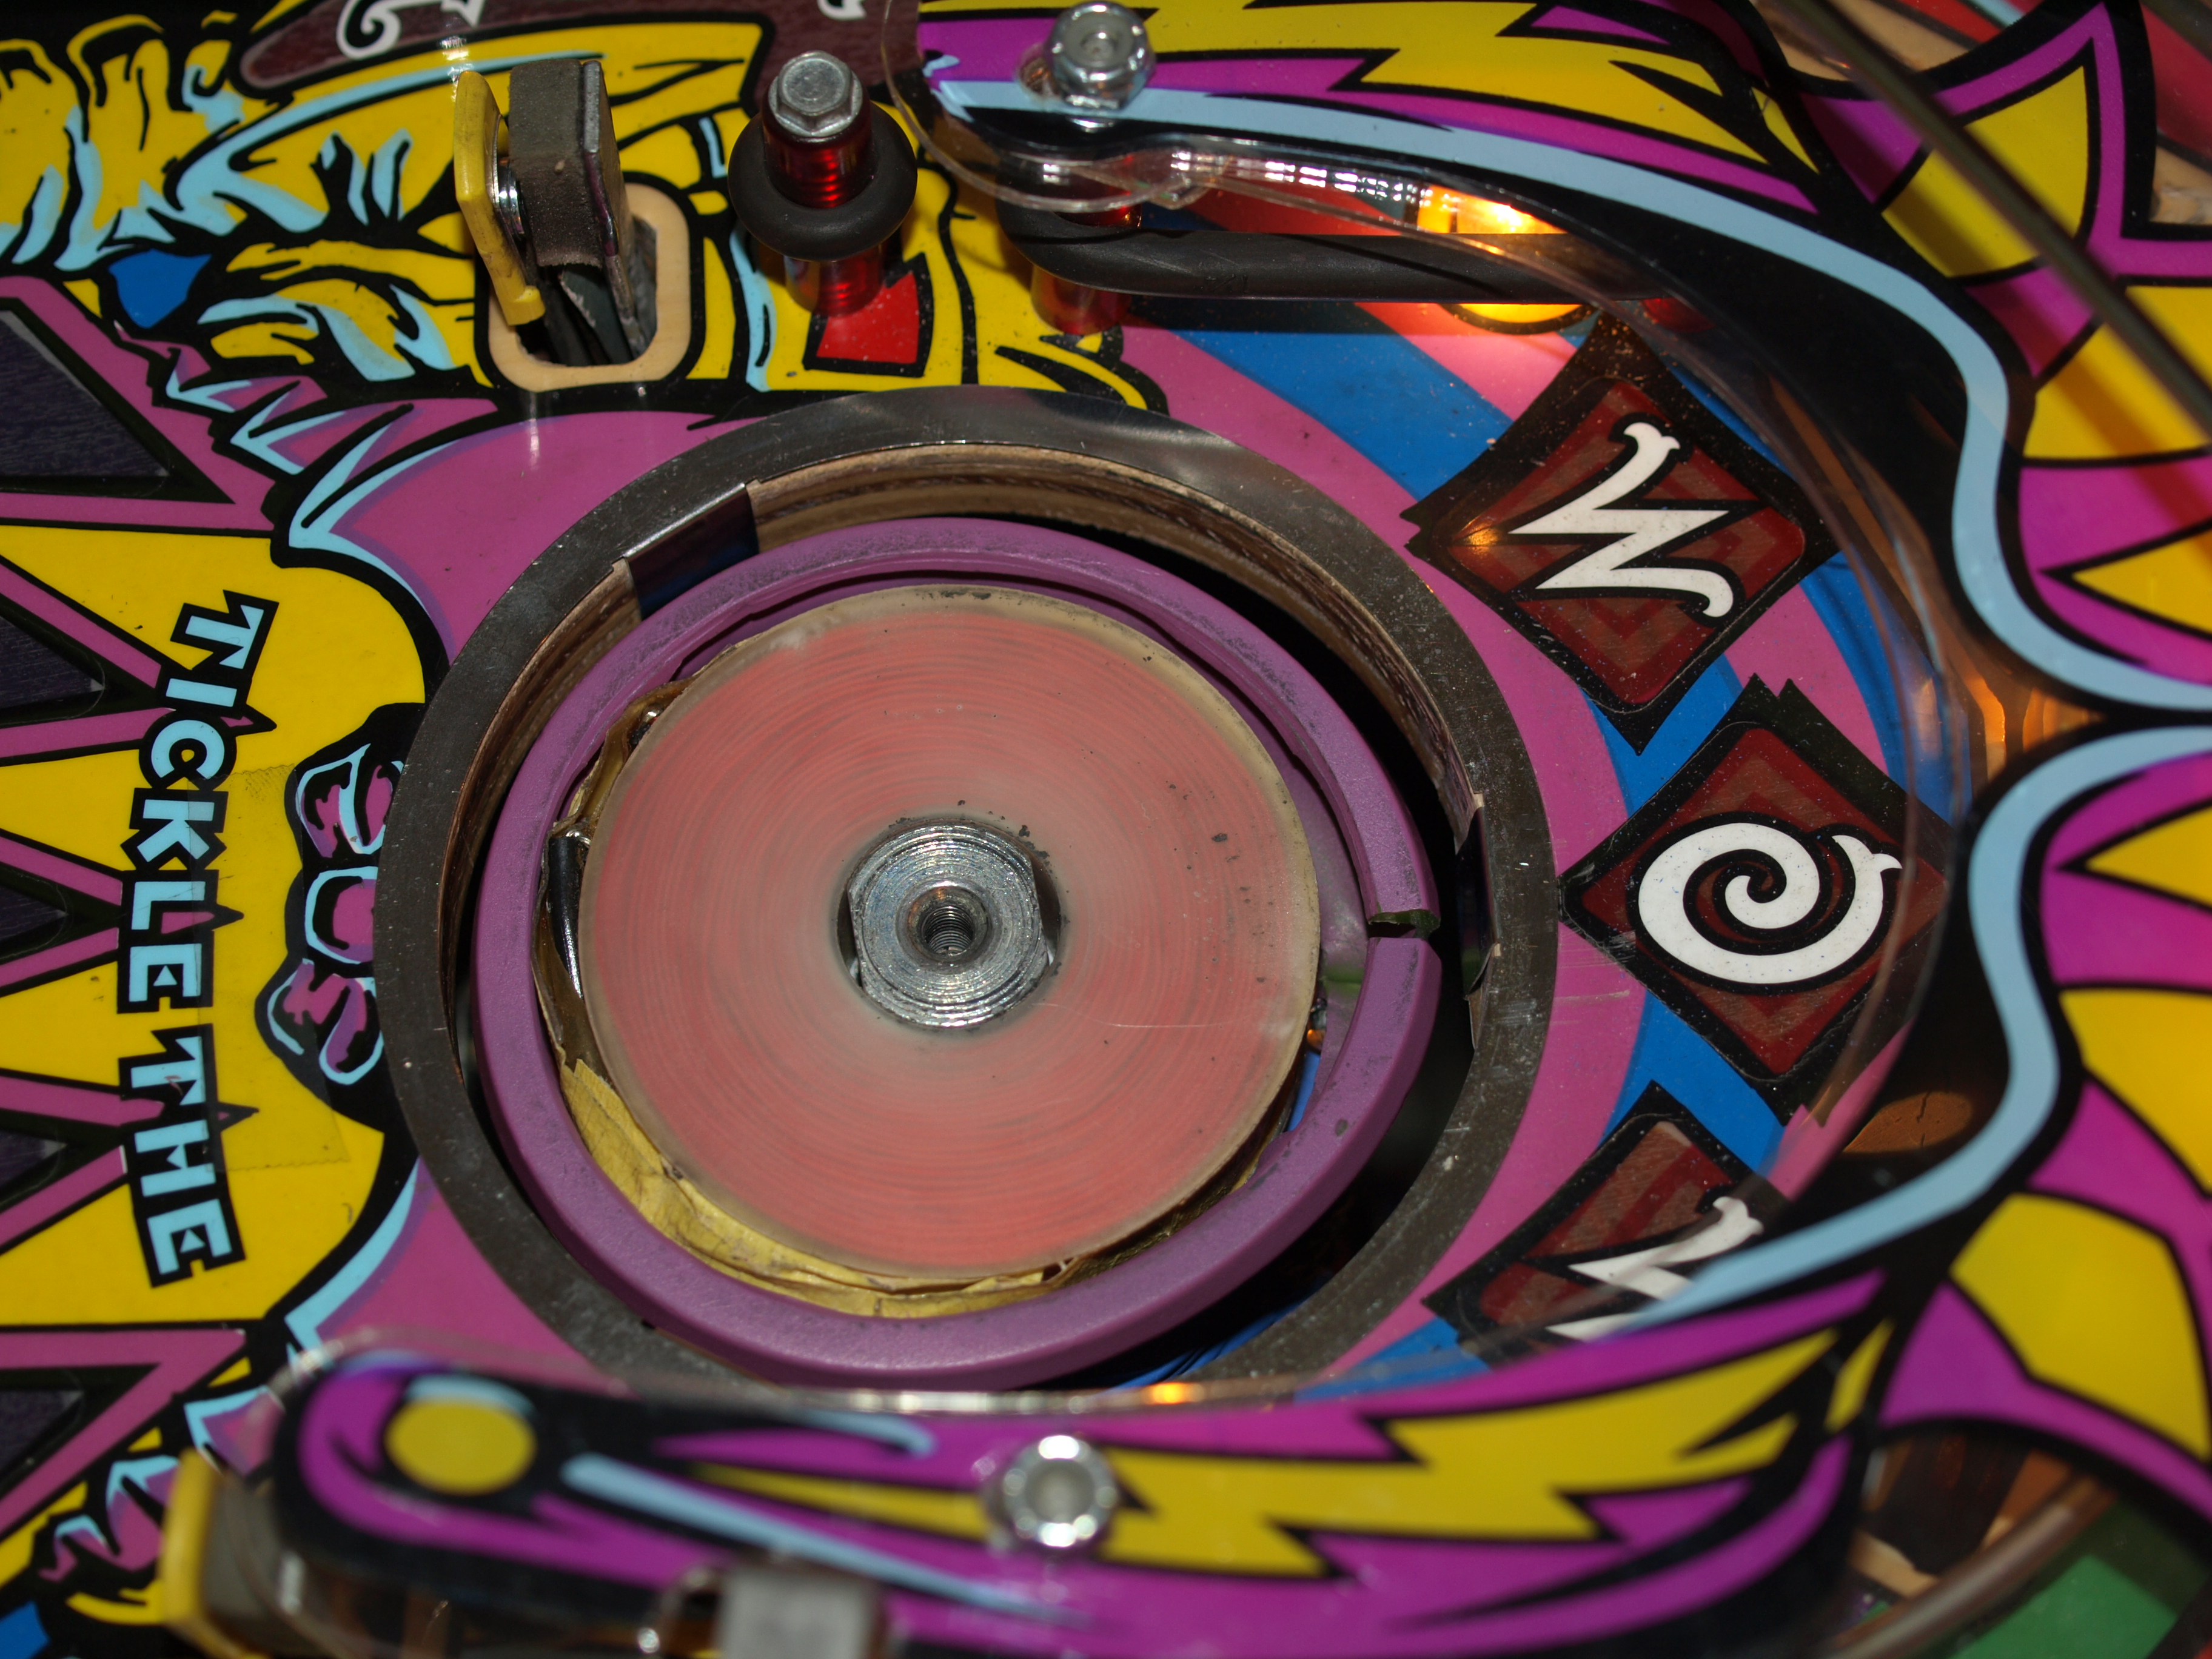
A
top view of the installed ring. |
|
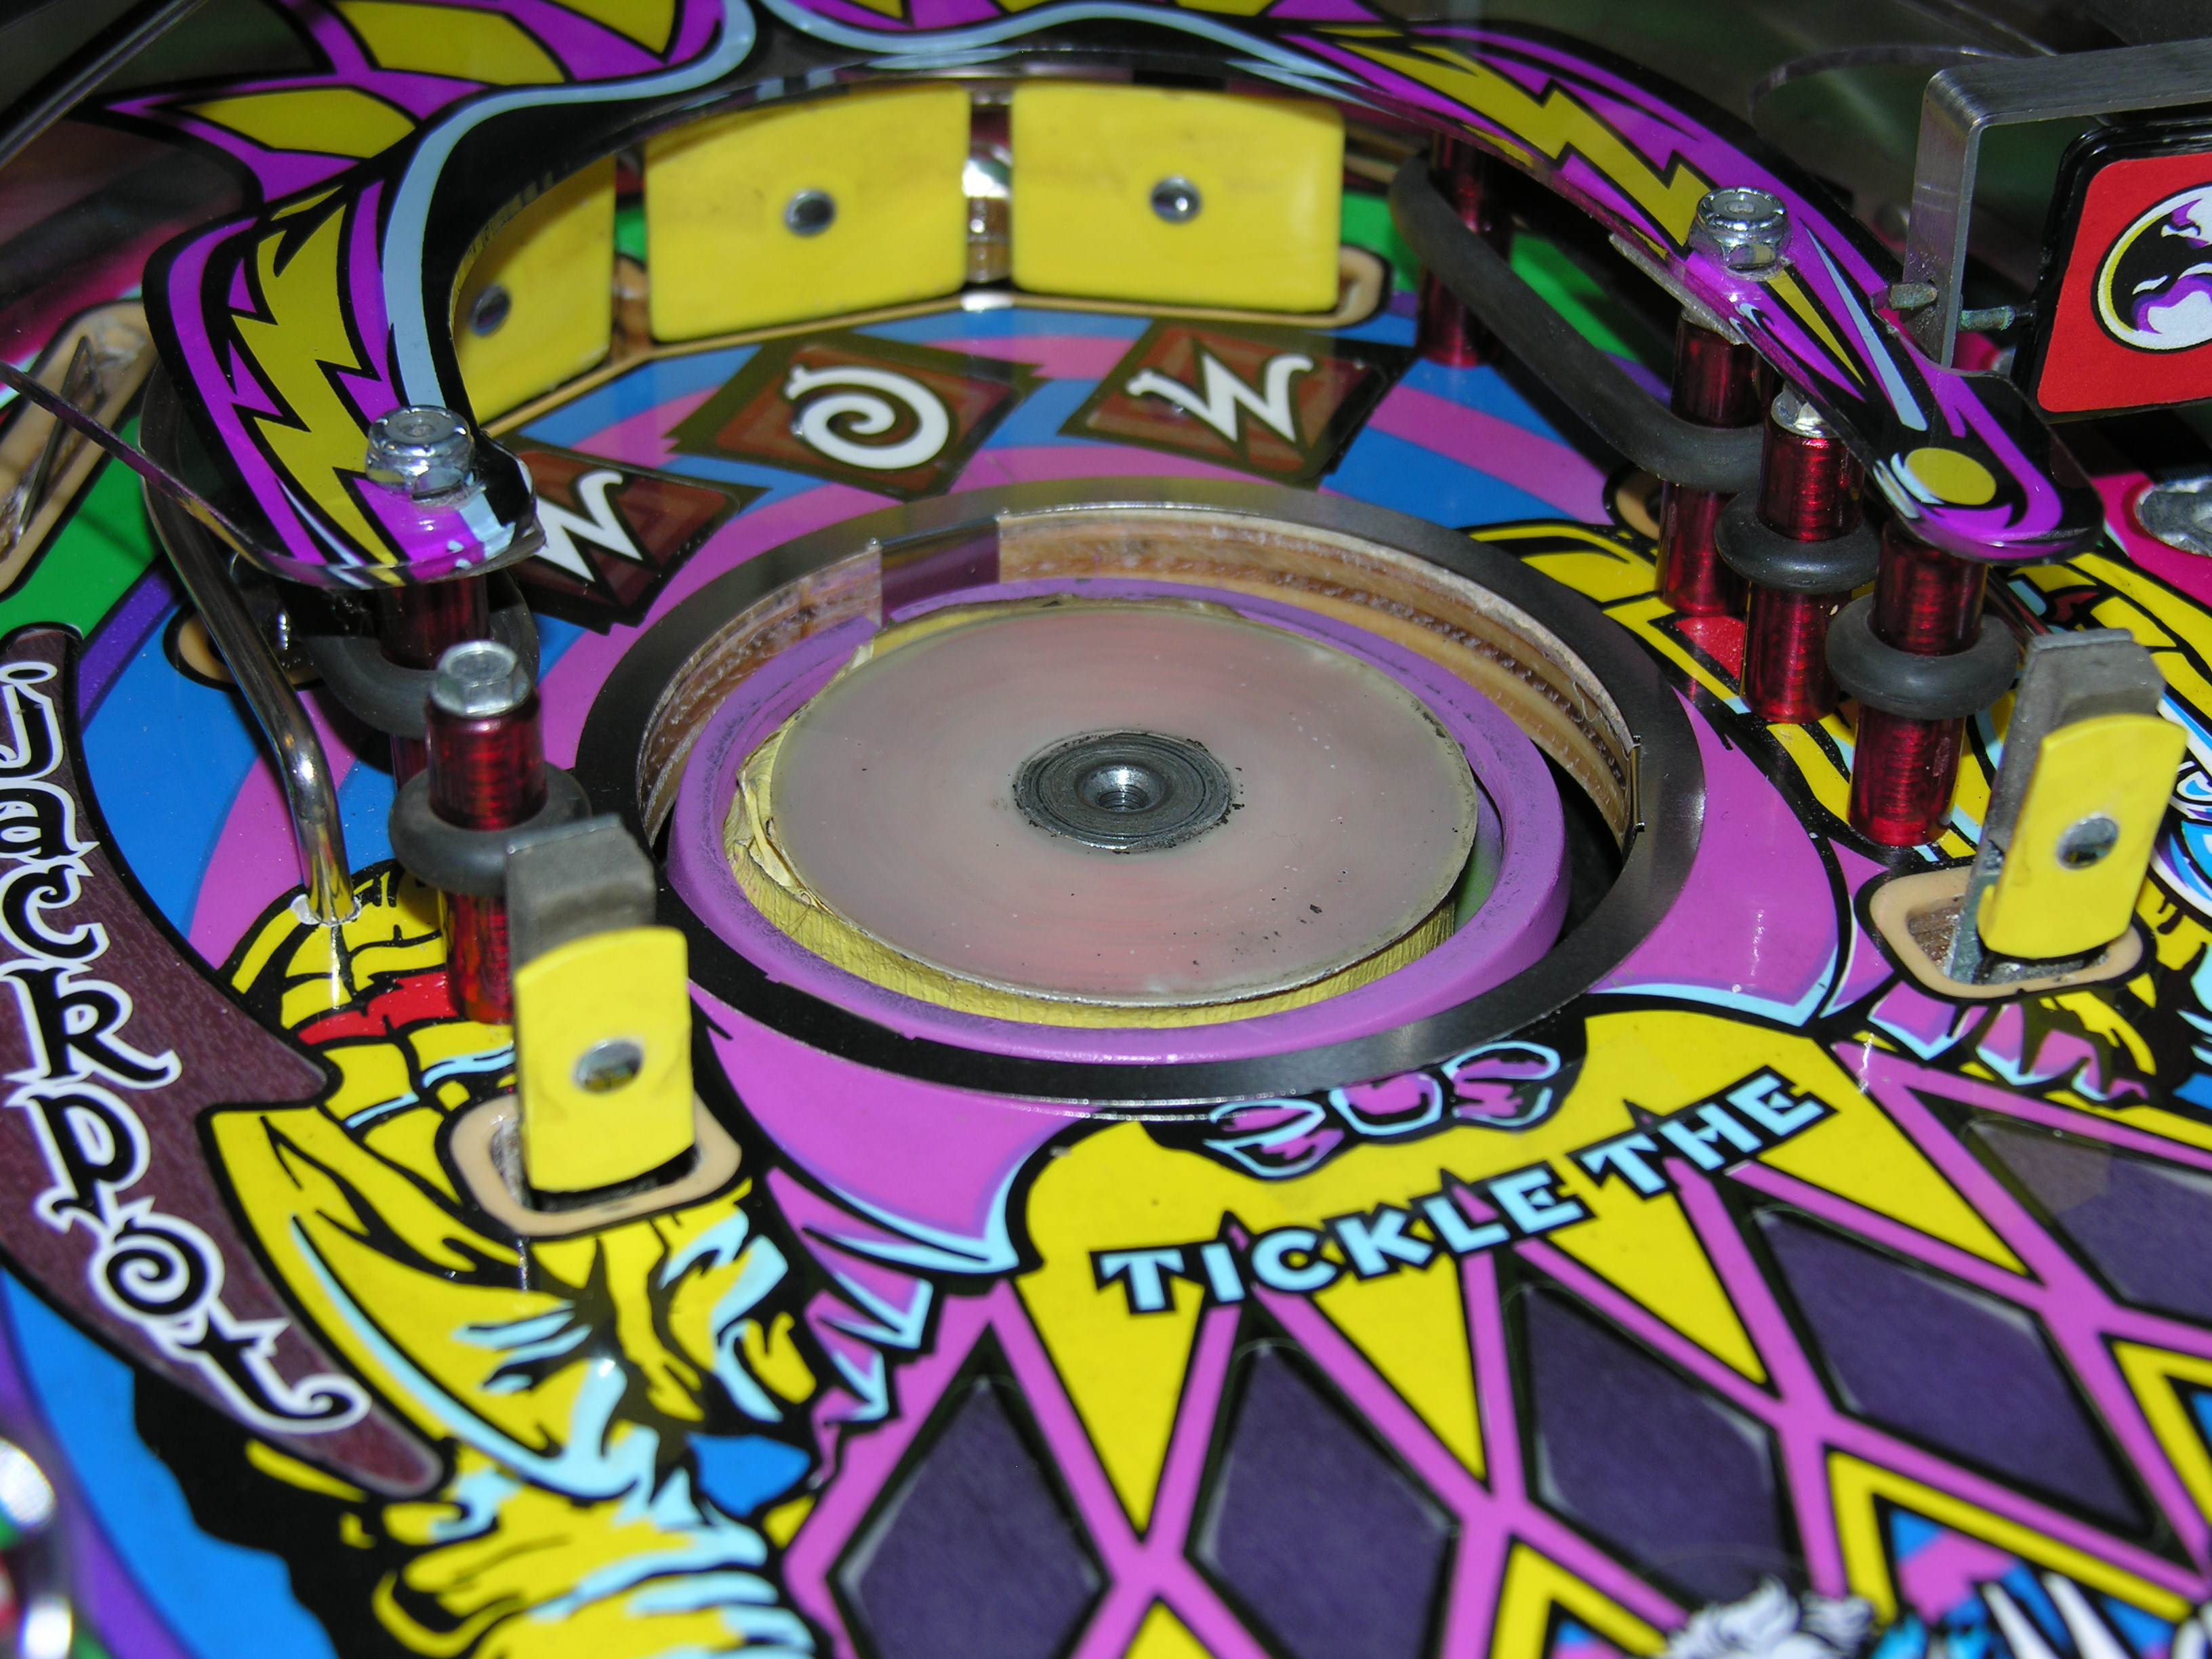
 The
final step is to center the Ringmaster in the hole. Once everything is
put back together, there are two things to do. The
final step is to center the Ringmaster in the hole. Once everything is
put back together, there are two things to do.1) The Ringmaster
spring is quite bendable. Get the Ringmaster fully extended (in test
mode) and bend the head away from where it touches the edge. The spring
will deform slightly, and move the Ringmaster head. Back and forth is
easy. Side to side is harder because the plastics are in the way. Tilt
it a bit while holding the spring then bend it to get it to move to the
right or left. You should be able to get the head centered,so that it
doesn't touch the sides. |
|